REVIEW · SENGGIGI
Mount Rinjani: Trekking Summit Full Sunrise Point Join Tour
Book on GetYourGuide →Operated by Rinjani Trekking Information official · Bookable on GetYourGuide
A mountain at sunrise always sounds romantic. This one is practical too: you climb the Senaru–Sembalun route, camp by the crater rim, then push for the full sunrise from the 3,726m summit. I like the clear day-by-day structure and the way the schedule fits the light, especially the early wake-up for summit photos. I also like that the package takes care of the big logistics, like head lamps, gloves, meals, and camping equipment. One drawback to note: it’s early, cold at altitude, and the final ascent includes loose volcanic scree, so you need solid trekking comfort.
You’ll be starting at Senaru (about 601m), then transferring to Sembalun (around 1,100m), where the hiking begins. Over two days you’ll move from open meadows to high crater views, sleep under the stars near the rim, and end back at the meeting point with a driver transfer to Senaru for your onward journey.
In This Review
- Key things that make this Rinjani sunrise trek worth it
- Entering The Senaru–Sembalun Route (and why it works)
- Price and what you’ll really pay for a 2D1N sunrise summit
- Day 1: Senaru to Sembalun, then the crater-rim campsite at 2,639m
- Sembalun’s meadow start (easy pace, big payoff)
- Lunch at Post 3 (about 1,800m)
- The long push to the crater rim (2,639m)
- Day 2: The 2:00am wake-up, the 3:00am summit push, and the 6:00am sunrise
- The climb pattern: moderate, then longer, then steep scree
- Sunrise at 3,726m with island-and-lake views
- Descent back to the rim, then down to Sembalun village
- How the terrain really affects your body (altitude + footing)
- Camping by the crater rim: the starry part and the cold part
- What’s included (and what you must bring) for a smoother summit attempt
- Included gear and support
- Bring what’s not included
- Meeting times, transfers, and how the schedule keeps you moving
- Who this tour suits best (and who should look elsewhere)
- Should you book this Mount Rinjani full sunrise point trek?
- FAQ
- FAQ
- What time does the summit trek start on Day 2?
- What altitude will I reach on this trek?
- What’s included in the price?
- Are the entrance fees included?
- What gear do I need to bring myself?
- Where do we meet and when does the tour end?
Key things that make this Rinjani sunrise trek worth it
- Crater rim camping at 2,639m so you get sunset and a second chance at sunrise views before the summit push
- A timed summit window aimed for sunrise around 6:00am, with Lombok, Bali, Sumbawa, and Segara Anak Lake in view
- Gear support that matters in the dark: head lamp, gloves, and trekking poles are included
- Porters for camping equipment, which helps you keep your own load more manageable
- Steady altitude progression from 1,100m up through posts at 1,300m / 1,500m / 1,800m before the steep crater climb
Entering The Senaru–Sembalun Route (and why it works)
Most Mount Rinjani treks people talk about start with a transfer, and this one is no different. You’ll begin in Senaru (about 601m), then drive over to Sembalun (about 1,100m). That matters because you’re not wasting your first day fighting a steep climb from low altitude. You’re gaining elevation in a controlled way once the hike officially starts.
The route from Sembalun is especially suited to a sunrise summit attempt because it builds momentum. First you’re walking through open meadow areas with a gentle climb, then you hit a set of trail posts that break the day into chunks. That pacing is a big reason people feel the trek is doable even though Rinjani is serious.
You’ll also do an official registration at the Rinjani information center once you reach Sembalun. That’s a small step, but it’s part of how the trek is managed, and it helps you feel confident you’re on a proper, recognized route.
Price and what you’ll really pay for a 2D1N sunrise summit
The tour price is listed as $134 per person for a 2 days–1 night experience. On its face, that seems like a lot for two days. In practice, value comes from what’s included: you get the guide, porter support for camping equipment, meals (breakfast, lunch, dinner), drinking water, camping equipment, and key gear like a head lamp and trekking pole(s). You also get trekking insurance included, plus gloves.
Then there are the extras you must plan for:
- Entrance fee: Rp 210,000 IDR per day per person (not included)
- Transport: not included
- Hotel/accommodation: not included
- Trekking shoes and long pants: not included
- Small bag/day pack: not included
So the real cost is the $134 base plus the entrance fee and your personal gear. If you already own decent trekking shoes and long hiking pants, you’re closer to the headline price. If you need to buy gear, budget for that too—because on Rinjani, comfort is not a luxury.
If you’re comparing to other 2D1N options, this one makes sense if you want the sunrise focus, the campsite included, and fewer “figure-it-out” moments around gear and meals.
Day 1: Senaru to Sembalun, then the crater-rim campsite at 2,639m
Day 1 starts with an early wake-up (around 6:00am) and breakfast, then a drive to Sembalun and registration at the information center. Trekking begins around 8:00am from Sembalun at roughly 1,100m.
Sembalun’s meadow start (easy pace, big payoff)
The morning begins with a gentle climb through open meadow. This is the part that helps you settle in. You warm up gradually, and you get used to breathing at higher elevation without feeling like you’re attacking a wall immediately.
After about 2 hours, you reach Post 1 (around 1,300m). From there, another 40 minutes brings you to Post 2 (around 1,500m). These are useful “checkpoints” mentally, because they prevent the climb from feeling like one endless grind.
Lunch at Post 3 (about 1,800m)
You continue onward to Post 3 (around 1,800m), where lunch is served. Lunch here is more than just food. It’s when your body resets before you head toward the crater rim. You’ll usually want to eat something solid, drink water steadily, and let your legs cool down slightly—because the next section includes a prolonged steep climb.
The long push to the crater rim (2,639m)
After lunch and rest, you head to Sembalun crater rim at 2,639m. Expect this to take about 3 hours, including a prolonged steep section. This is the point where the route turns from “comfortable hiking” into “real mountain hiking.”
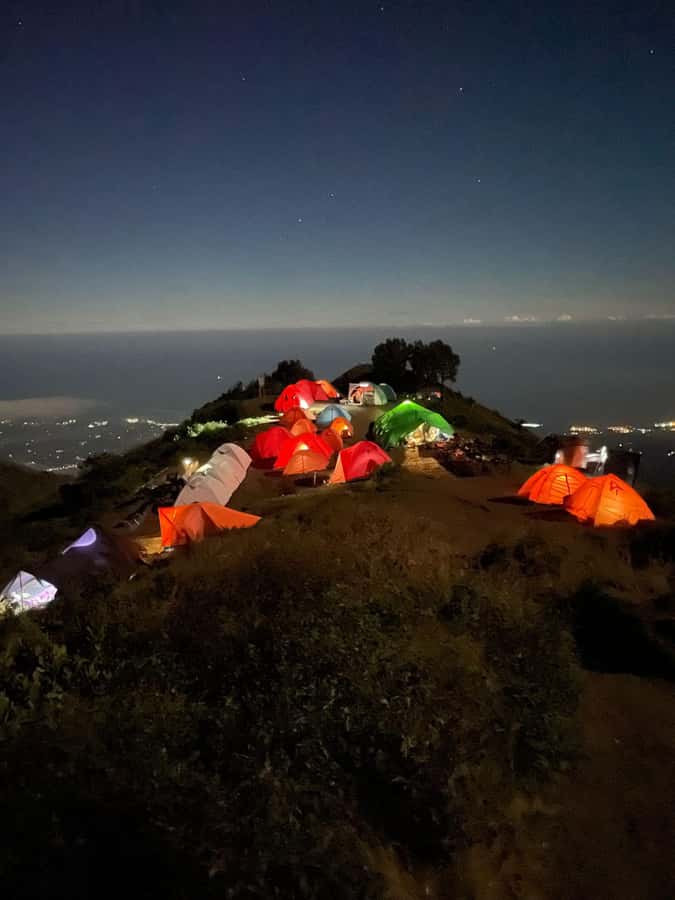
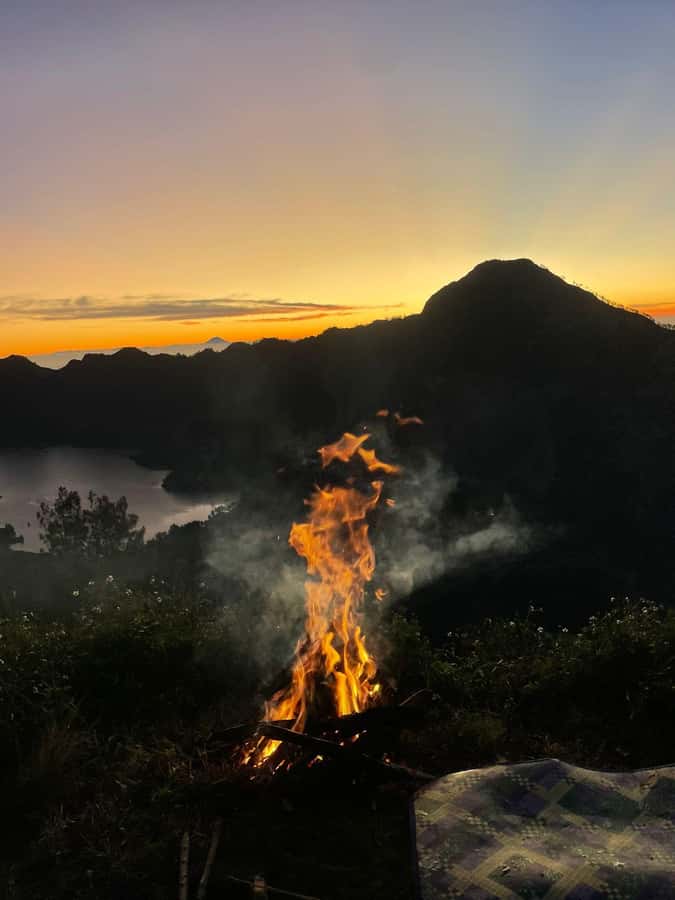
Once you reach the crater rim, you camp overnight right near the edge. This is one of the highlights because you’re in a zone where sky colors change quickly. You can enjoy the views in both directions: sunset and sunrise moments become part of the campsite rhythm, not just the next morning.
And yes, you sleep “under the stars” here—though it’s also worth remembering that high-altitude nights can get chilly.
Day 2: The 2:00am wake-up, the 3:00am summit push, and the 6:00am sunrise
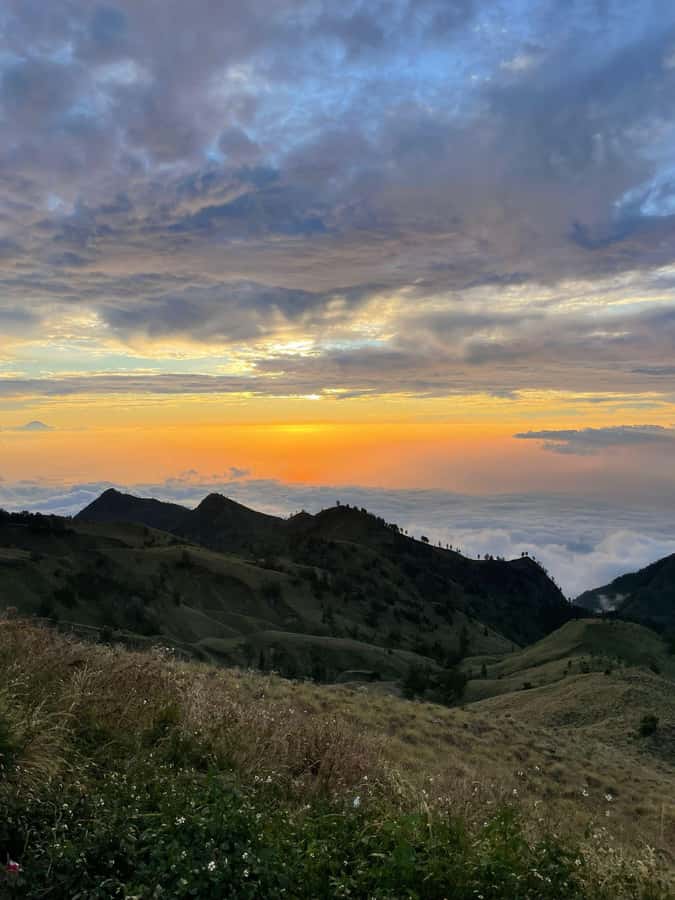
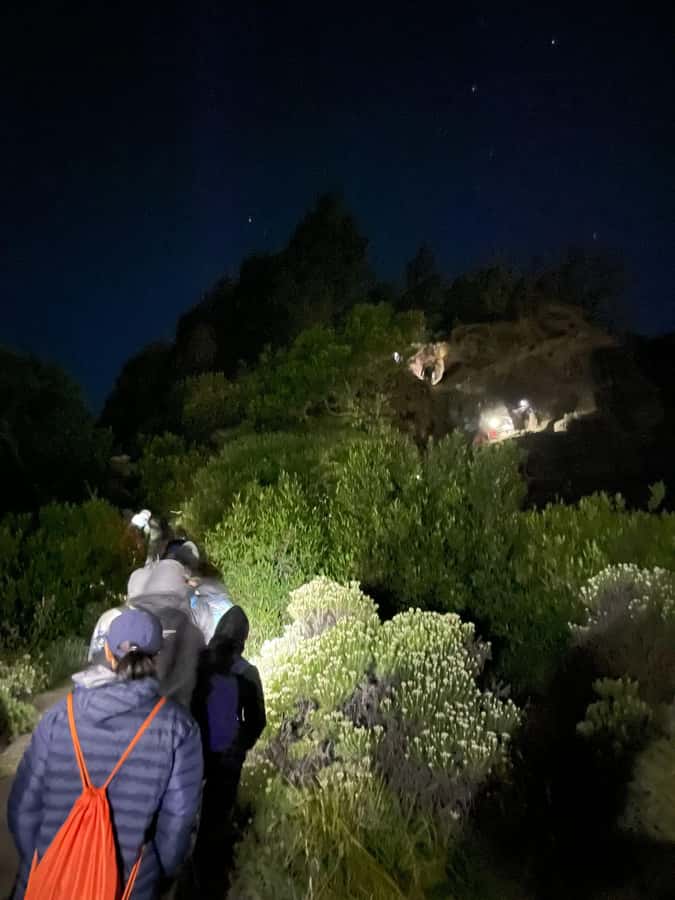
Day 2 is the reason people book this tour. Your day starts in the dark. You wake up around 2:00am with a hot drink and a light breakfast. Then you begin the summit climb at 3:00am.
This timing is deliberate. The goal is to arrive at the summit around 6:00am, just when the sunrise is happening. That gives you a chance to enjoy the view, capture your photos, and still have daylight for descent.
The climb pattern: moderate, then longer, then steep scree
The ascent is described in stages:
- A moderate trek first
- Then a fairly easy but longer stretch
- Then the final approach: steep volcanic scree with loose footing
That last part is the one to respect. Loose scree makes traction slower and makes your ankles work harder. This is where trekking poles help, and where proper footwear matters (and where you’ll feel thankful you’re using a pole instead of just hoping your shoes can handle everything).
Sunrise at 3,726m with island-and-lake views
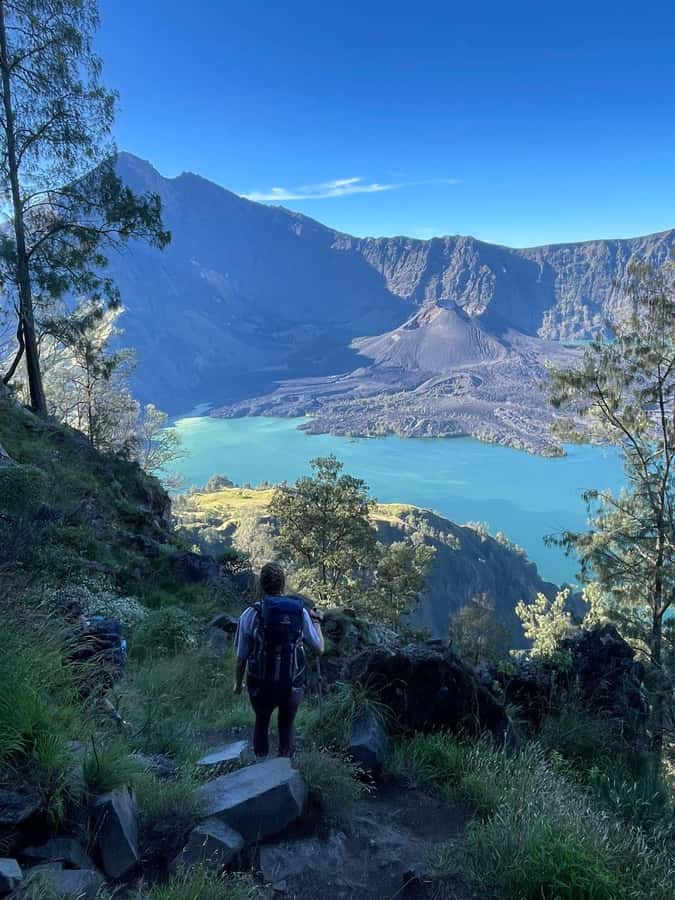
At about 6:00am, you reach the summit (3,726m) and catch the sunrise. From the top, you can see panoramic views across Lombok, Bali, Sumbawa, and the Segara Anak Lake.
There’s also a built-in “photo moment” aspect—this trek is timed so you’re not rushing through the summit. You can take pictures and enjoy the moment before you turn back.
Descent back to the rim, then down to Sembalun village
After the summit experience, you descend back to the crater rim within about 2 hours and have breakfast there. This timing helps you recover while still staying on schedule.
Then it’s the longer downhill: about 5 hours to reach Sembalun village (around 1,100m). After that, a car transfer takes you back to Senaru, and from there you continue to your next destination.
This “summit, then descend for hours” flow is physically the full package. If you only want one dramatic section, this trek might feel like more than you expected.
How the terrain really affects your body (altitude + footing)
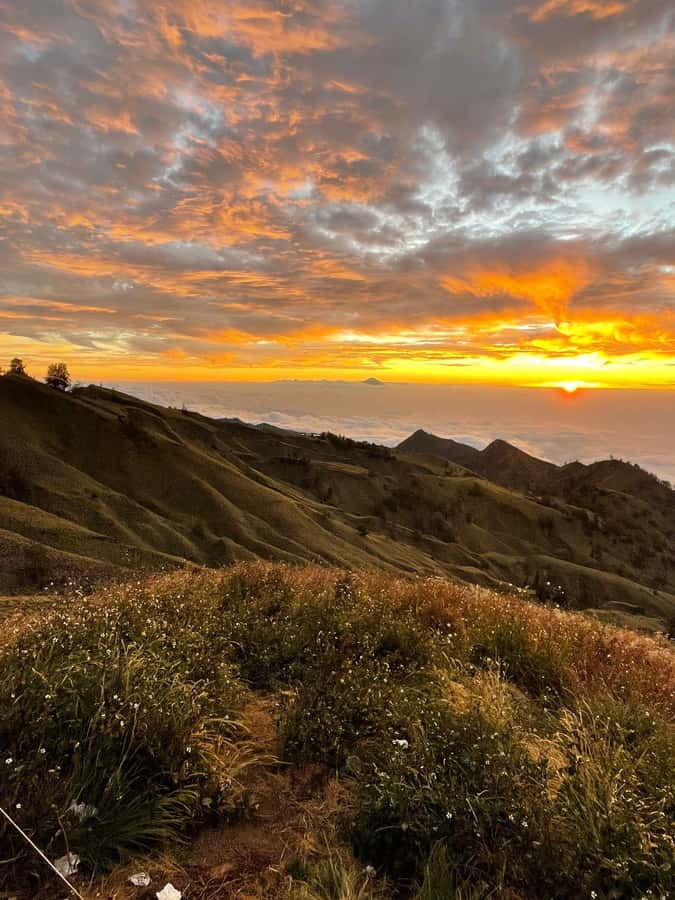
Rinjani’s key challenge is altitude combined with uneven volcanic terrain. You’ll gain elevation quickly enough to feel it, but the itinerary also offers structured breaks.
You go from:
- 601m (Senaru) to 1,100m (Sembalun) by transfer
- then hike up through trail posts around 1,300m, 1,500m, 1,800m
- then to 2,639m for crater rim camping
- then to 3,726m for summit sunrise
Even if you’re fit, the real test is how your breathing changes. On summit day, the pace can be slower simply because the air is thinner.
Footing is the other factor. The final ascent includes loose volcanic scree. That means:
- you’ll want to move carefully
- you may feel your quads and calves working differently than on packed dirt
- you’ll likely appreciate any help you get from poles and a guide who keeps a sensible pace
If you’re used to comfortable hiking, treat this as a “serious day” even if some stretches are described as fairly easy. The easiest section still sits at high altitude.
Camping by the crater rim: the starry part and the cold part
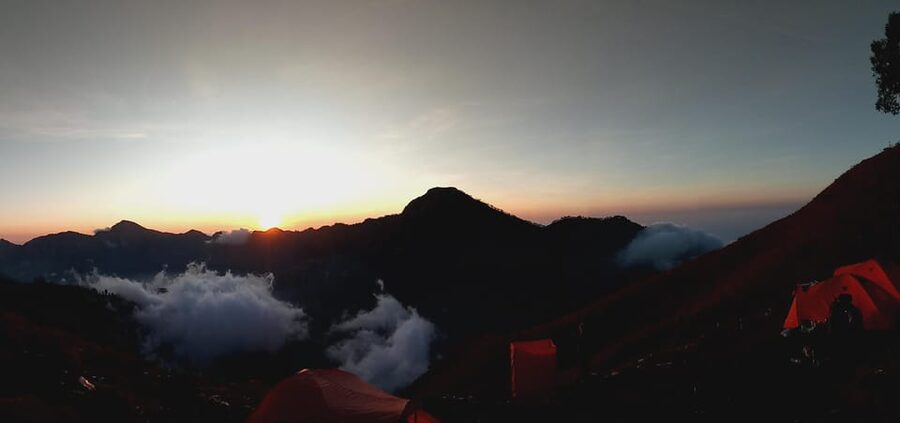
Sleeping at the crater rim (2,639m) is the reason you get that dramatic sunrise and sunset experience. You’re not just passing through—you’re camping in the high zone near the rim.
The tour includes camping equipment, which helps a lot if you’re traveling light or don’t want to rent gear. A porter also carries camping equipment, so you’re not responsible for hauling the bulky stuff up the mountain.
Still, don’t ignore the environment. At this elevation, nights can feel cold. The good news is you get gloves included and you’ll have a head lamp for the dark early hours. That combination makes it easier to enjoy the experience instead of fighting discomfort.
When the sky clears, this kind of campsite can be unforgettable. And even when it’s not perfect, you still get the practical benefit: a shorter, more efficient summit push the next night.
What’s included (and what you must bring) for a smoother summit attempt
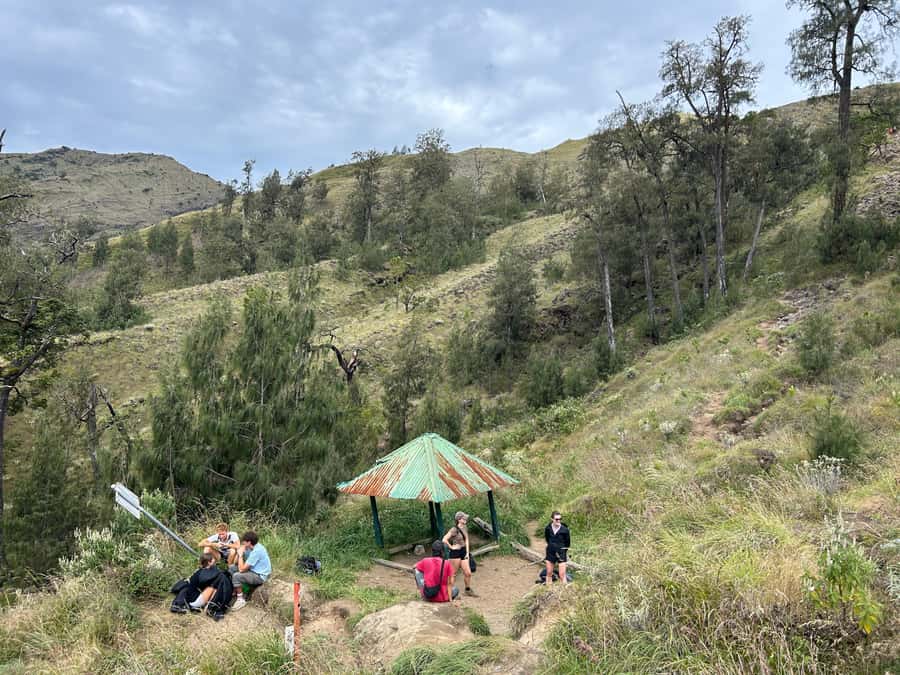
Here’s the practical split: the tour supplies a lot of the heavy-lift and dark-hour gear. You handle personal comfort items.
Included gear and support
You’ll have:
- trekking guide
- porter for camping equipment
- camping equipment
- meals and drinks (breakfast, lunch, dinner; plus drinking water)
- head lamp
- trekking pole: one stick per person
- gloves
- trekking insurance
If you’re doing a short two-day trek, this list is valuable. It removes the common pain points: carrying camp items yourself, not having proper lighting, or underpacking for cold.
Bring what’s not included
You need to bring:
- trekking shoes
- long pants
- a small bag or day pack
Also, you’ll be happier if your personal bag holds essentials like a warm layer, water, and any items you like for photos. The tour provides water, but your comfort still depends on what you carry day-to-day.
Meeting times, transfers, and how the schedule keeps you moving
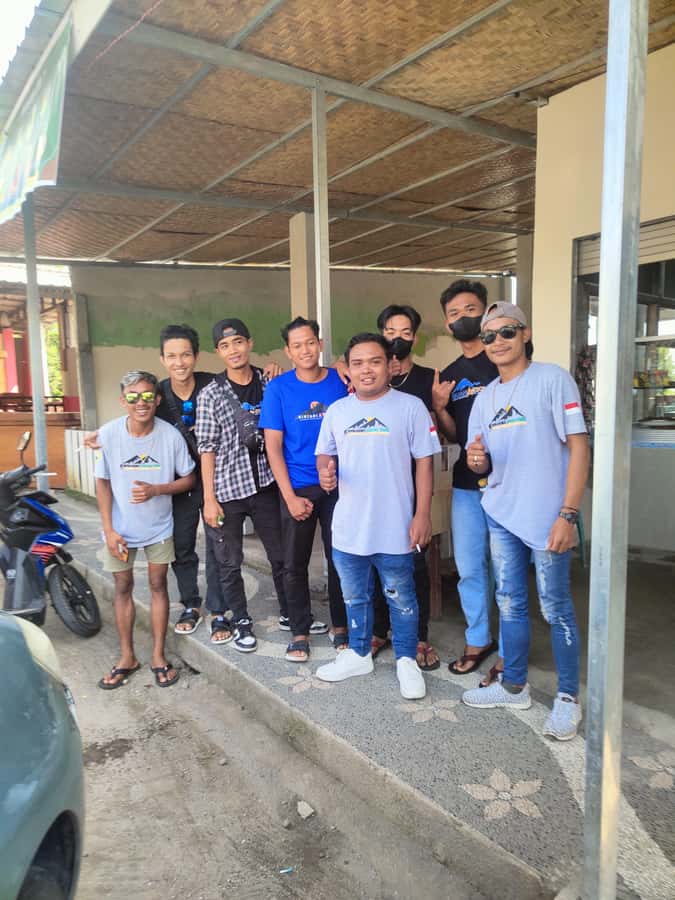
This tour is built around timing. You’re asked to arrive at the start meeting point about 15 minutes before the start time. That early buffer matters because you’ll have to organize gear, get briefed, and confirm your group before trekking begins.
On Day 1, you wake around 6:00am, then drive to Sembalun and start trekking at about 8:00am. Day 2 flips the rhythm completely: 2:00am wake-up and 3:00am start. That’s why head lamps are included. You’re not just trekking early; you’re trekking in full darkness.
The tour ends back at the meeting point, and you also get a car transfer from Sembalun back to Senaru after the descent. That keeps the “where do we go next” stress low after a long day.
Who this tour suits best (and who should look elsewhere)
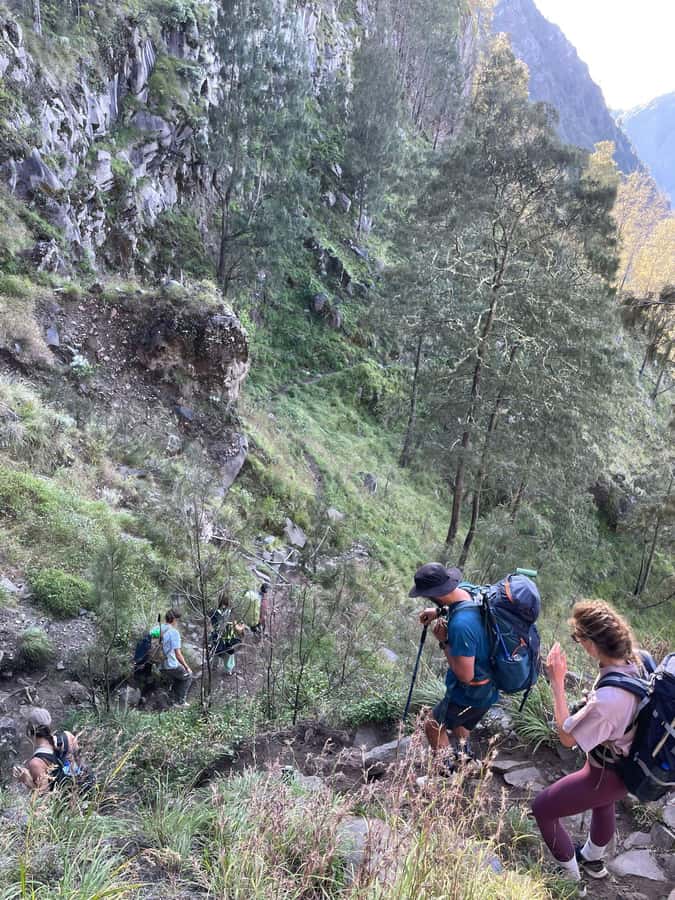
This tour fits best if you want:
- a sunrise-focused summit on a tight 2 days / 1 night timeline
- a route that builds gradually from meadow hiking to crater rim camping
- a package that includes camping equipment and meals, so you don’t spend your energy on logistics
It’s less ideal if you:
- hate early mornings and night starts
- don’t handle cold well at altitude
- aren’t comfortable with steep, loose scree
Also, if you’re expecting a relaxed walk with no steep sections, you’ll be disappointed. The schedule includes a prolonged steep climb to the crater rim on Day 1 and steep scree on the summit approach.
That said, the structure is designed to help you get there. You get staged trail posts, a crater rim sleepover, and a summit schedule aimed right at sunrise.
Should you book this Mount Rinjani full sunrise point trek?
If your goal is the full sunrise summit experience—without you having to source gear, handle meals, or figure out camp logistics—this is a strong choice. The inclusion list is meaningful, especially head lamps, gloves, camp equipment, meals, and porter support. Add the timed summit push toward a 6:00am sunrise and the scenery described from the top, and you get a trek that’s built for one outcome.
I’d book it if you’re willing to train a bit, bring proper shoes, and accept that the hike involves altitude and challenging footing. If you’re fragile on cold nights or you want a slower, cushier pace, you might want a different Rinjani format.
FAQ
FAQ
What time does the summit trek start on Day 2?
You wake up around 2:00am and start heading toward the summit at 3:00am.
What altitude will I reach on this trek?
You’ll start from about 1,100m in Sembalun and reach the summit at about 3,726m. You’ll also camp at the crater rim around 2,639m.
What’s included in the price?
The tour includes a trekking guide, porter for camping equipment, meals and drinks (breakfast, lunch, dinner), drinking water, camping equipment, head lamp, trekking pole (one stick each), gloves, and trekking insurance.
Are the entrance fees included?
No. The entrance fee is Rp 210,000 IDR per day per person and is not included.
What gear do I need to bring myself?
Bring trekking shoes, long pants, and a small bag/day pack. Head lamp, gloves, and poles are included, but personal basics are still on you.
Where do we meet and when does the tour end?
You meet at the stated meeting point about 15 minutes before the start. The tour ends back at the meeting point after the return transfer.