REVIEW · SUNDARIJAL
Kathmandu: Chisapani Nagarkot 3-Days 2-Nights Trek
Book on GetYourGuide →Operated by Breakfree Adventures Pvt. Ltd. · Bookable on GetYourGuide
A Himalayan sunrise in three days? That’s the deal here. I like how this Nagarkot trek lets you chase big mountain views (including Langtang on clear days) without the strain of going high-altitude. You also get a built-in culture stop at Changu Narayan with a temple dating to 323 AD.
Two things I’d point you to right away: first, the route is paced for a true trek day-by-day, with a mix of uphill stair work and forest sections that feel like you’re moving through real places, not just viewpoints. Second, your English-speaking licensed guide adds context as you walk—names like Dipak, Govinda Pathak, and Ramesh show up in how guides are described, and the common thread is practical explanations plus a relaxed vibe. One drawback to plan around: views depend heavily on weather. If clouds roll in, you’ll still get a great hike, but the famous panorama can fade.
In This Review
- Key things that make this trek work
- Kathmandu to Sundarijal: why this trek starts with a hike, not a bus ride
- Mulkharka and Tamang Village: the trail’s local rhythm
- Where you sleep matters: Chisapani lodge basecamp
- Day 1 sunset in Chisapani: the payoff after stair-heavy effort
- Chisapani to Nagarkot: the “big day” with forests, terraces, and a climb to the view
- Forest uphill, then a descent into Jhule and Chauki Bhanjyang
- Kattike Bhanjyang to Nagarkot: the final climb for panoramic time
- Overnight in Nagarkot: aim for sleep quality before sunrise
- Nagarkot sunrise and Changu Narayan: history + a valley view without the pain of a long ascent
- Telkot viewpoints: why the descent still feels like progress
- Changu Narayan temple: the cultural final act at 323 AD
- Guides, pace, and how to get the best views without getting stressed
- Pace tips that match the route’s effort profile
- Packing the essentials for weather that changes fast
- Value and price: is $190 per person fair for what you get?
- Who this trek suits best (and who should think twice)
- Should you book the Kathmandu Chisapani Nagarkot 3-Day Trek?
- FAQ
- What are the trekking days and approximate hiking times?
- Where does the trek start and finish?
- Will I see the Himalayas on this trek?
- What’s included in the price?
- Is food included?
- Do I need a porter?
- What should I bring for this trek?
- Where am I picked up in Kathmandu?
Key things that make this trek work
- Sundarijal start through Shivapuri National Park: you begin with elevation gain and a trail that actually feels wild.
- Chisapani and Nagarkot as view stops: good chances for Himalaya views, especially if morning skies cooperate.
- A longer Day 2 hiking block: 6–7 hours with village crossings and terraces, ending with a climb to Nagarkot.
- Sunrise focus on Day 3: an early wake-up so you’re not hiking blind to the end.
- Changu Narayan temple stop: a concrete cultural payoff with a 323 AD temple site.
- Private, end-to-end transfers: Kathmandu to the trailhead, then Changu Narayan back to your hotel.
Kathmandu to Sundarijal: why this trek starts with a hike, not a bus ride
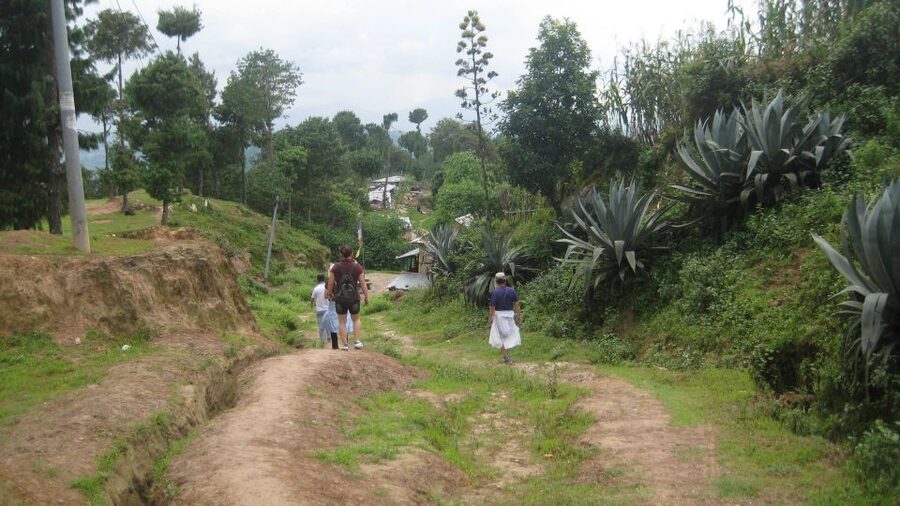
The experience begins with pickup from inside the Kathmandu ring road, then about an hour by private vehicle to Sundarijal, at 1,460 meters. This matters because you’re not losing your trek day to complicated logistics. When you arrive, the trail starts uphill right away, following a large water pipe down from the Sundarijal Reservoir. It’s a small detail, but it helps you understand you’re walking along local infrastructure and a real watershed, not just a tourist footpath.
From there, you enter Shivapuri National Park and move toward Mulkharka Village. Expect a steady feel: the first day is listed as about 5–6 hours of hiking, and it includes uphill and stairs. In practical terms, this is the day you’ll feel most in your legs, so it’s smart to treat it like a conditioning day with steady effort instead of sprinting early.
Mulkharka and Tamang Village: the trail’s local rhythm
After Mulkharka, the route passes through Tamang Village before you reach Chisapani at 2,165 meters. This section is where the trek becomes more than altitude-chasing. You’re walking through communities and moving along paths that connect everyday life, terraced land, and mountain foot trails.
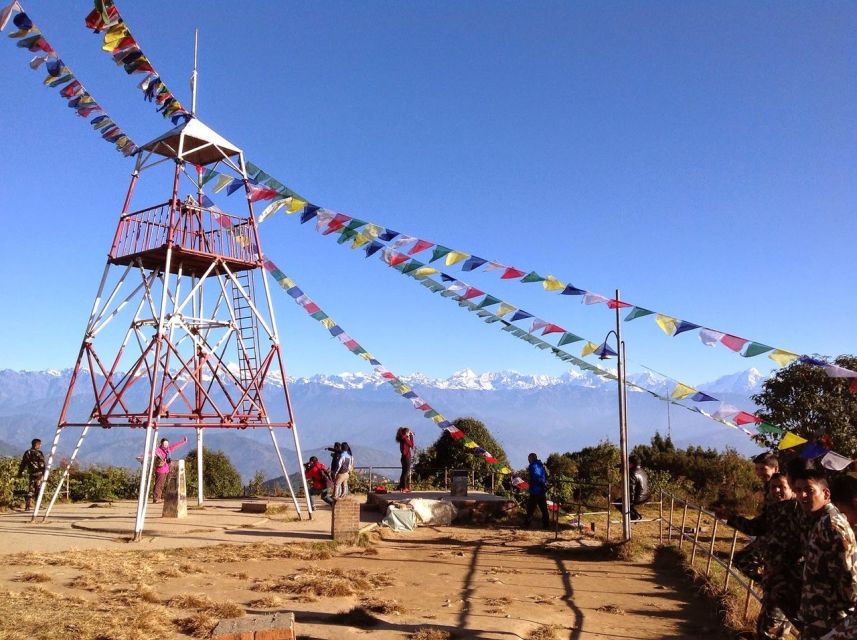
On a clear evening, Chisapani is where you’ll likely get those first big glimpses of the Himalayas, including Langtang Himal mentioned in the route description. Even if the weather shifts, the day still delivers: sunrise and sunset hikes in the Kathmandu hills tend to give you changing light, cloud shadows, and a steady sense of moving upward into the “view zone.”
Where you sleep matters: Chisapani lodge basecamp
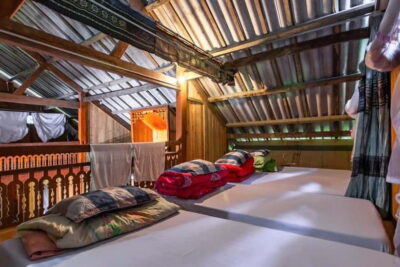
You’ll stay in a lodge/guest house in Chisapani with breakfast included. The description says best available accommodations are used, but one review story flagged that at least one lodging stop can be hit-or-miss (issues like rooms not being fully cleaned and missing toilet paper were mentioned). You can’t control that from your side, but you can control what you pack: bring a small roll of toilet paper and basic travel wipes just in case.
Day 1 sunset in Chisapani: the payoff after stair-heavy effort
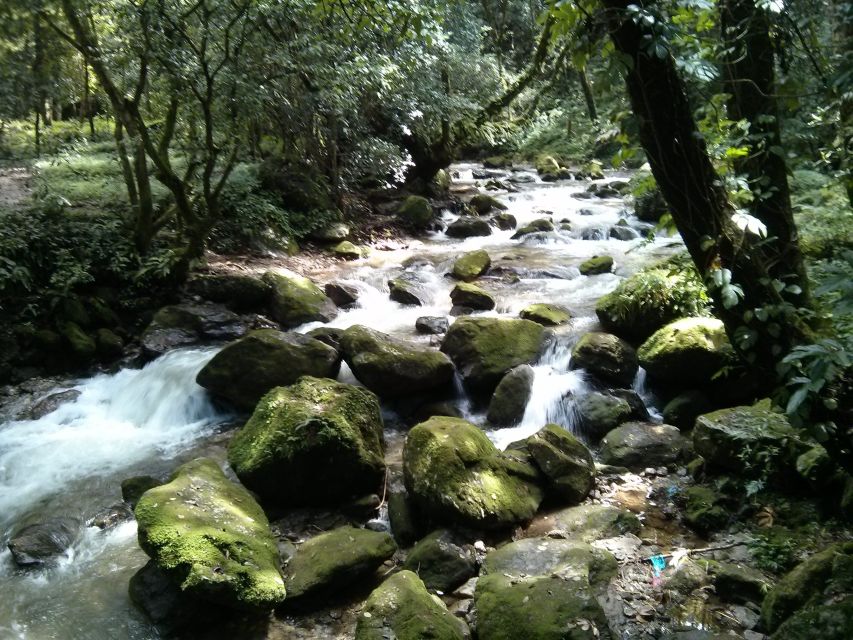
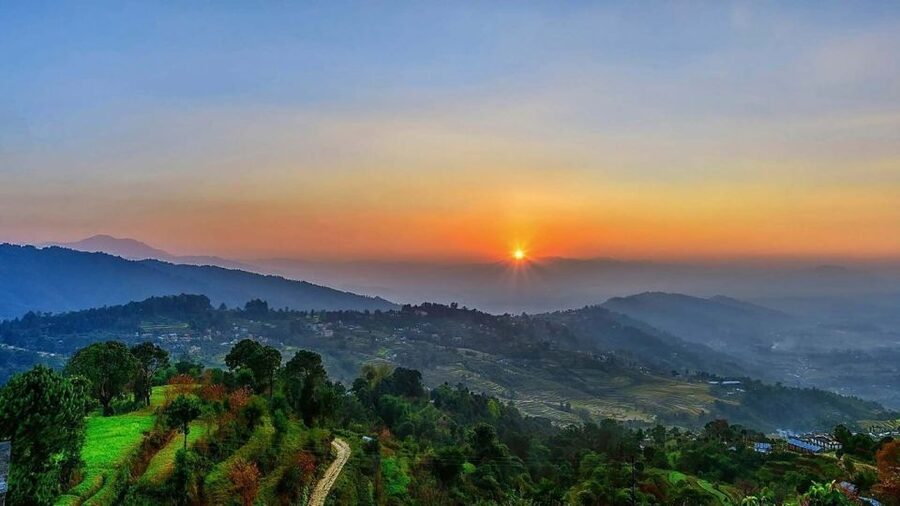
Day 1 ends with sunset views over the mountains, and this is one of the reasons I think this trek is worth doing even for people who don’t want a high-altitude slog. You’re not trying to summit a peak. You’re building a day of effort, then getting rewarded with light-changing scenery as the valley darkens.
The trek description calls out evening mountain views, and the weather-dependent nature of Nagarkot-style panoramas is real. So here’s the practical way to think about it: if skies are clear, you’ll likely see more. If skies are hazy, you’ll still get a calm ridge feel and depth in the hills. Either way, you’ve earned the night.
Chisapani to Nagarkot: the “big day” with forests, terraces, and a climb to the view
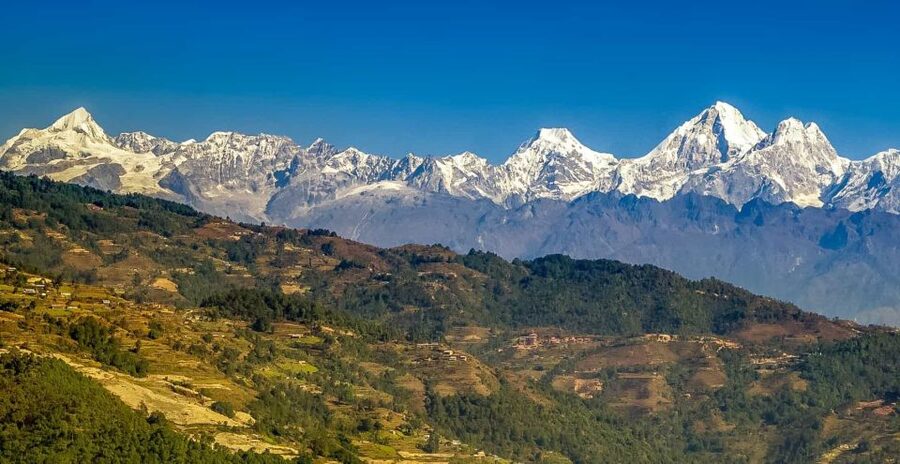
Day 2 is the longest push, listed at about 6–7 hours of hiking from Chisapani to Nagarkot (2,175 meters). This is where you’ll feel the trekking rhythm: a climb through forest, then descents, then village and field crossings, and finally another ascent to reach Nagarkot.
Forest uphill, then a descent into Jhule and Chauki Bhanjyang
After breakfast, the route ascends through a lush forest (per the route notes). Then it descends down to Jhule and Chauki Bhanjyang. This pattern matters because it changes how your body works. Instead of one endless grind upward, Day 2 gives you breaks—downhill sections that can be easier on effort but tougher on knees if you bounce your stride.
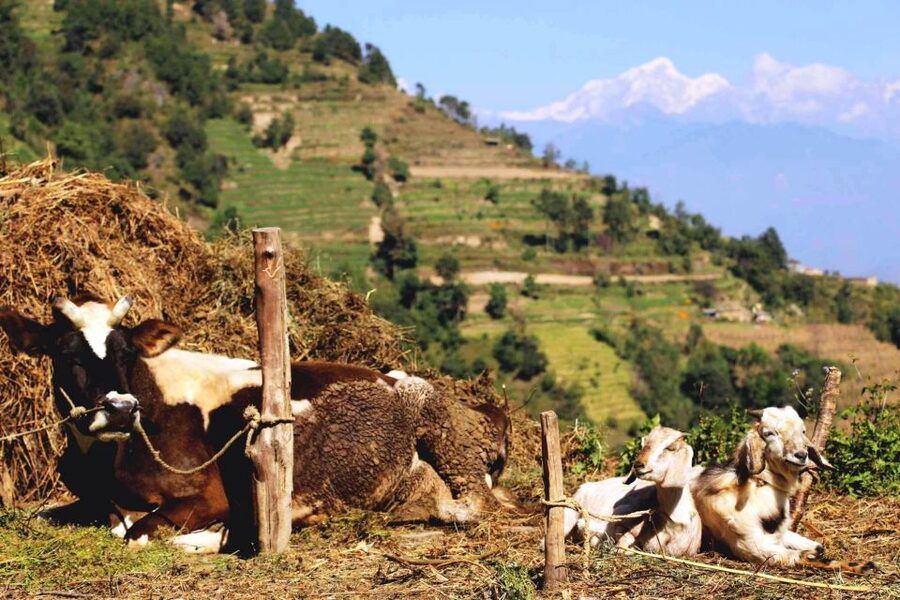
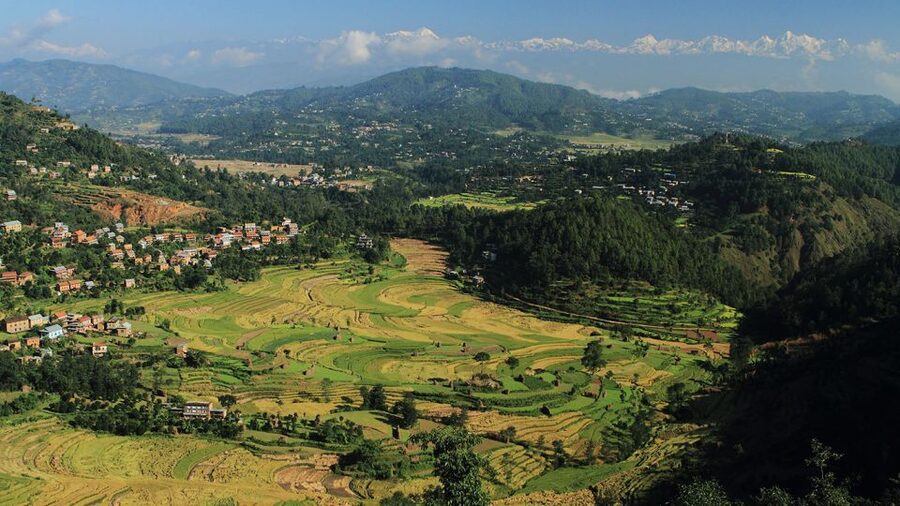
The trail crosses villages and terraced fields, and those terraced sections are the visual “anchor” of this hike. You’re seeing how people use every bit of workable slope to farm and live. It also helps break up the mental load of hiking: you always have something to watch besides your feet.
Kattike Bhanjyang to Nagarkot: the final climb for panoramic time
Eventually you reach Kattike Bhanjyang and then you’ll be required to ascend up to Nagarkot. This is the part that tends to feel relentless, mostly because it’s timed for the view payoff. But that’s the point: Nagarkot is known for morning and evening panoramas, and the route is built to put you there when you can enjoy them.
When the weather cooperates, the route calls out views of the Himalayas including Langtang Himal and other ranges. Even in less-than-perfect conditions, Nagarkot’s ridge position tends to produce layered hills and a sense of space over the Kathmandu valley.
Overnight in Nagarkot: aim for sleep quality before sunrise
Your Day 2 accommodation is in Nagarkot with breakfast included, and it’s described as having an attached bathroom. Reviews also emphasize that the Nagarkot hotel can be better than the first night’s lodge, with staff and food noted positively in at least one account.
This night is important because Day 3 begins early. If you have a choice of bed positioning or you’re sensitive to noise, take a moment to get settled so you can actually function at the wake-up time.
Nagarkot sunrise and Changu Narayan: history + a valley view without the pain of a long ascent
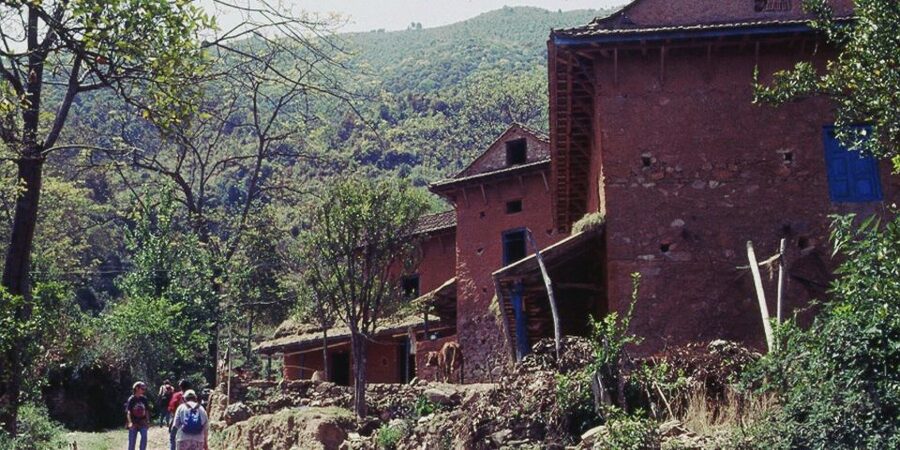
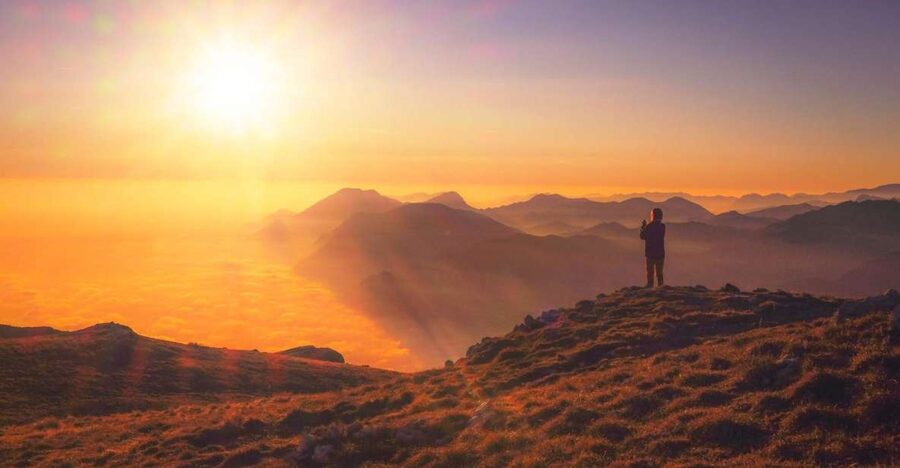
Day 3 starts with an early wake-up to observe sunrise over the Himalayas. This is one of the best reasons to choose this trek format. Many hikes end when the schedule says so. Here, the itinerary is designed around the moment you want: morning light hitting distant peaks and ridge lines.
After breakfast, you hike to Changu Narayan (1,541 meters). This is listed as 3–4 hours and it’s a descent, not a climb. The route goes down via Telkot, and on the way you get a bird’s-eye view of both Bhaktapur and Kathmandu. That’s a huge deal for a short trek: you’re ending with city-scale context instead of only ridge scenery.
Telkot viewpoints: why the descent still feels like progress
Descending can feel like you’re “losing altitude,” but on a viewpoint trek, it often means you’re opening the view in a new way. Telkot is described as an en-route spot for wide views, and the bird’s-eye look at Bhaktapur and Kathmandu is exactly the kind of payoff that makes Day 3 feel complete.
It’s also a good time to keep your steps steady. Descents are where you’ll protect your knees—use firm footwear and take slower steps on uneven ground.
Changu Narayan temple: the cultural final act at 323 AD
Once you reach Changu Narayan, you’ll encounter the 323-A.D. Temple of Changu Narayan. This isn’t just a quick photo stop. It’s the historic anchor of the trek’s theme: nature walk + a meaningful cultural site.
Then you meet your vehicle and drive back to Kathmandu, with about a one-hour transfer to drop-off at your hotel.
Guides, pace, and how to get the best views without getting stressed
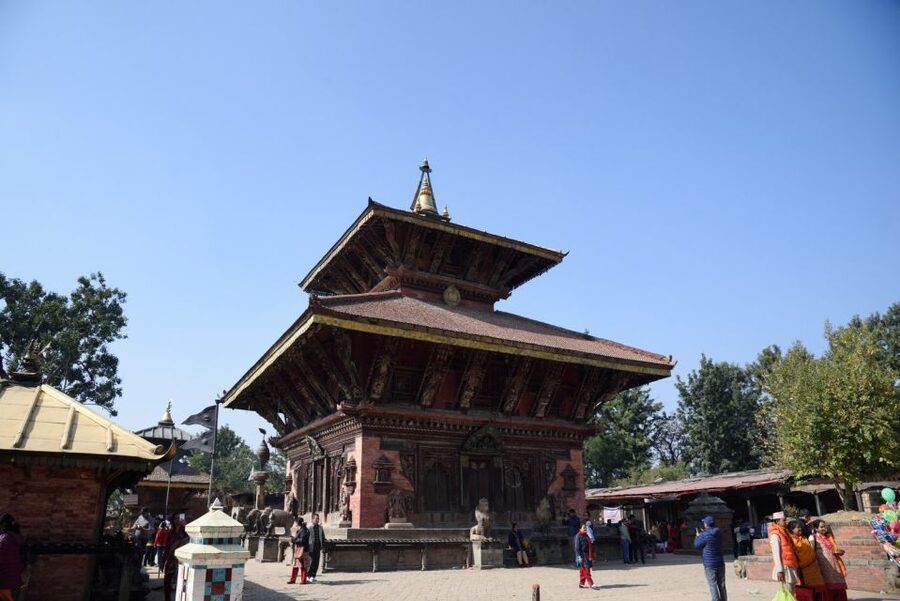
A private trekking guide is more than a safety net here. It’s also how you squeeze more meaning out of the hike. The guide set-up is described as highly experienced, licensed, and English-speaking. In real life examples, guides such as Dipak, Govinda Pathak, and Ramesh are described as friendly, helpful, and ready to explain route details and Nepal in general.
That matters because Nagarkot is weather-dependent. When skies are good, the mountains do the talking. When they’re not, your guide helps you still enjoy the hike by pointing out what to look for—ridge angles, changing cloud movement, village details, and what the trail is doing.
Pace tips that match the route’s effort profile
This trek is short on paper—3 days, 2 nights—but it includes real hiking time: 5–6 hours on Day 1 and 6–7 hours on Day 2. Day 3 is shorter, but it begins early. If you want to enjoy it instead of just survive it, you’ll do best with:
- A steady first-day pace (save your legs for the long Day 2)
- Slow, careful steps downhill on Day 2 descents and Day 3 descent via Telkot
- Warm layers even if Kathmandu feels mild; mornings in the hills can be chilly
Packing the essentials for weather that changes fast
The route recommends a windbreaker, rain gear, hiking shoes, and warm clothing. That’s spot-on. Add the small “just in case” items based on lodging realities: toilet paper (small pack), plus a light headlamp if you’re the type who likes to move calmly in the dark during early starts.
Value and price: is $190 per person fair for what you get?
At $190 per person, this is priced like an efficient guided trek with private logistics. The inclusions matter:
- Hotel pickup and drop-off in Kathmandu
- Private transport to Sundarijal (start) and back from Changu Narayan (end)
- Lodging with breakfast in Chisapani and Nagarkot (and attached bathroom in Nagarkot)
- Hiking and National Park permits
- A licensed English-speaking guide
- Necessary taxes
What’s not included: lunch and dinner, and a porter if needed.
So is it good value? For the right type of traveler, yes. You’re paying to remove friction: you don’t have to manage trailhead transfers, park permits, or guide coordination. You also get two nights of structured lodging in trek-friendly towns. If you’re traveling solo, the guide and private transfers can feel especially worth it because they reduce the “finding things on your own” burden.
The only cost curve that can surprise you is food. Since lunch/dinner aren’t included, your daily spend will depend on what you order at lodges and village stops. If you’re budgeting tightly, plan for that.
Who this trek suits best (and who should think twice)
This trek fits you if you want:
- Big views within a short time window
- A guided hike that handles permits and logistics
- A route that mixes national park trail, village sections, and city-horizon views
- A meaningful stop at Changu Narayan’s 323 AD temple
Think twice if:
- You hate early wake-ups (Day 3 begins early for sunrise)
- You have knee issues and you don’t feel comfortable on descents
- You’re expecting guaranteed panoramic Himalaya views regardless of weather (the itinerary depends on clear skies)
Should you book the Kathmandu Chisapani Nagarkot 3-Day Trek?
I’d say book it if your main goal is a rewarding, guided mountain-hills hike with excellent odds of Himalaya views and a real cultural finish. The private transfers and licensed guide help make the whole thing feel manageable, even though Day 1 and Day 2 include long hiking blocks.
Before you commit, do one thing: plan mentally for weather swings. Bring the windbreaker and rain gear, and set your expectations so that even a cloudy version of Nagarkot still counts as a great trek day. If you can do that, this is a strong “short trek with big payoff” option.
FAQ
What are the trekking days and approximate hiking times?
You’ll hike Day 1 from Sundarijal to Chisapani for about 5–6 hours, Day 2 from Chisapani to Nagarkot for about 6–7 hours, and Day 3 from Nagarkot to Changu Narayan for about 3–4 hours.
Where does the trek start and finish?
The trek starts at Sundarijal and finishes at Changu Narayan, after which you drive back to Kathmandu.
Will I see the Himalayas on this trek?
If the weather is clear, you can enjoy panoramic Himalaya views, including Langtang Himal. Views are weather dependent, so clarity isn’t guaranteed.
What’s included in the price?
The package includes Kathmandu hotel pickup and drop-off, private transport to the trek start and from the trek end, lodge/guest house accommodations with breakfast, hiking and National Park permits, and an English-speaking licensed guide.
Is food included?
Breakfast is included with the lodges. Lunch and dinner are not included.
Do I need a porter?
A porter is not included. You can bring your own plan for portering if you feel you need it, but the tour information lists porter as not included if needed.
What should I bring for this trek?
Bring a windbreaker, rain gear, hiking shoes, and warm clothing.
Where am I picked up in Kathmandu?
Pickup is from within the Kathmandu valley inside the ring road.