REVIEW · SENARU
From Senaru: Mount Rinjani 2-Day Trek to Summit
Book on GetYourGuide →Operated by Rinjani Hero · Bookable on GetYourGuide
If you want a summit you can see and a night under stars, this one fits. This 2-day Mount Rinjani trek from Senaru is built for early starts, steady pacing, and that big moment at the top—plus the comfort touches you usually don’t get on volcano hikes. Sembalun Crater Rim camping is a highlight in itself, and the provided camping setup means you’re not carrying everything in the dark.
What I really like is how the trip handles the hard parts with real support: trekking poles and head lamps are included, and porters handle the camping equipment so you can focus on your own legs. I also appreciate that the guides can adjust pace—one review specifically praised guides (including In and Joko) for being patient and attentive. You’ll still do a tough climb, but it feels managed rather than chaotic.
The main drawback to plan around is cold. Even with good gear, the final summit section gets brutally windy and icy-feeling, and one review said the operator should warn people more clearly about needing very warm gloves and a serious windproof layer.
In This Review
- Key things I’d pay attention to
- Two Days to the Top: What This Trek Gives You
- Price and Permits: The Real Cost Picture
- How permit registration works (and what you’ll likely pay)
- Gear Setup That Makes This Trek Feel Fair
- The backpack weight rule
- Cold-weather reality (based on what people actually struggled with)
- Day 1: Sembalun Village, the Posts, and Your Crater Rim Camp
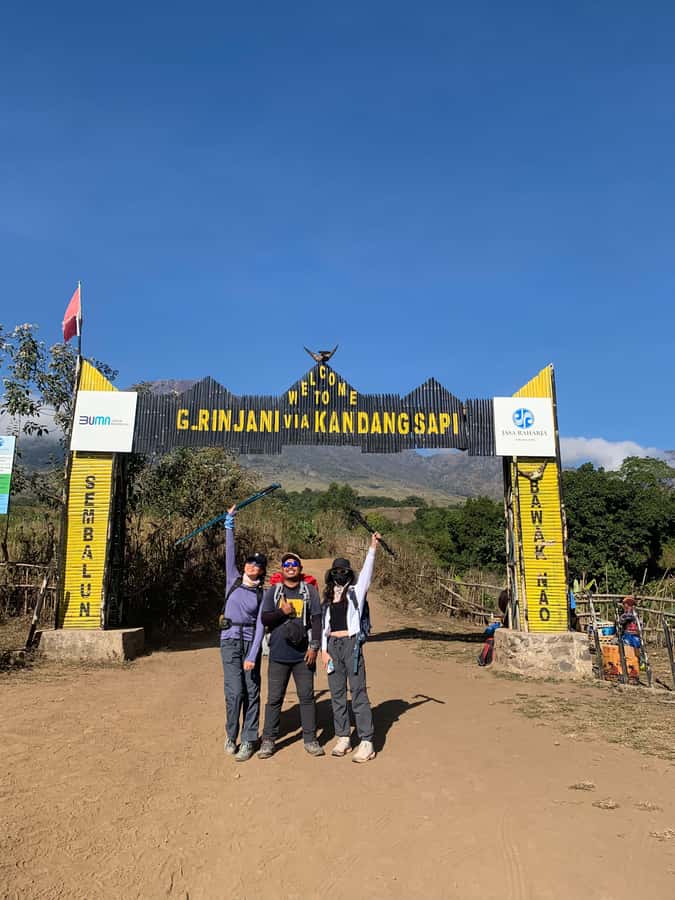
- Registration and the first stretch (RIC to Post 1)
- Post 2 and Post 3: where the trek starts to “settle in”
- The steep climb to Pelawangan Sembalun (2,639 m)
- Camp comfort details you’ll notice
- Day 2: The 02:30 Wake-Up and the Summit Push to 3,672 m
- Stage one: moderate climb (about 2 hours)
- Stage two: fairly easy but long
- The last hour: steep, loose stones, and real risk of slipping
- Summit views (and the photo moment)
- Sunrise, breakfast, then back down
- Pace, Fitness, and Altitude: Who This Is For
- Guides, Porters, and the Small Safety Details
- Food and energy
- A transportation note worth taking seriously
- Is This Trek Good Value at $183?
- Should You Book This Mount Rinjani 2-Day Trek?
- FAQ
- FAQ
- What altitude will I reach on this trek?
- What time do we wake up on Day 2?
- Is the summit climb very difficult?
- What permit or entrance fees should I expect?
- How do I register for the Rinjani National Park permits?
- How much is the permit fee listed for registration?
- What gear is included in the trek package?
- What should I pack, and how much can I carry?
- Is this trek suitable for kids or older adults?
- What languages will the guide speak?
Key things I’d pay attention to
- Permits are limited to 240/day, so early registration really matters.
- Cold weather is not optional—bring very warm gloves and a proper wind layer.
- You get real comfort gear: tents, sleeping bags, camp chairs, and even head lamps and poles.
- The summit push is split into stages, with the last hour steep and loose-stone tricky.
- Meals include hot drinks at the higher posts, not just basic refueling.
- Small group size (max 10) keeps things from turning into a slow-moving crowd.
Two Days to the Top: What This Trek Gives You
Mount Rinjani is one of those hikes where the timing matters as much as the effort. This trek is designed around early morning movement so you can catch sunrise views and then get back down the same day, not spend an extra night juggling logistics.
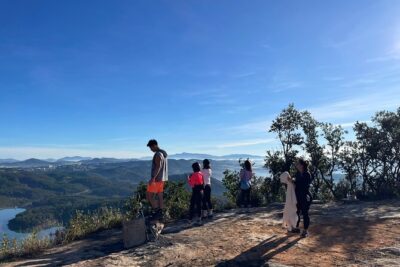
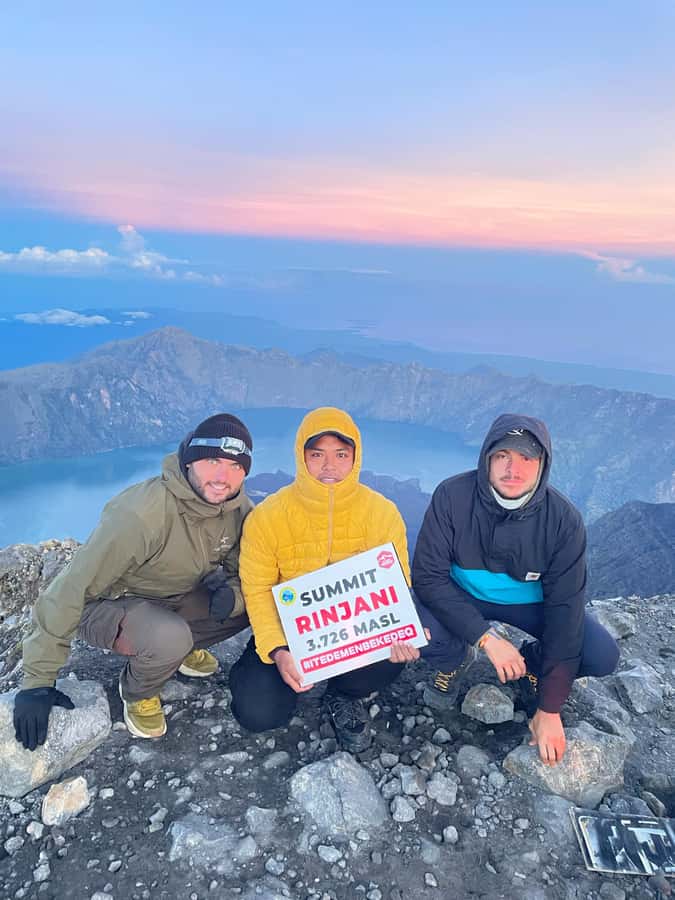
On the summit, you’re not just “surviving the climb.” The itinerary is set up so you can pause, take photos, and look around. From the top at 3,672 m, you can see Lombok, Bali, Mt. Tambora (Sumbawa), and Segara Anak Lake—the kind of view that makes the sore legs feel worth it.
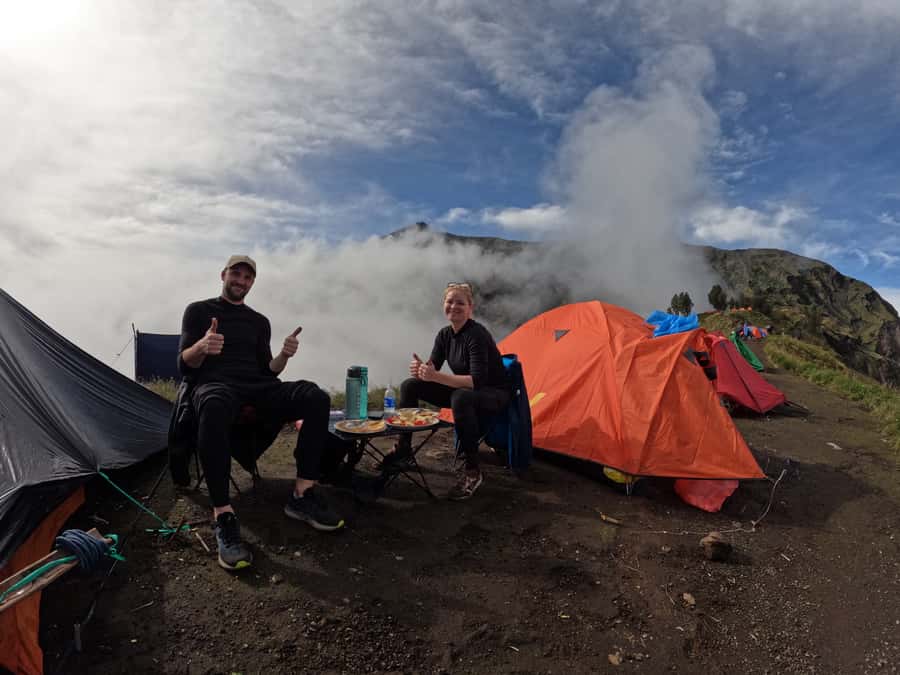
The other thing you’ll remember is camp life near the crater rim. Sleeping out by the Sembalun Crater Rim (Pelawangan Sembalun, 2,639 m) gives you that rare volcano feel: dark sky overhead, open views around you, and a clear window for sunrise the next morning.
You can also read our reviews of more tours and experiences in Senaru.
Price and Permits: The Real Cost Picture
The advertised price is $183 per person for 2 days. For that, you get a lot of practical value, especially because the hike isn’t “you vs. the mountain”—it’s guided and equipment-supported.
Included in your price:
- Trekking guide
- Porters who carry camping equipment
- Meals and drinks (breakfast, lunch, dinner)
- Safe drinking water
- Camping equipment like tents, camp chairs, toilet tent, and sleeping bags
- Head lamp, trekking poles/sticks, rain coat
- Insurance
Not included:
- Rinjani National Park entrance fee (and permits are limited, so you must treat paperwork as part of the trip)
Here’s the part that catches people: permits/tickets for Rinjani are limited—only 240 per day. If those run out, you won’t be able to do the trek on the day you planned and may need to reschedule.
How permit registration works (and what you’ll likely pay)
You can register via the ERinjani app using member details like:
- passport number
- full name
- birthday
- weight and height
- nationality
Then you pay directly via an Indonesian bank transfer to the government account. The listed fee is RP 250K per person per day.
If you don’t want to deal with the paperwork yourself, you can also contact a local guide/operator for help with registration, since ticket supply is tight.
Gear Setup That Makes This Trek Feel Fair
One of the smartest parts of this package is that it reduces the “equipment scramble.” You’re given key items that matter most when visibility drops and temperatures fall.
You’ll typically have:
- Head lamp (huge for the 02:30 wake-up and early summit walk)
- Trekking poles and sticks
- Rain coat
- Camping gear: tent, sleeping bag, pillow and mattress, plus a toilet tent
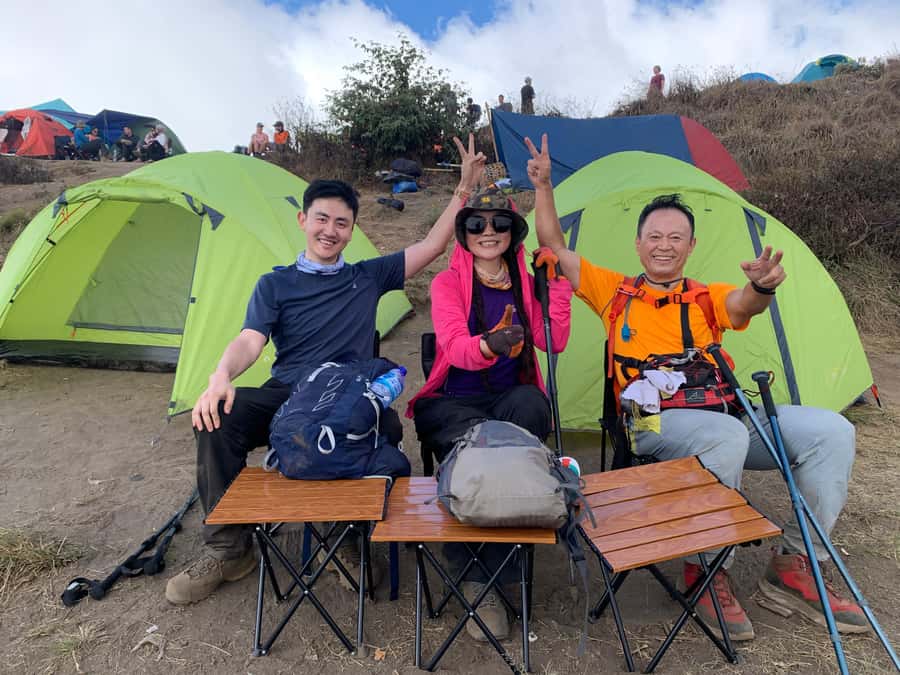
- Camp seating (camp chairs), and the camp setup includes table-style dining comfort so you’re not eating off your lap
What you must bring yourself:
- Hiking shoes
- Gloves
- Long pants (plus warm layers you choose)
- Cash
- A charged smartphone
- Collared shirt
- A small day backpack (but note: you’re also told small bag/day pack isn’t included)
The backpack weight rule
Your hike load is meant to stay light. Pack items into a small backpack of no more than 5 kilograms. The rest of your luggage can be stored at the operator’s office.
There’s also an option to add an extra porter service to carry your personal belongings. If you’re the kind of person who packs “just in case,” this add-on can save you from fighting your own bag weight.
Cold-weather reality (based on what people actually struggled with)
Multiple reviews flagged that you should bring serious cold protection for the last part of the trek—think very warm ski gloves, a windproof jacket, and good trekking shoes. One reviewer even suggested a ski mask or a thick beanie/cagoule-style covering.
I’d treat this as non-negotiable. If you show up with “cool weather” clothes, you’ll feel it in your hands and face during the steep final section.
Day 1: Sembalun Village, the Posts, and Your Crater Rim Camp
Day 1 starts with a transfer from Senaru to Sembalun village—about 45 minutes to 1 hour. You arrive around 08:00, then you begin the climb with an organized registration and gradual altitude gain.
Registration and the first stretch (RIC to Post 1)
The registration point is Rinjani Information Center (RIC) at 1,051 m. Then you move to Post 1 (Monitoring Post) at 1,300 m over about 2 hours.
This first leg isn’t meant to break you. It’s more about getting your body ready for the climb rhythm and the higher-air effort.
Post 2 and Post 3: where the trek starts to “settle in”
Next:
- Post 2 (Tengengean) at 1,500 m for about 1 hour
- Then Post 3 (Pada Balong) at 1,800 m for about 1 hour
- Short breaks at Post 2 and longer rest at Post 3
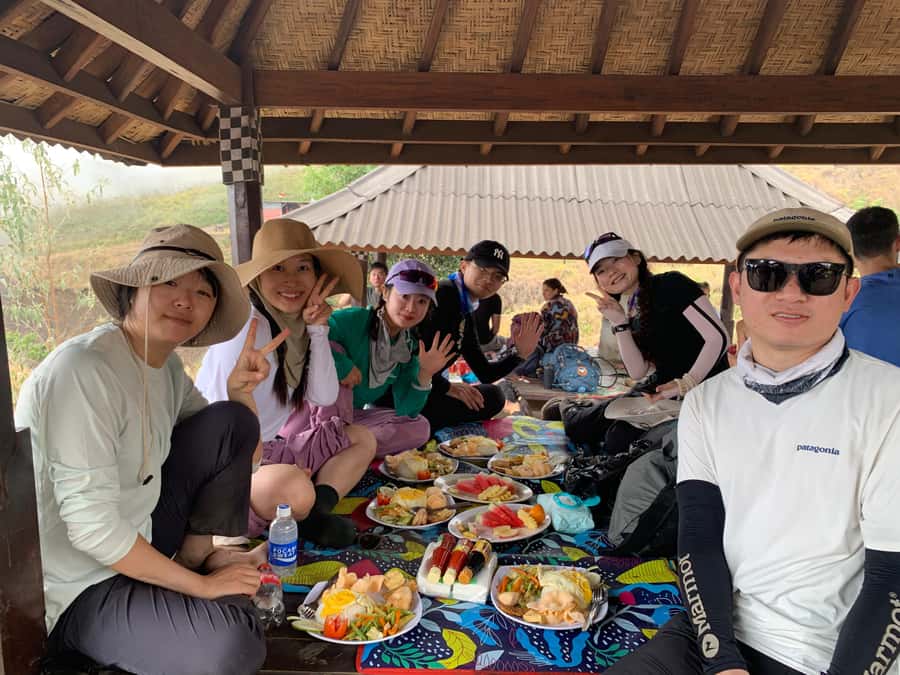
At Post 3, you rest for about 2 hours. Lunch is prepared there, along with a hot drink options list: tea, coffee, hot chocolate, or lemon tea. That hot-food + warm-drink combo matters on volcano treks, especially because your body is working hard even when your mind thinks you’re “just resting.”
The steep climb to Pelawangan Sembalun (2,639 m)
After lunch and rest, you continue to Sembalun Crater Rim (Pelawangan Sembalun, 2,639 m). Expect around 3 hours, including a prolonged steep climb.
Once you reach the crater rim, you camp. This is where the experience flips from “work” to “reward.”
What makes the camp special:
- You get time to enjoy the crater rim views
- You’re set up for sunset, and then sunrise the next morning
- You can look toward Segara Anak Lake, and back to Sembalun village and northern Lombok
Camp comfort details you’ll notice
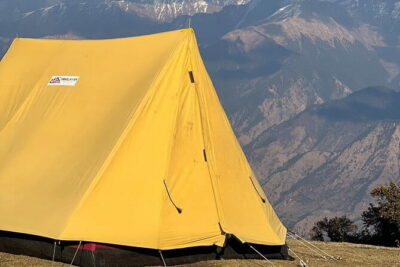
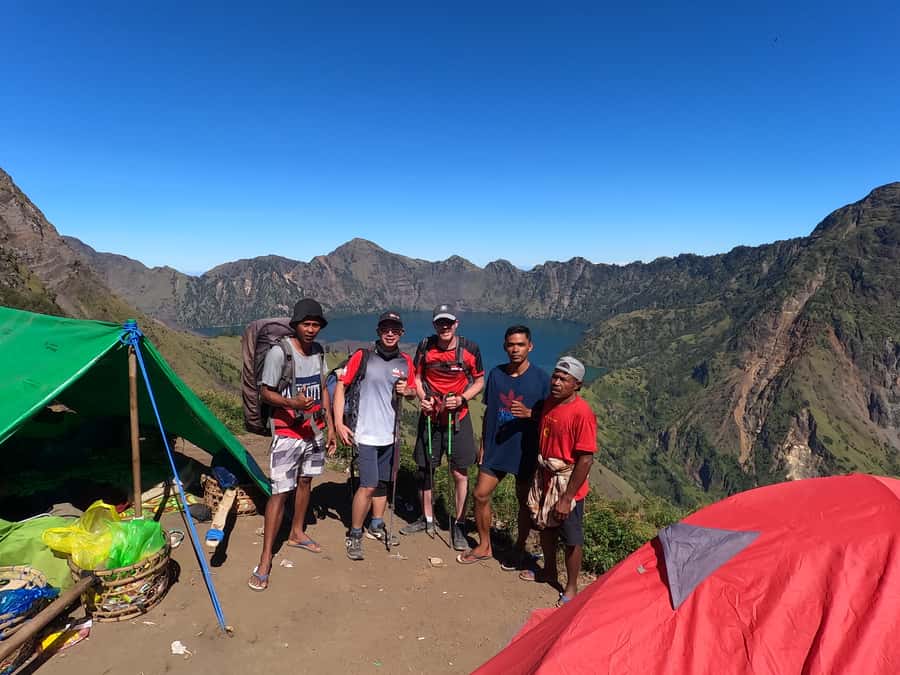
Because camping gear is included, you’re not forced into the “bare minimum survival camp” situation. You’ll have a tent, sleeping bag, mattress, pillow, camp chairs, and a toilet tent.
One small but real comfort point: head lamps and the camp setup reduce the stress of doing everything in the dark.
Day 2: The 02:30 Wake-Up and the Summit Push to 3,672 m
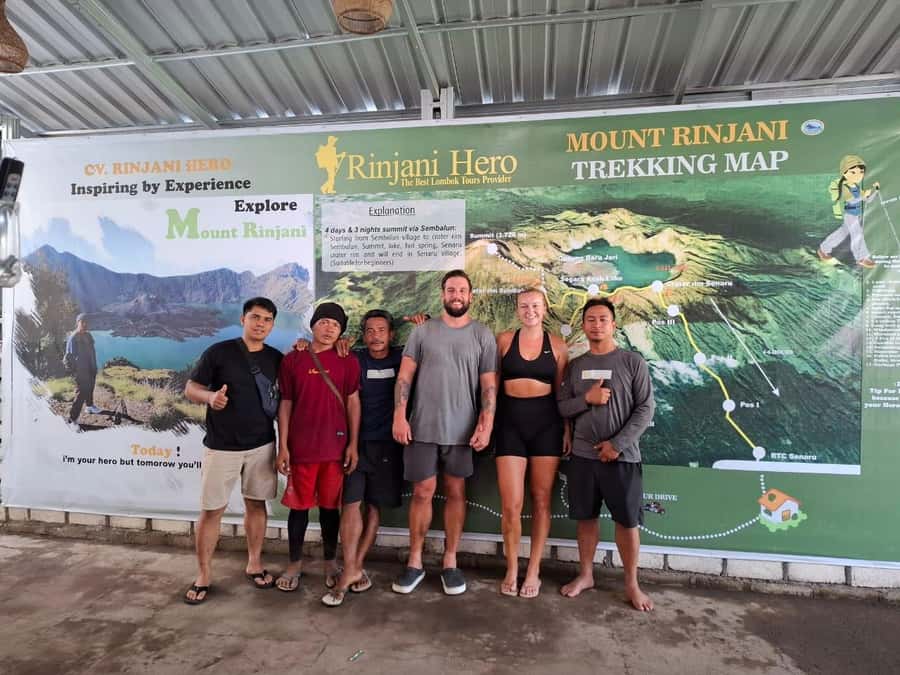
Day 2 is where this trek proves itself. You wake up at 02:30 am so you can catch sunrise and still reach the summit in time. You’ll have a light breakfast, then start trekking at 03:00 am.
The summit section takes about 3 hours 30 minutes in total, and it’s described in stages:
Stage one: moderate climb (about 2 hours)
The first part is a moderate climb. Think of it as your body’s warm-up to the altitude and the darkness. If you pace this part right, you’ll have an easier time later.
Stage two: fairly easy but long
Next comes the long middle stretch. It may sound easier, but “long” is still long at altitude. This is where pacing and hydration matter.
The last hour: steep, loose stones, and real risk of slipping
The final hour is the rough one:
- very steep
- loose stones
- the movement feels like: you step forward, and sometimes the ground slips back
This is exactly where trekking poles help. It also explains why the right footwear matters.
Summit views (and the photo moment)
At the top, you get sweeping views:
- Lombok and Bali
- Mt. Tambora in Sumbawa
- Segara Anak Lake
And on the summit, you get the chance to capture your moment by taking pictures. It’s not rushed through like a checklist—there’s time to look.
Sunrise, breakfast, then back down
After sunrise, you begin descending to Sembalun Crater Rim again, with breakfast when you arrive there.
Then it’s a longer descent:
- 4 to 5 hours down to Sembalun village (about 1,150 m)
- lunch can be at Post 3 or Post 2
- you typically reach Sembalun village around noon
- a car takes you back to Senaru village, and the trek ends
Pace, Fitness, and Altitude: Who This Is For
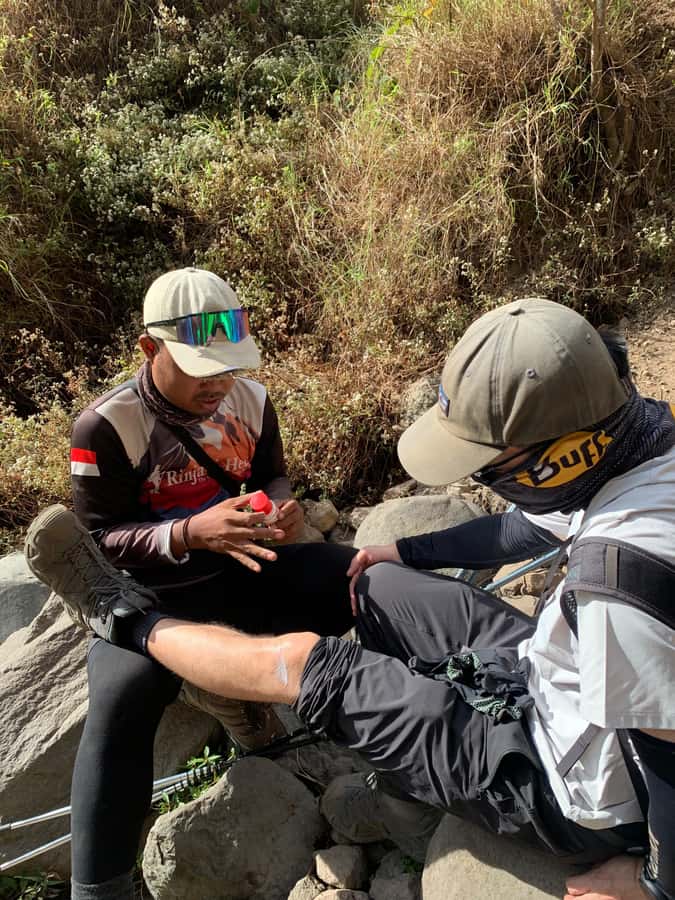
This is not a casual hike. It’s a structured trek with altitude, darkness, steep sections, and a summit push.
The operators also set clear “not suitable” boundaries:
- people with altitude sickness
- people who suffer from mountain sickness or have height phobias
- heart problems
- diabetes
- no experience or low fitness
- pregnant women
- children under 4
- people over 70
If you’re unsure, this is one of those trips where you should be honest with yourself. The climb is timed and staged, and the steep loose-stone summit hour isn’t the place to test your limits.
What helps most:
- being comfortable walking long distances
- keeping steady effort rather than sprinting uphill
- dressing for cold before you’re already chilled
Guides, Porters, and the Small Safety Details
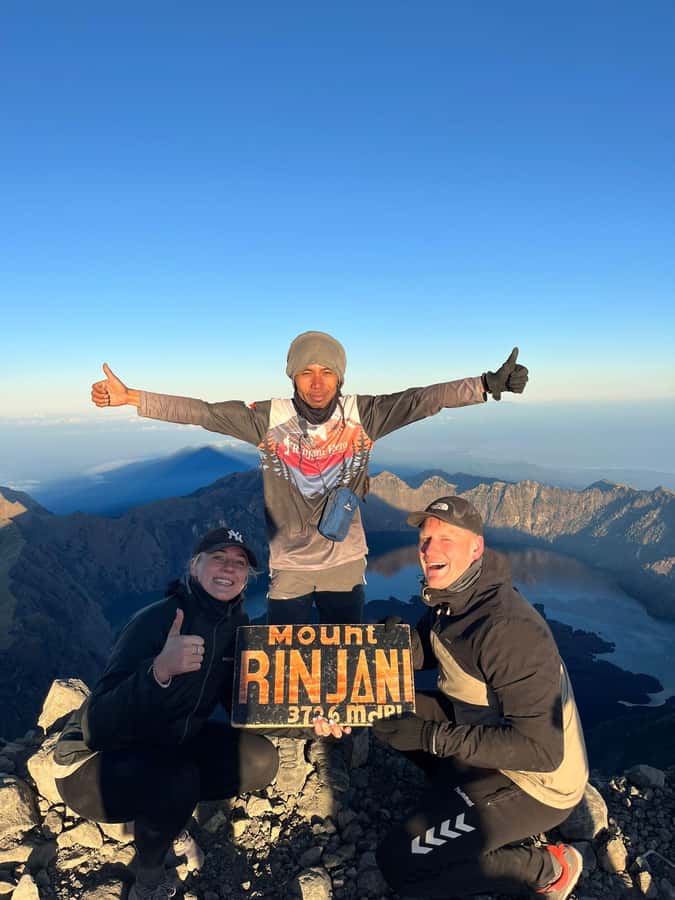
The biggest thing that comes through in the feedback is how much the guides and porters affect how safe and smooth the trek feels. Reviews praise attentiveness and strong guiding. Names that appear in feedback include In and Joko, both noted for patience and experience.
Small group size also helps. With a limit of 10 participants, you get more personal control over pace and less “lost in a line of 50” feeling.
Food and energy
Multiple reviews highlight that meals are plentiful and satisfying. You also get hot drinks during the day, which makes a difference when the temperature drops and you’re working hard.
A transportation note worth taking seriously
One review mentioned a driver who drove too fast and even had passengers ride in an unsafe way (unrestrained in the back of a pickup). That’s not a trek issue, but it’s part of the overall trip.
I’d ask for safer seating and slower driving when you’re transferring.
Is This Trek Good Value at $183?
For two days, $183 is meaningful money in Indonesia, but the value comes from what’s included. You’re not only paying for a guide and a route. You’re also paying for:
- porter support for camping equipment
- tents, sleeping bags, mattress/pillow
- head lamps and trekking poles
- meals and safe water
- rain coat and insurance
If you were to assemble all of that yourself, the cost and hassle would add up quickly. The main “value adjustment” is that the park entrance fee/permit cost is not included, and permits can be tight.
So I’d treat $183 as the price for the guided trek package, and plan extra for the national park fees/permit process.
Should You Book This Mount Rinjani 2-Day Trek?
Book it if:
- you want a real summit experience with a clear photo moment and sunrise views
- you’re comfortable with early starts and a steep final push
- you value having camp gear and warm-light tools (head lamps) provided
- you like the idea of sleeping near the crater rim and watching sunrise from there
Skip (or reconsider) if:
- cold weather gear is a problem for you
- you have limited hiking ability, no trekking experience, or fear of steep heights
- you’ve had issues with altitude sickness in the past (or you know you’re at risk)
If you do book, do one extra thing: pack for cold like you mean it. Bring gloves that can handle wind, and add wind protection so your hands don’t freeze the day you finally reach the top.
FAQ
FAQ
What altitude will I reach on this trek?
You start from around Sembalun area registration/post elevations and reach the summit at 3,672 m on Day 2. You’ll also camp at Sembalun Crater Rim (Pelawangan Sembalun) at 2,639 m.
What time do we wake up on Day 2?
You wake up at 02:30 am on Day 2 and start trekking toward the summit at 03:00 am.
Is the summit climb very difficult?
The last hour to the summit is described as very steep and difficult, with many loose stones where slipping can happen.
What permit or entrance fees should I expect?
Rinjani National Park entrance fee is not included. Permits are limited to 240/day, and you need to register early.
How do I register for the Rinjani National Park permits?
You can register via the ERinjani app using details like passport number, full name, birthday, weight and height, and nationality. Then you pay via Indonesian bank transfer to the government account.
How much is the permit fee listed for registration?
The listed fee is RP 250K per person per day.
What gear is included in the trek package?
Included items include camping equipment (tents, camp chairs, toilet tent, sleeping bags, pillows, mattress), head lamp, trekking poles and sticks, meals and drinks, safe drinking water, insurance, and a rain coat.
What should I pack, and how much can I carry?
You should use a small backpack of no more than 5 kilograms for trek items. A longer list is provided for what to bring, and extra porter service is optional if you want help carrying personal belongings.
Is this trek suitable for kids or older adults?
It’s not suitable for children under 4 years and people over 70 years.
What languages will the guide speak?
The live tour guide speaks English and Indonesian.