REVIEW · SENARU
3d/2n trekking mount rinjani summit lake & hot springs
Book on GetYourGuide →Operated by Mount rinjani summit · Bookable on GetYourGuide
One of Lombok’s hardest hikes can be worth it. This 3D/2N Mount Rinjani trek strings together sunset, sunrise, Segara Anak, and hot springs in a tight schedule. You start in Sembalun or Senaru, climb to the crater rim, wake before dawn for the summit, then keep working the slopes around the volcano’s caldera.
I love the variety in a single route: grass savanna views from Sembalun early on, then the more dramatic crater world around Lake Segara Anak. I also really like the way the day is built around sky moments—sunset over the crater and a sunrise from the summit.
The main drawback is that the 3D2N plan is intense. The extra climbing after the summit plus the time spent moving around the lake area can feel brutal, even if you’re fit, so you should go in with your expectations fully aligned with a big workload.
In This Review
- Key highlights you’ll actually feel on the trek
- Mount Rinjani 3D/2N: what this trek is really about
- Where you’ll start: Sembalun vs Senaru (and why it changes the mood)
- Day 1: Sembalun Gate registration, grasslands, and a crater-rim sunset camp
- The early trail: grass savanna and rest stops that actually matter
- The big shift: climbing toward the crater rim
- Day 2: 3 a.m. start for summit sunrise, then down to Segara Anak and hot springs
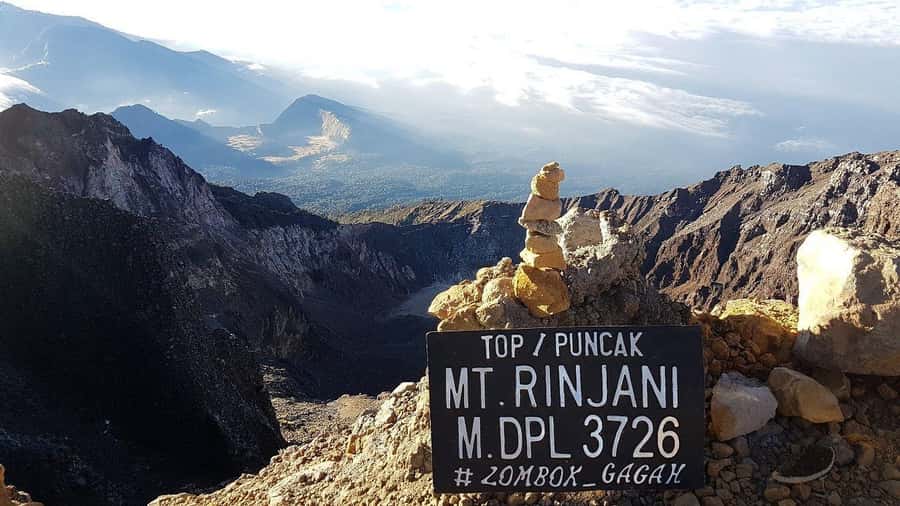
- The summit push: from crater-rim camp to 3,726 m
- After sunrise: back to camp logic, then into the crater
- Re-earning the views: around the lakeshore, then out to Senaru Crater Rim
- The hardest reality check: why the 3D2N plan can feel almost too much
- Day 3: lush forest descent to Senaru and a finish around 1 p.m.
- What’s included (and what you should plan to bring yourself)
- Included
- Not included
- Timing, guides, and group size: how this affects your stress level
- What to pack: the list that fits this trek, not a beach trip
- Price and value: what $141 really buys you (and what it doesn’t)
- Should you book this Rinjani 3D/2N, or choose something lighter?
- FAQ
- How long is the Mount Rinjani 3D/2N trek?
- Where do you start the trek?
- What time is pickup?
- Is there an English speaking guide?
- What is included in the trek price?
- What is not included?
- Do you sleep in tents on the mountain?
- What meals are provided?
- Is this trek suitable for children?
Key highlights you’ll actually feel on the trek
- Sembalun grass savanna start: big-open views right away, before the mountain gets steep
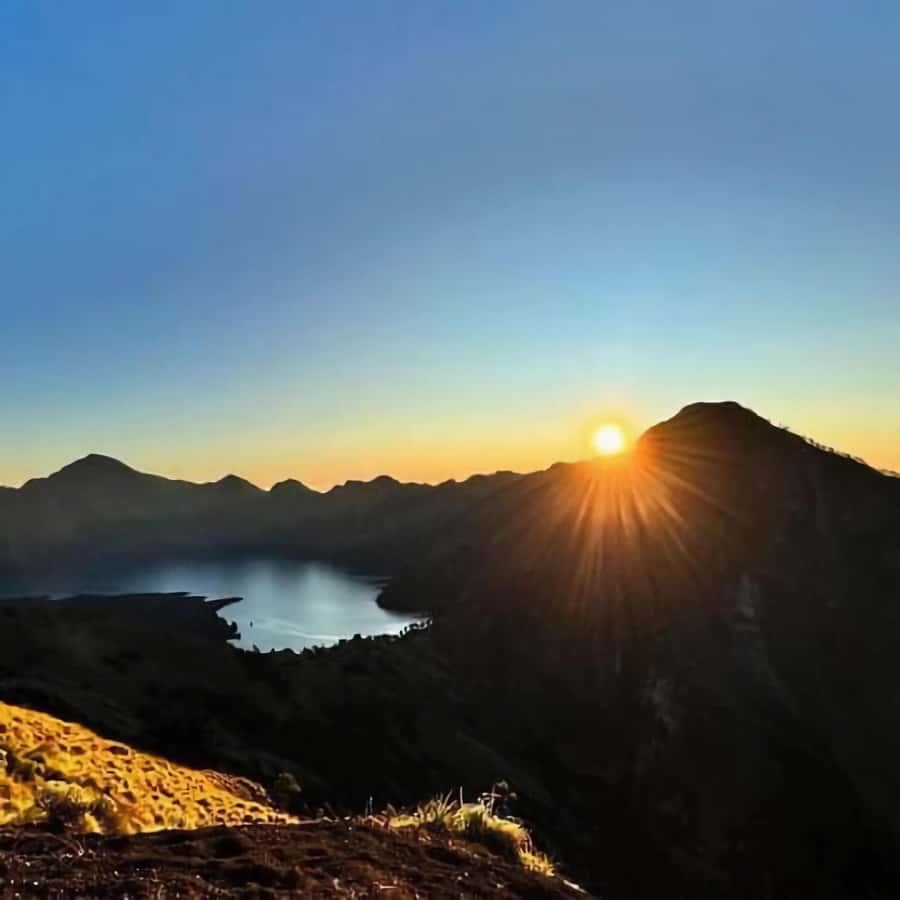
- Sunset at the crater rim: you watch Segara Anak sitting inside the volcano, with Rinjani’s summit in view
- Summit sunrise: a pre-dawn push to 3,726 m for the best morning panorama
- Hot springs lunch stop: you hike down to the lake shore, eat, then get a short dip in the hot springs
- Two different crater rims: you camp once near Sembalun Crater Rim and again at Senaru Crater Rim for more viewpoints
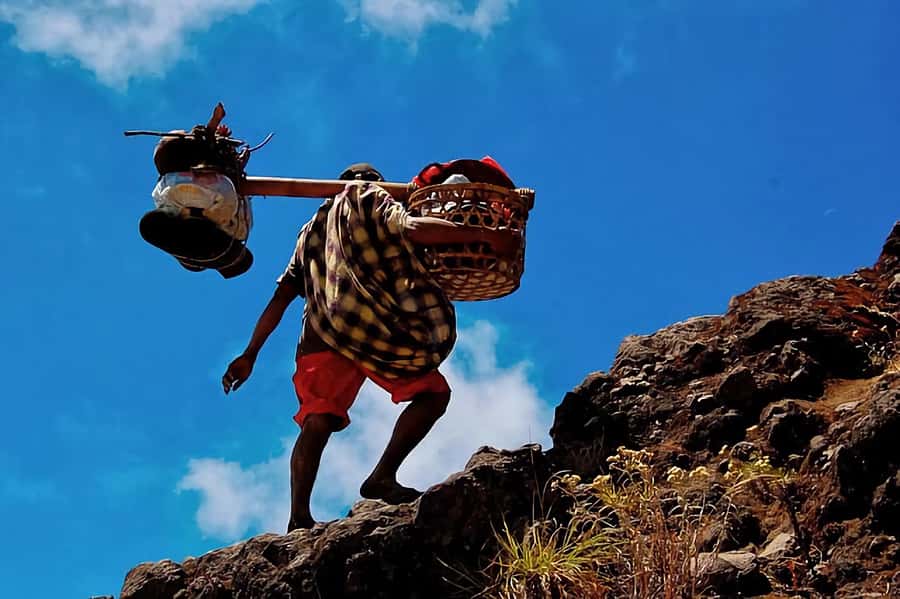
- Guides + porters handling camp gear: you focus on hiking while they carry the cooking and camping setup
Mount Rinjani 3D/2N: what this trek is really about
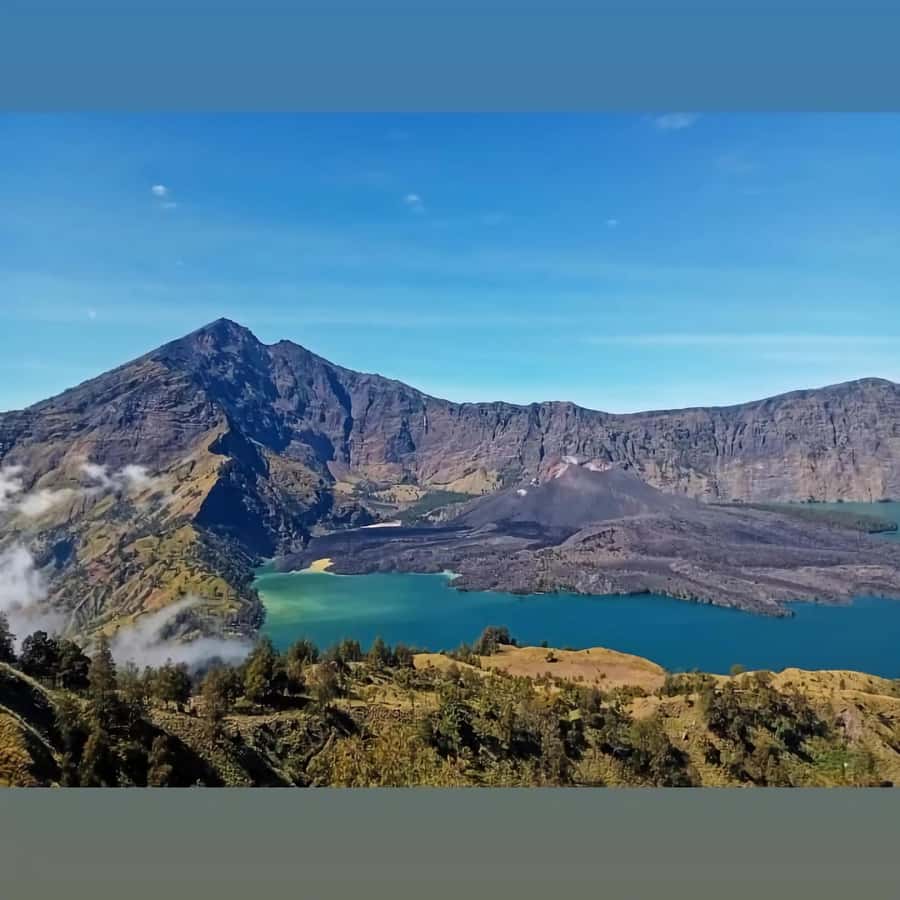
This is the most popular style of Mount Rinjani trekking because it hits the volcano’s highlight reel in three days. You’ll climb up to the crater rim, catch sunset, then go higher for sunrise. After that, you’re not done—you drop toward Lake Segara Anak, eat by the water, and finish the day with more climbing back out toward the second crater rim.
The big selling point here is that Rinjani isn’t just a single peak climb. It’s a full circuit of elevation changes: grasslands to steep crater paths, then lake shore to forested climbs. That matters because it gives your brain something to do besides just counting steps.
And yes, the views are the reward: Segara Anak in the crater, the summit line on the horizon, and even the wider sightlines from the crater rims back toward Mount Agung (Bali) and the Gili Islands when conditions are good.
You can also read our reviews of more tours and experiences in Senaru.
Where you’ll start: Sembalun vs Senaru (and why it changes the mood)
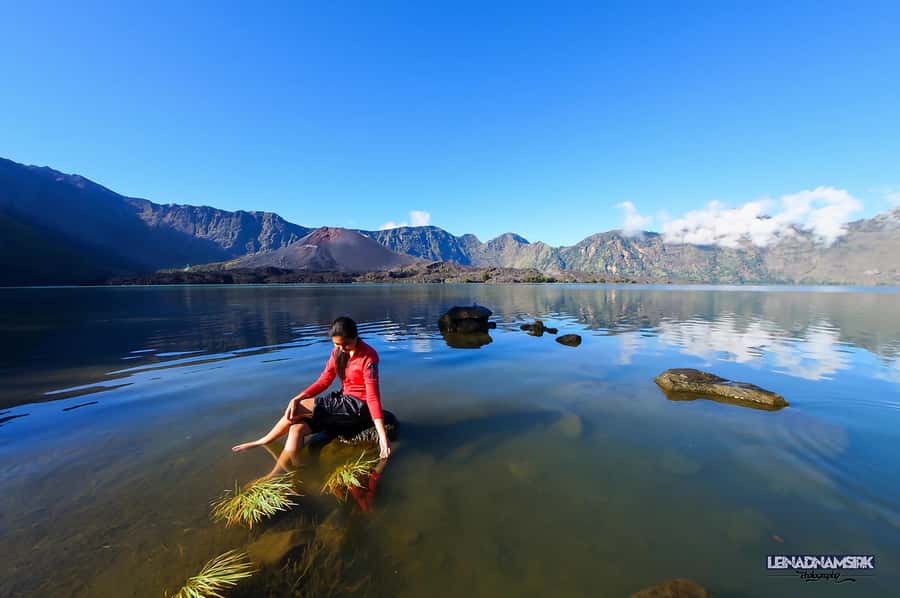
Your route starts from either Sembalun Gate or Senaru Gate, depending on ticket availability. If your tikets permit and the Sembalun gate isn’t full, you start from Sembalun and the itinerary is designed as a loop that finishes in Senaru. If Sembalun is full, the trek starts from Senaru and ends in Sembalun.
That start choice changes the feel of the first day.
- Sembalun route vibe: you begin with undulating open grasslands that make the early altitude feel less like a wall. You get those long, wide views before the terrain steepens.
- Senaru route vibe: you spend less time in the grass-savana phase and more time working through the volcanic terrain and later the forested sections.
If you’re trying to maximize the “wow, I’m really in the volcano zone” feeling, starting from Sembalun helps because you’re earning it with big open scenery before the steep sections begin.
Day 1: Sembalun Gate registration, grasslands, and a crater-rim sunset camp
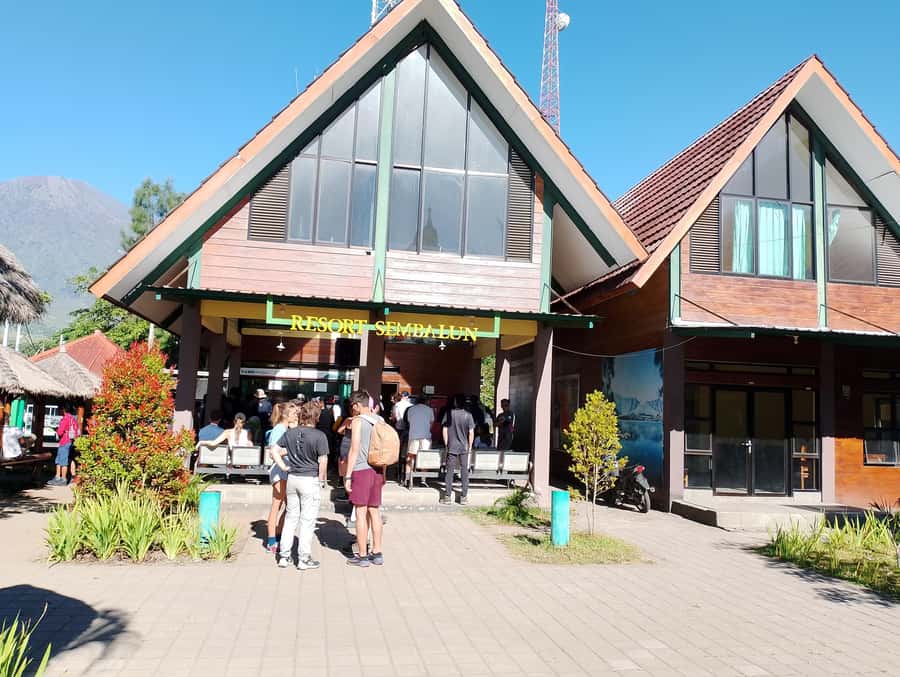
Day 1 starts with pickup and transfer. If you’re staying in Sembalun, pickup is typically 08:30. If you’re staying in Senaru, pickup is typically 07:00. Either way, you’ll travel by 4WD to reach the trail access point and register at the Rinjani Trek Centre in Sembalun (around 1,156 m).
Then it’s on-trail.
The early trail: grass savanna and rest stops that actually matter
The trail begins with open grasslands and gentle-to-undulating climbing. This is where your breathing settles into the trek rhythm. You’ll stop at Pos 1 and Pos 2 for breaks and snacks, then reach Pos 3 (around 1,800 m) for a longer lunch stop.
This pacing is practical. Those breaks help you manage the kind of effort that stacks up later. If you rush early, you pay for it when the crater rim climb gets steeper.
The big shift: climbing toward the crater rim
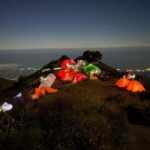
After lunch, you move into the steep push toward the crater rim. The overnight camp is at Sembalun Crater Rim (around 2,639 m).
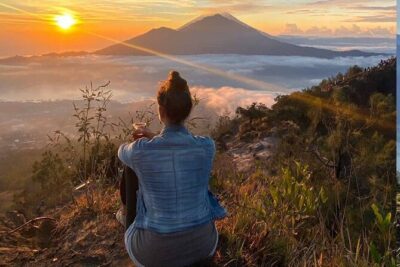
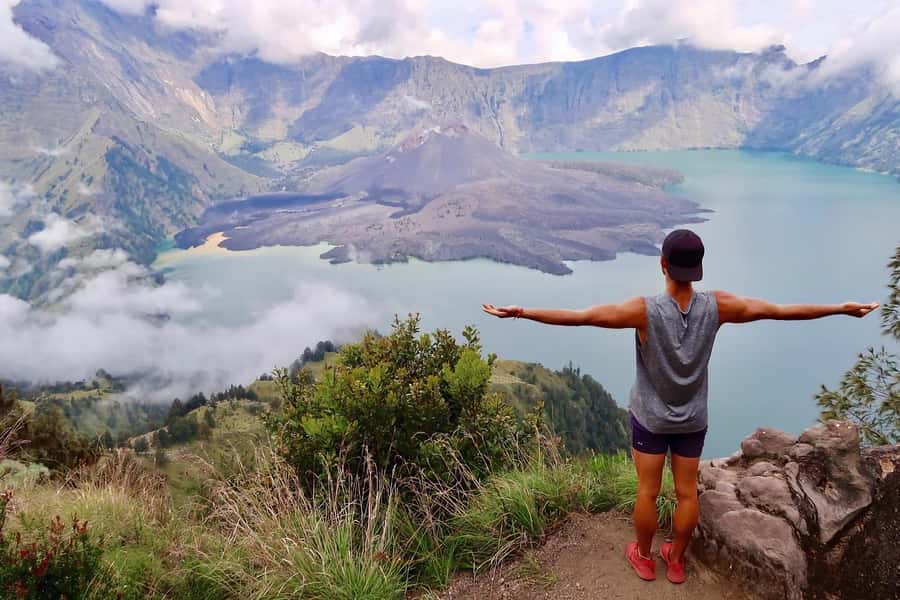
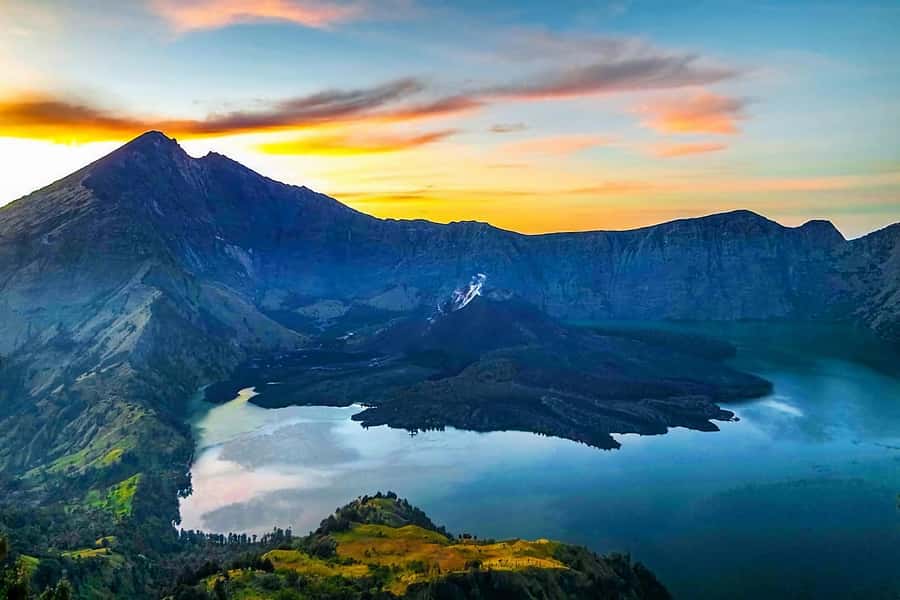
This is one of the best parts of the whole plan. You’re up high before evening, and the setting is dramatic: Lake Segara Anak is visible within the volcano’s crater, and you can also see the summit of Mount Rinjani along with the broader northern Lombok view. Sunset here is the whole point, and the camp location is built for it.
Practical tip: pack layers that you can manage quickly. You’ll likely go from warm hiking to cooler rim air in an hour or so.
Day 2: 3 a.m. start for summit sunrise, then down to Segara Anak and hot springs
Day 2 is where the trek earns its reputation.
The summit push: from crater-rim camp to 3,726 m
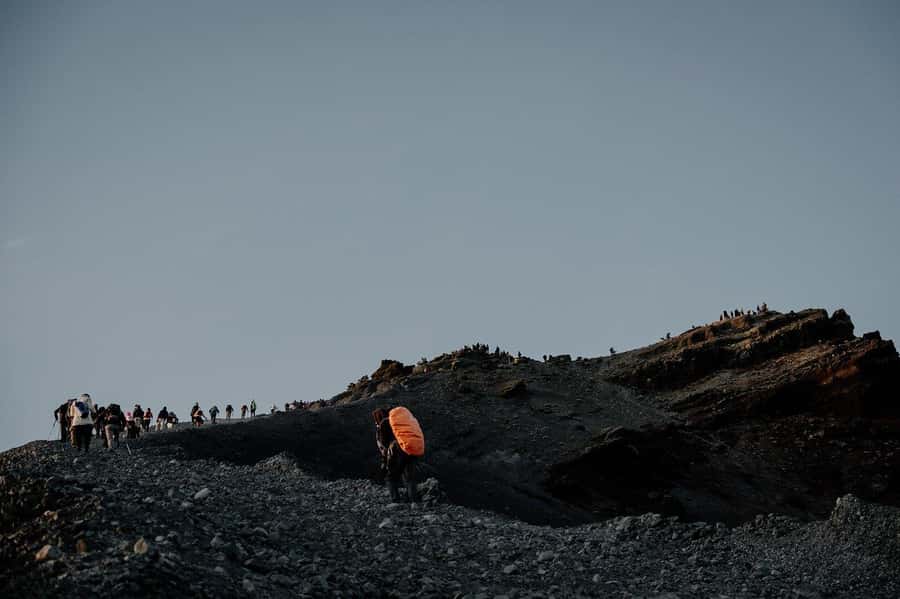
You wake at around 3:00 a.m. for light breakfast, then start the challenging climb to the summit (3,726 m). The schedule is tight, and it’s designed so you arrive in time for sunrise, which is the best moment for the summit views.
This is the section that turns a hike into an early-morning mission. Even if you’re fit, it’s still long and steep. The upside is obvious: you’re rewarded with a sunrise viewpoint that’s hard to replicate elsewhere in Indonesia.
After sunrise: back to camp logic, then into the crater
Once you return to the campsite on the crater rim, you’ll pause for hot breakfast and rest, then continue descending into the crater.
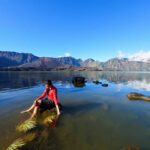
The next stop is lunch at the shore of Lake Segara Anak (around 2,000 m). This is also where the hot springs come in. After lunch, you’ll have time to swim or relax briefly in the hot springs area.
Keep your expectations realistic: this is not a spa session. It’s a short soak to help you recover in the middle of a demanding route.
Re-earning the views: around the lakeshore, then out to Senaru Crater Rim
After lunch, you trek around the lakeshore, then start the climb out of the crater. You’ll camp at Senaru Crater Rim (around 2,641 m), and dinner is served there too.
From this second crater rim, you’re back in viewpoint mode. You can look across the lake toward the summit and see Gunung Baru, the small volcanic cone inside the crater. With clear conditions, you may also spot Mount Agung (Bali) and the Gili Islands from this vantage point.
This second overnight camp is valuable because it keeps the experience feeling like more than just one climb and one descent. You get a second rim view and a different angle on the crater.
The hardest reality check: why the 3D2N plan can feel almost too much
Here’s the honest issue with this trek style: it’s described as the most popular option, but it still covers serious elevation and long walking time across multiple key zones.
Even if you’re in good shape, the full 3-day loop includes:
- a pre-dawn summit climb,
- a descent down to Segara Anak for lunch and hot springs,
- then another climb out of the crater to the second rim,
- and finally a return descent toward Senaru.
One specific concern that shows up for many hikers is that the effort after reaching the summit can come with longer walking time than people expect before you’re fully back near the lake and camps. It’s easy to assume sunrise is the peak moment and then everything feels downhill from there—but this route keeps you working.
If you’re unsure, a smart approach is to train for endurance, not just the summit. You’re hiking over and over again through steep sections, rocky ground, and forested climbs.
Day 3: lush forest descent to Senaru and a finish around 1 p.m.
Day 3 begins with breakfast at camp, then you descend. The itinerary uses rest points along the way—Pos 3, Pos 2, and Pos 1—with a longer lunch break during the descent.
This day often feels different underfoot. As you come down, the forest becomes thicker and increasingly lush compared to the earlier grassy sections. It’s still hiking all the way, but it can feel more natural and shaded than the open rim zones.
You typically arrive back in Senaru (around 601 m) at approximately 1:00 p.m. After that, there’s drop-off included to places like Senggigi, Bangsal port, and Mataram.
If you’re planning a next-day flight, give yourself buffer time. Your body will be tired long before your itinerary ends.
What’s included (and what you should plan to bring yourself)
The included package is built around comfort on-trail, not luxury.
Included
You get:
- an English speaking guide plus professional porters
- porters who carry cooking gear and camping equipment
- food and drinking
- 3 liters of mineral water per person per day
- camping gear like tents, toilet tent and paper, sleeping bags, and mattress
- trekking poles
- a head lamp/hand torch
- meals: breakfast, lunch, dinner
- drop-off after the trek
From a value perspective, this is the part that makes the trek doable for most people. Gear support plus organized meals and water removes the biggest risk: being unprepared while climbing at altitude.
Not included
Plan for:
- national park entrance fee: IDR 200,000 per day per person
- raincoat
- trekking shoes
So yes—bring real footwear. Sandals might be okay for base areas, but you should plan on proper hiking shoes for the trail.
Timing, guides, and group size: how this affects your stress level
The schedule is designed around early starts, so the biggest “logistics” factor isn’t where you meet—it’s how ready you are for the 3:00 a.m. morning.
Pickup is included, and the plan calls for you to wait for the driver in your hotel lobby. Transfers use 4WD, and you register at the trek centre before you start. Those small steps help keep the first day from feeling chaotic.
Group style can be private or small groups, depending on what you book. That can matter because a smaller group often means fewer communication problems and less waiting around when you’re already tired.
What to pack: the list that fits this trek, not a beach trip
The packing list is specific for a reason. For this route, you should treat it like serious hiking.
Bring:
- passport (you’ll need it)
- sunglasses and a hat
- camera
- sunscreen
- jacket
- gloves
- long pants and hiking pants
- power bank
- cash
- and proper hiking shoes
- plus sandals (useful when you’re not hiking)
Also, you might want to keep your layers accessible for the early morning and crater rim conditions.
Price and value: what $141 really buys you (and what it doesn’t)
At $141 per person for 3 days / 2 nights, you’re paying for a guided, porter-supported, full-board hike with camping gear and meal planning. That’s the value part: you’re not hauling tents or cooking equipment yourself, and you’re getting a structured plan with rest points and food built in.
But there are two important cost reality checks:
- National park entrance is not included (IDR 200,000 per day per person).
- You also need to cover your own raincoat and trekking shoes.
So when you budget, think of the trek price as covering the hiking services and logistics, while the park fee is the separate “get-in” cost. If you plan for those upfront, the price starts to make sense.
Should you book this Rinjani 3D/2N, or choose something lighter?
If you’re a strong hiker, enjoy early mornings, and you want a complete Mount Rinjani experience—sunrise summit, crater rim sunsets, Segara Anak, and hot springs—this 3D/2N fits well. It’s also a good match if you like variety and can handle multiple intense climbing segments back to back.
I’d be cautious if:
- you’re new to mountain hiking,
- you think sunrise will be the finish line,
- or you’re sensitive to long walking days after the summit.
This route is popular for a reason, but it’s not a gentle intro. Go in with real endurance expectations, pack for cooler rim air, and be honest about your capacity. If you do that, the payoff—those crater views at sunset and sunrise—can be unforgettable.
FAQ
How long is the Mount Rinjani 3D/2N trek?
It’s 3 days and 2 nights.
Where do you start the trek?
You start from Senaru Gate or Sembalun Gate, depending on what tickets permit. The trek ends at Sembalun or Senaru accordingly.
What time is pickup?
If you stay in Sembalun, pickup is listed at 08:30. If you stay in Senaru, pickup is listed at 07:00.
Is there an English speaking guide?
Yes. The tour includes a live tour guide in English.
What is included in the trek price?
Included items cover a guide and porters, food and drinking, 3 liters of mineral water per person per day, camping gear (tents, toilet tent and paper, sleeping bags, mattress), trekking poles, and a head lamp/hand torch, plus meals and drop-off after the trek.
What is not included?
Not included: the national park entrance fee (IDR 200,000 per day per person), raincoat, and trekking shoes.
Do you sleep in tents on the mountain?
Yes. You’ll camp in tents, and the package includes sleeping bags and mattress.
What meals are provided?
You’ll get breakfast, lunch, and dinner.
Is this trek suitable for children?
It’s not suitable for children under 4 years.