REVIEW · SENARU
mount rinjani One day trek
Book on GetYourGuide →Operated by lombok trekking info · Bookable on GetYourGuide
One-day Rinjani feels impossible, then it happens. This Mount Rinjani one day trek is built for big views in limited time, pushing you up toward the Sengkareang Rinjani second summit (around 3000m) and the Senaru crater rim. I especially love the way the viewpoint pays off from every angle, and I like that you get lunch prepared at the top. The trade-off is simple: it is a tough, steep hike, so you need solid fitness and steady footing.
I also like the clear pacing of the day—pickup around 6:30 AM, up to the rim by about 12:00 PM, then back down with return to Senaru by about 5:00 PM. And since early starts can be pitch dark, it’s a big help that a headlamp and trekking poles are included. The one drawback to plan for is that you’ll still need your own proper hiking shoes (and a jacket), plus a small day pack.
Finally, the guide makes or breaks the experience on a volcano hike. In some departures, guides and cooks such as Fendi and Arid have handled the day with both professionalism and real care, including food up top. Still, English support can vary (you’ll want clear communication, especially on the downhill), so plan as if you’ll need to follow instructions quickly—even if your guide’s English level isn’t perfect.
In This Review
- Key Highlights You’ll Actually Care About
- Rinjani in One Day: What This Trek Feels Like From Senaru
- The Climb Timing: Pickup, Start, Rim Arrival, and the Return Push
- On Trail: What You’re Likely to Encounter Up the Volcano
- At the Rim and the Sengkareang Viewpoint: What Makes It Worth the Effort
- Lunch With a View: How the Meal Works and What to Expect
- Guides, Language, and Safety: The Real Value Add
- Price and Value: Is $138 Worth It for a One-Day Rinjani Push?
- What to Pack (Since Key Gear Isn’t Included)
- Fitness Reality Check: Can You Handle Seven Hours of Trekking?
- Small Logistics Notes That Can Save Your Morning
- Who This One-Day Rinjani Trek Suits Best (and Who Should Skip)
- Should You Book This One-Day Rinjani Trek From Senaru?
- FAQ
- What time is the pickup in Senaru?
- Where does the trek start and end?
- How long is the hike?
- What time do we arrive at Senaru Crater Rim?
- Is lunch included?
- What is included in the price?
- What is not included?
- What language is the guide?
- Is it cancellable and do I pay immediately?
- What should I bring?
Key Highlights You’ll Actually Care About
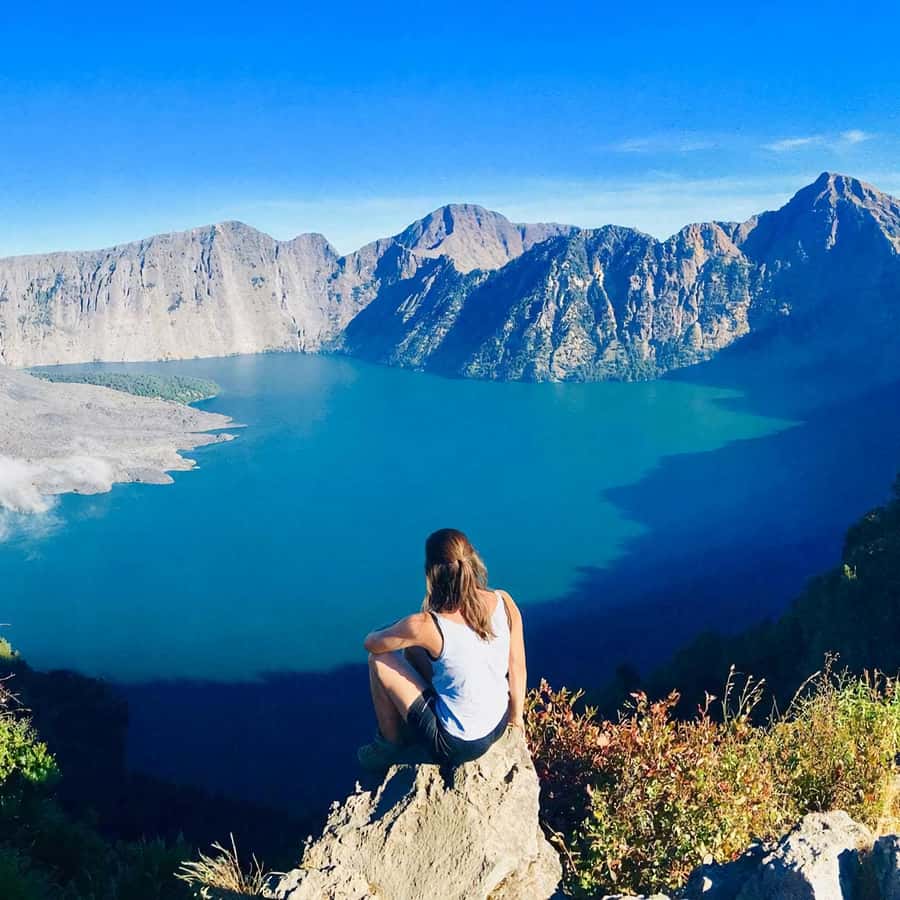
- 3000m Senaru rim views with a dramatic look over Rinjani’s crater area
- Sengkareang second summit viewpoint energy, even for a one-day format
- Lunch prepared at the crater rim so you can refuel where the views are
- Included headlamp and trekking poles for safer, steadier steps early and later
- Real hike conditions like heat, roots, sandy stretches, and rocky bits
- Big-sight geography from high ground, with views that can reach toward the Gili Islands and Mount Agung in Bali
Rinjani in One Day: What This Trek Feels Like From Senaru
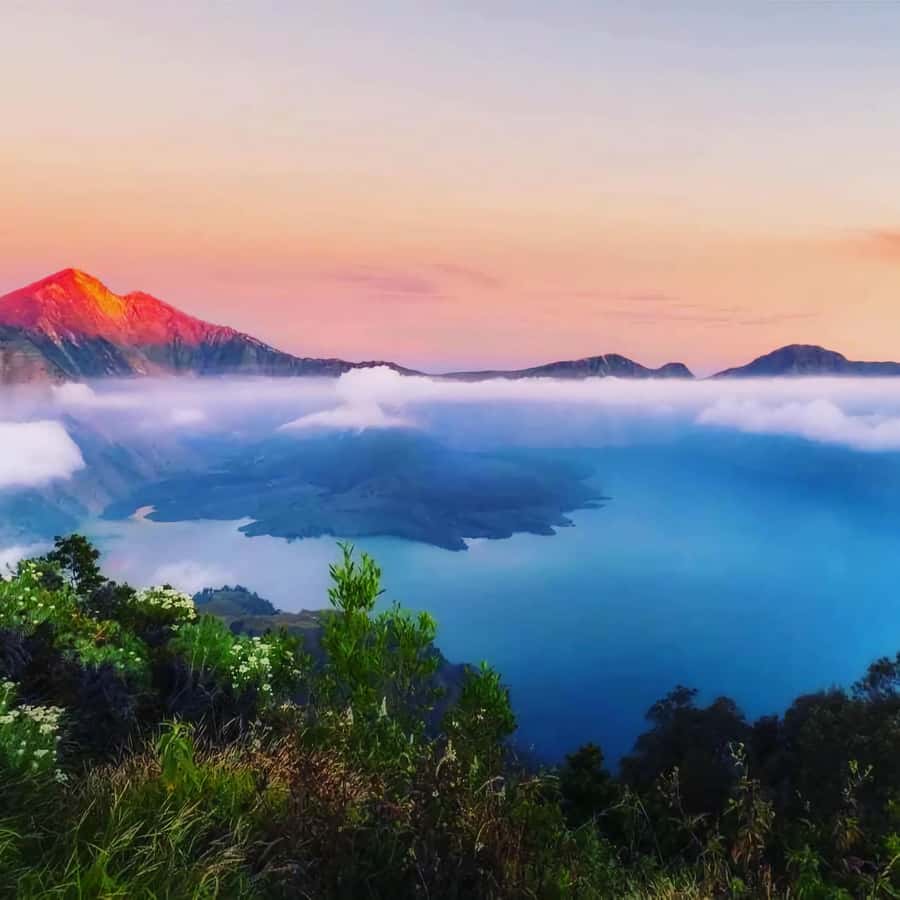
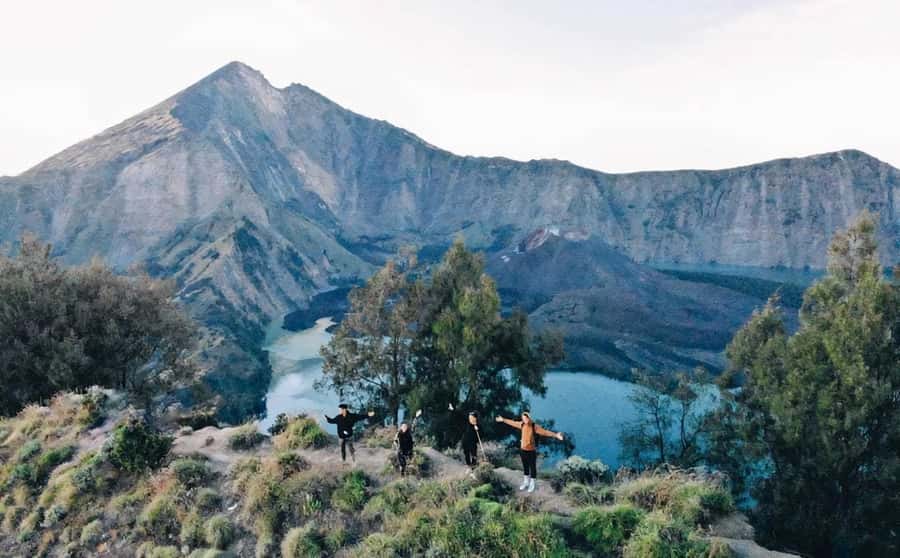
This is a “limited-time” version of Rinjani—same volcano drama, faster schedule. You start in Senaru Village, then work your way up to the crater rim area for the best views of the day, and head back down before evening.
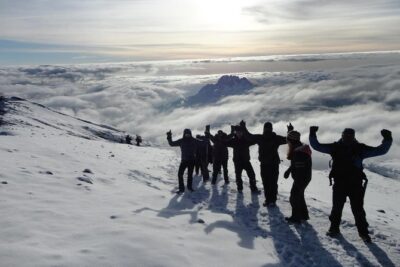
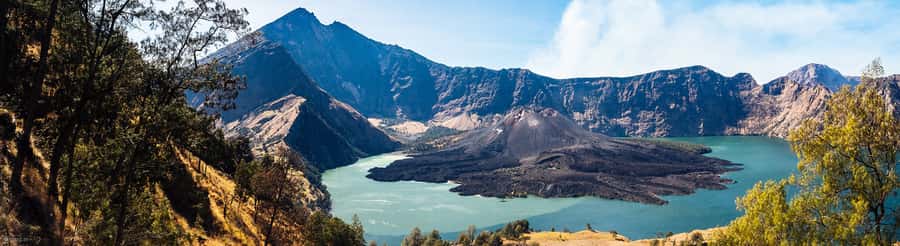
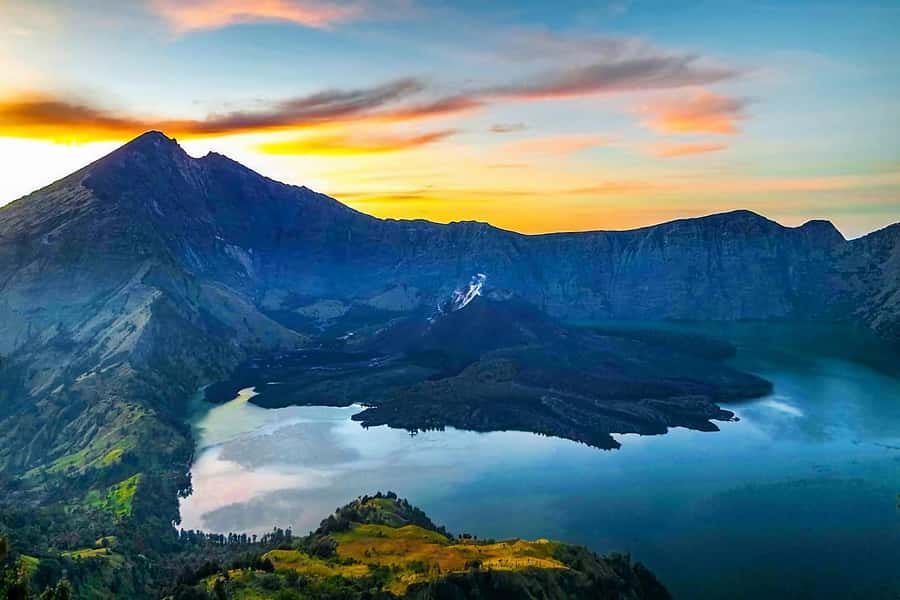
The big appeal is the payoff. From the rim, you get that volcanic scale you can’t get from lookouts in town—crater views, the surrounding terrain, and on clear days even distant sights like the Gili Islands and Mount Agung in Bali. It’s the kind of day where your legs do the thinking for you, and your camera comes out the moment you reach the high point.
Just don’t treat it like a casual walk. The format is compact, but it doesn’t soften the trail. You’re hiking into real altitude effort, with steep sections and uneven ground.
You can also read our reviews of more tours and experiences in Senaru.
The Climb Timing: Pickup, Start, Rim Arrival, and the Return Push
Your day runs on a tight rhythm:
- 6:30 AM pickup around the Senaru area
- 7:00 AM arrival at the starting point
- 12:00 PM arrival at the Senaru crater rim
- Lunch prepared by your guide at the top
- 5:00 PM back down to Senaru Village
That schedule matters because it shapes what you experience at each moment. The morning ascent is your main workout block, and the afternoon return is where your knees start writing angry notes. You’ll want to treat the hike like training, not sightseeing.
It also affects the light. With an arrival around midday, you’ll likely see the crater and lake area in brighter conditions, not dawn haze. That said, some departures run earlier in practice, and an earlier start can shift the feel of the rim views—so if your operator confirms a different start, you’ll feel it immediately.
On Trail: What You’re Likely to Encounter Up the Volcano
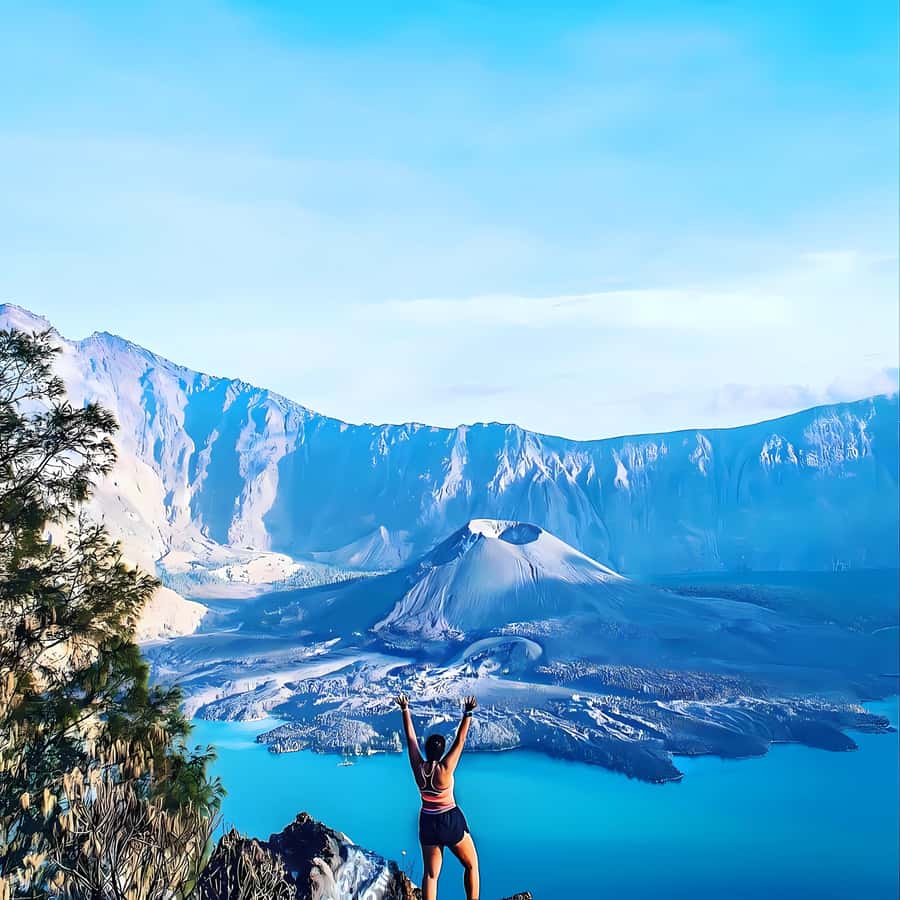
The hike is described as challenging, and the conditions back that up. Expect a steep climb with a mix of surfaces—some parts can be sandy, some are rocky, and you may step over tree roots that catch your shoe if you rush. Heat can also stack on top of the effort, especially during the second half of your climb.
This is where trekking poles earn their keep. The included poles aren’t there to make it easy; they’re there to help you keep balance on uneven steps and reduce strain when the trail tilts.
Pace is also the difference between finishing and suffering. A strong guide will read your breathing and adjust your rhythm. In a few departures, guides like Anton have been praised for matching the group’s tempo and letting people decide when to pause—then moving efficiently so you still make it back on time.
At the Rim and the Sengkareang Viewpoint: What Makes It Worth the Effort
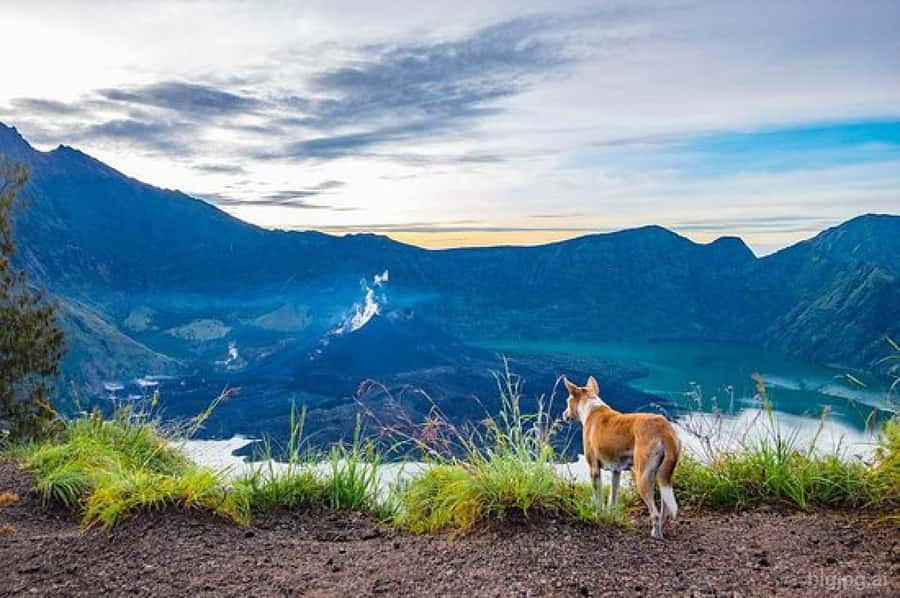
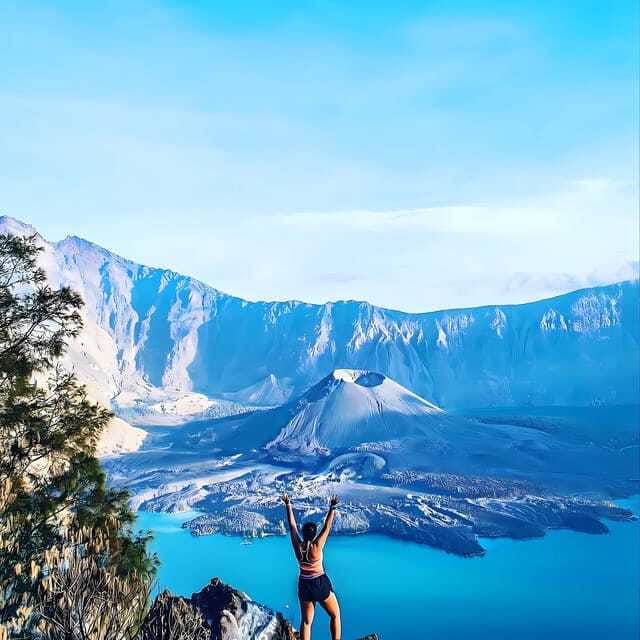
The main goal is reaching the Senaru Crater Rim with views from the Sengkareang Rinjani second summit area (around 3000m). Once you’re up there, the day changes from “survive the trail” to “why is this real?”
What you should look for:
- The crater area and the volcano’s scale from above
- The view down toward the lake and crater features in the rim zone
- Far-distance clarity when weather cooperates, including toward the Gili Islands and Mount Agung (Bali)
The best rim moments usually come in phases. First, you catch your breath and realize the effort worked. Then you start rotating your gaze—every angle is different, and you’ll notice how the terrain curves around the crater bowl. If the weather is clear, the distances feel shockingly close for something this high.
One honest consideration: volcanic areas can be affected by trash and pollution. You can’t fix the whole mountain in one day, but you can avoid adding to the mess and follow local rules about waste.
Lunch With a View: How the Meal Works and What to Expect
Lunch is prepared at the top, and that detail is more important than it sounds. Eating where you are—on the rim—means you don’t waste time descending first and then turning around. It also gives your body a real break after the hardest part of the hike.
Practically, you’ll want to treat lunch as fuel for the descent, not just a reward. Warm food (or whatever your guide provides) helps you stay functional because the downhill can be surprisingly demanding.
In some departures, guides and cooks such as Fendi and Arid have been specifically praised for professionalism and food handling. In plain terms: you’re less likely to feel stranded up there, and you get a break that feels organized rather than improvised.
Guides, Language, and Safety: The Real Value Add
You’re paying for more than a trail. You’re paying for planning, navigation, and care when the terrain gets tricky.
A good sign: the tour is run with a live English-speaking guide in the program details. But in practice, English ability can vary by guide, so don’t assume every conversation will be smooth. If you need specific explanations—how to step on roots, when to take a break, what pace to hold—make sure you’re clear from the start.
Downhill safety is another big deal in this one-day format. One of the most useful guide behaviors is pacing the descent so nobody rushes and trips. If your guide keeps an eye on your footing and encourages a steady rhythm, you’ll feel it immediately in your legs later.
There’s also the human factor. Some departures have gone smoothly and felt well organized; others have had pickup that felt confusing for a moment. If you’re sensitive to logistics, I’d confirm your pickup details in advance and keep a message ready with your name and hotel location.
Price and Value: Is $138 Worth It for a One-Day Rinjani Push?
At $138 per person, the value isn’t just the view—it’s what’s bundled:
- Trekking guide
- Foods and drinking
- Headlamp flashlight
- Trekking poles
- Pickup in your Senaru-area hotel
- Drop-off back to your Senaru-area hotel
- Entrance fee to the national park
That matters because trekking costs add up fast when you’re missing items. If you have to rent poles or buy an emergency flashlight, costs creep upward. If you need local transport sorted for Senaru, that also has a price.
What isn’t included is your gear. You’ll need trekking shoes, and a trekking jacket is not provided. You’ll also want a small daily pack of your own. And you should expect to handle one night accommodation in Senaru before the trek on your own.
So, when is $138 a good deal? When you show up prepared and you want a guided plan that handles the hard parts: the national park fee, the trail lead, meals, and the logistics of getting you back down. If you’re already fully equipped with the gear and you’re comfortable doing a self-led day, you might feel the price more sharply. But for most people, the included safety gear and guide support are exactly why this format works.
What to Pack (Since Key Gear Isn’t Included)
Here’s the practical packing list that matches the tour requirements:
- Hiking shoes (not optional—this trail punishes bad footwear)
- Rain gear (weather can change fast on volcano hikes)
- Camera
- Cash
- Passport (yes, it’s listed)
- A small day pack (also listed as not included)
Then add your own common sense:
- Bring layers so you can deal with changing temperatures
- Keep valuables secure and light
- Don’t forget water habits—your guide provides foods and drinking, but you still need to follow their cues
Also note: a headlamp is included, which is great for early dark starts. But you should still keep it fresh—if batteries are weak, ask before you go.
Fitness Reality Check: Can You Handle Seven Hours of Trekking?
This one-day route is built for people who can handle a steep climb. The program lists about 7 hours of walking, and your schedule leaves little room for a slow, wandering pace. You’ll be working uphill, then descending with tired legs and uneven ground.
I’d classify this as a serious day, even if you’re in decent shape. The combination of heat, height effort, and rocky or rooty footing is what makes the hike feel longer than the clock.
Also, if you’re older or you want a gentler pace, pay attention to the stated limitation: it’s not suitable for people over 70.
If you’re on the edge—maybe you train sometimes but haven’t done steep hikes—consider whether a longer itinerary might fit your body better. The one-day format can feel like a lot even when you’re prepared.
Small Logistics Notes That Can Save Your Morning
Two things can quietly make or break your experience in Senaru:
- Pickup clarity
Pickup is included, but the reality of village logistics means you should double-check that your driver and your name match up the day of the trek. Have your hotel name ready and keep communication open.
- Communication with your guide
Even with English-language expectations, confirm key details early—where to meet, what time you start, and how your guide wants you to move on steep sections.
These aren’t dramatic problems. They’re the kind of small fixes that keep the day feeling smooth instead of stressful.
Who This One-Day Rinjani Trek Suits Best (and Who Should Skip)
This trek makes a lot of sense if:
- You have limited time in Lombok
- You want crater-rim views without committing to multiple days
- You’re physically ready for steep, uneven terrain
- You’d like a guided plan that includes poles, headlamp, and lunch
It’s not a great match if:
- You’re seeking a relaxed walk
- Your fitness is not strong enough for a steep volcanic climb
- You have difficulty moving downhill safely on uneven ground
- You’re over 70
Should You Book This One-Day Rinjani Trek From Senaru?
Book it if you want one intense day that trades extra comfort for serious views. At $138, the included guide, poles, headlamp, meals, and park entrance fee make it a practical way to experience Mount Rinjani’s crater rim without adding multiple nights of logistics.
Skip it or consider a longer option if you know you struggle with steep hikes or if you want more time at elevation. One-day trekking gives you less margin for rest, and your body will feel that on the return.
My best advice: only book if you can commit to the training mindset. Train a bit, wear the right shoes, and plan to treat the descent with respect. Do that, and you’ll likely feel the day was worth every painful step.
FAQ
What time is the pickup in Senaru?
Pickup is listed at around 6:30 AM in your hotel in the Senaru area.
Where does the trek start and end?
The trek starts from Senaru Village and ends back at Senaru Village the same day, with a return listed around 5:00 PM.
How long is the hike?
The program lists 1 day duration and a walk time of about 7 hours.
What time do we arrive at Senaru Crater Rim?
The schedule lists arrival at the Senaru Crater Rim around 12:00 PM.
Is lunch included?
Yes. Lunch is prepared by your guide at the crater rim during the trek.
What is included in the price?
Included items are the tour guide, foods and drinking, headlamp flashlight, trekking poles, hotel pickup and drop-off in Senaru, and the national park entrance fee.
What is not included?
Not included are trekking shoes, a trekking jacket, a small day pack, and one night accommodation in Senaru before the trek.
What language is the guide?
The live tour guide is listed as English.
Is it cancellable and do I pay immediately?
The activity offers free cancellation up to 24 hours in advance for a full refund, and it also offers a reserve now & pay later option.
What should I bring?
Bring passport, camera, hiking shoes, rain gear, and cash. Trekking shoes and rain protection matter on this kind of terrain.