REVIEW · INDONESIA
Mount Rinjani Trekking 2D/1N Summit Sunrise & Sunset Views
Book on GetYourGuide →Operated by Mount Rinjani Hike · Bookable on GetYourGuide
Two dawns, one volcano, and a hard trail. This 2-day Mount Rinjani trek is built around sunrise-at-the-summit timing and the big views around Segara Anak. I like that you’re not just walking uphill—you’re doing it for specific moments in the day.
I love the way you camp near the action: crater rim nights with Segara Anak Lake views and a meal prepared by your guide. The whole rhythm is aimed at getting you to the best viewpoints while still keeping the logistics manageable.
The main drawback is simple: it’s challenging, cold at the top, and weather can affect the summit plan. With a 2:00am wake-up, you’ll feel tired before you even start climbing.
In This Review
- The best parts, fast
- Sembalun-to-crater-rim Day 1: a full climb, then you sleep with the volcano
- Crater rim camp life: meals, toilets, and what to do before darkness
- 2:00am wake-up to the summit: the part you’ll talk about for years
- Summit views and photo timing: how to make the peak window work
- Descent day: Sembalun for steeper walking, Senaru for rainforest
- Guides and porters: why this trek feels organized instead of chaotic
- Value and price: is $200 fair for 2 days on Rinjani?
- What to bring: the summit is cold and the footing is loose
- Who should book this trek, and who should not
- Should you book this Mount Rinjani 2D/1N sunrise & sunset experience?
- FAQ
- How long is the Mount Rinjani trekking experience?
- Where does the trek start, and how do you return after?
- What time do you wake up and when do you start the summit hike?
- How much water is included?
- What sleep and toilet facilities are included?
- What languages does the guide speak?
- What should I bring, and what is not included?
- Is there a cancellation deadline and can I pay later?
The best parts, fast
- Sunrise summit push with a climb starting around 2:30am and a short peak window before sunrise
- Crater rim camping for sunset/sunrise-style views and dinner with your guide’s team cooking
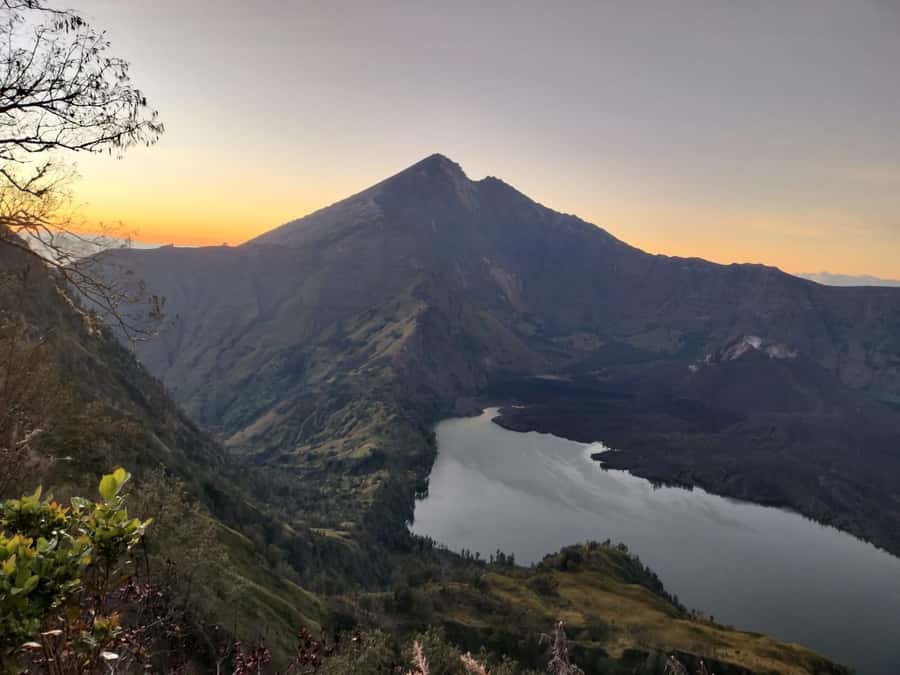
- Segara Anak Lake scenery as a constant backdrop during the crater rim portion
- English-speaking guidance plus porters who carry cooking gear and camping setup
- Real effort, real payoff with the toughest section described as rocky, loose gravel near the summit
- A descent day that fits your return plan (Sembalun is steeper early; Senaru includes thick rainforest later)
Sembalun-to-crater-rim Day 1: a full climb, then you sleep with the volcano
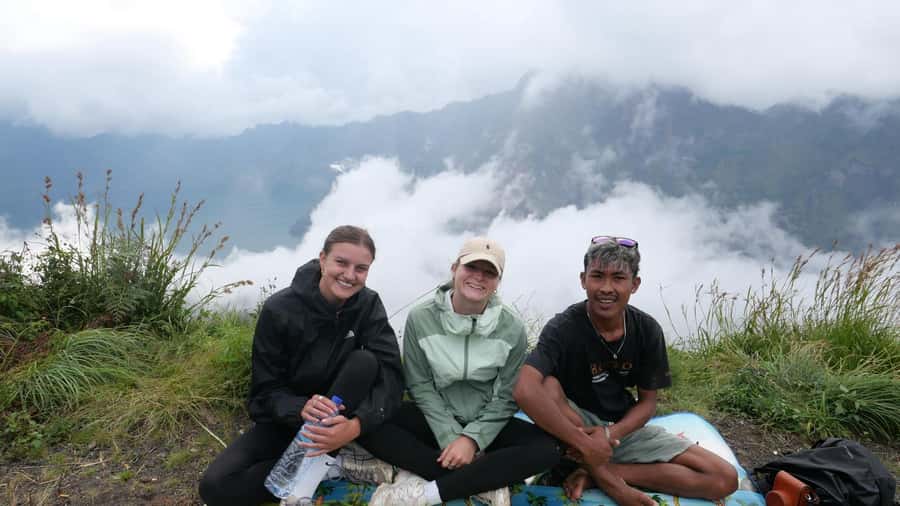
Day 1 starts with breakfast and coffee or tea, then you’ll drive about an hour to Sembalun. After that, the walking becomes your main job for the day. Plan for a long uphill day with a lunch break in the middle, because you’re not just “stretching your legs” here—you’re earning your camp.
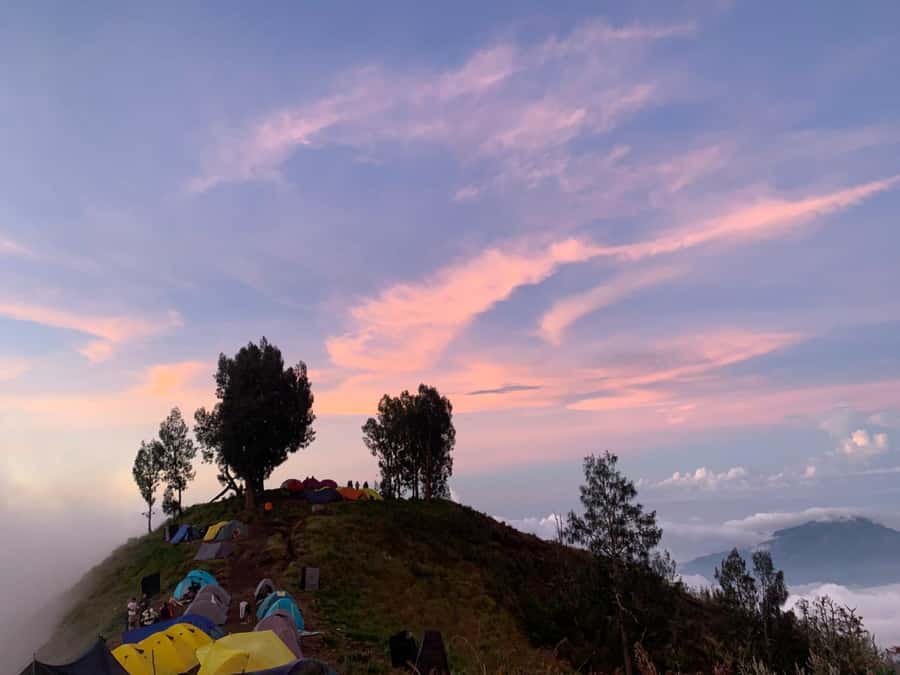
By late afternoon, you reach the crater rim. This is where the trek shifts from physical work to visual reward. Your porters set up camp, and you’ll get to enjoy the crater rim views in the evening light. You sleep at the crater rim, which is a big deal: you’re close to the best morning angles and you avoid the stress of trying to “make sunrise” from far away.
This is also where the trek’s supporting details matter. You’ll have 3 liters of mineral water per person per day, plus three meals during the trek (including tea and coffee). Expect fruit like pineapple and banana as part of the included food. On a cold mountain, warm drinks and planned meals aren’t a luxury—they help you keep moving safely the next day.
You can also read our reviews of more tours and experiences in Indonesia.
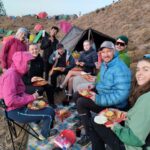
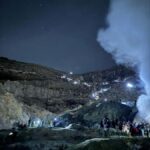
Crater rim camp life: meals, toilets, and what to do before darkness
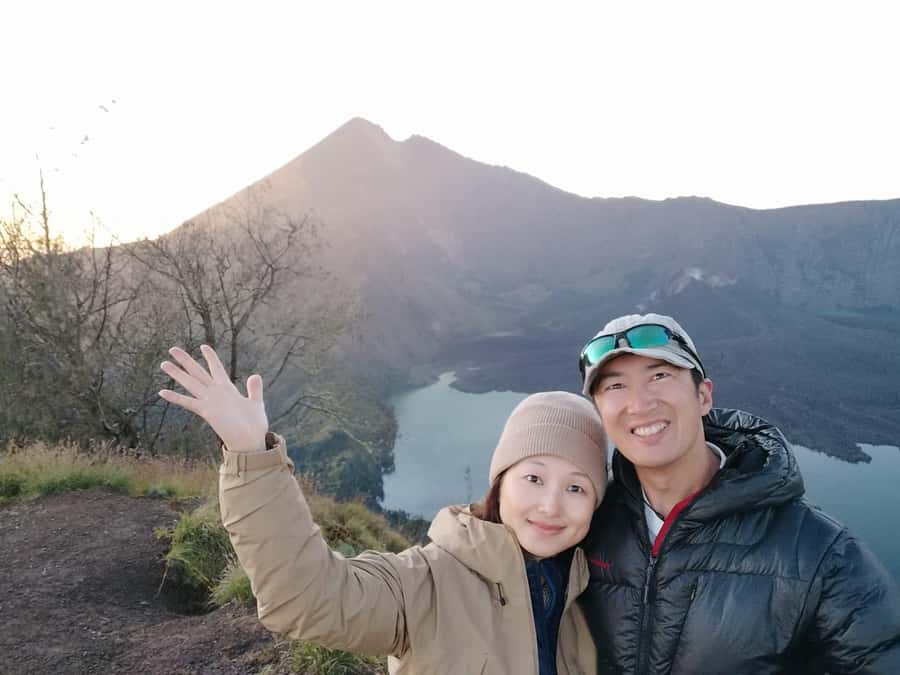
Once your camp is up, the crater rim becomes your base. You’ll have dinner with a meal prepared by your guide and time to take photos while the air is still workable. Sunset and night on Rinjani can feel dramatic, even when the trail day is exhausting.
Practical tip: treat the camp time like a “preparation window,” not a full vacation. Use it to check your gear for the summit push. Set out layers, charge/prepare your camera, and make sure you’ve got anything you’ll need in the dark accessible. A flashlight/headlamp is a smart move because the sunrise timing means you’ll be moving well before full daylight.
Bathroom setup is included. You’ll have a toilet tent and toilet paper. Still, be mindful: the trek rules include no littering and respect for the natural environment, so keep a small plan for trash and keep your campsite clean. On a mountain like Rinjani, it’s everyone’s responsibility.
Sleeping comfort is more “mountain practical” than “hotel cozy.” You’ll be provided a tent, sleeping bag, and mat, so you’re not figuring that out at the last minute. But temperatures can drop, especially near the rim, so bring warm layers and wear what you brought—don’t count on luck.
2:00am wake-up to the summit: the part you’ll talk about for years
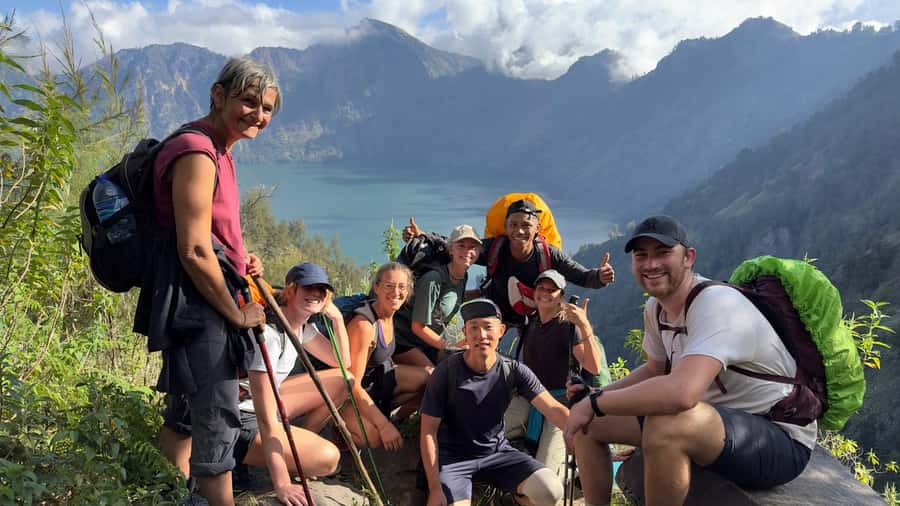
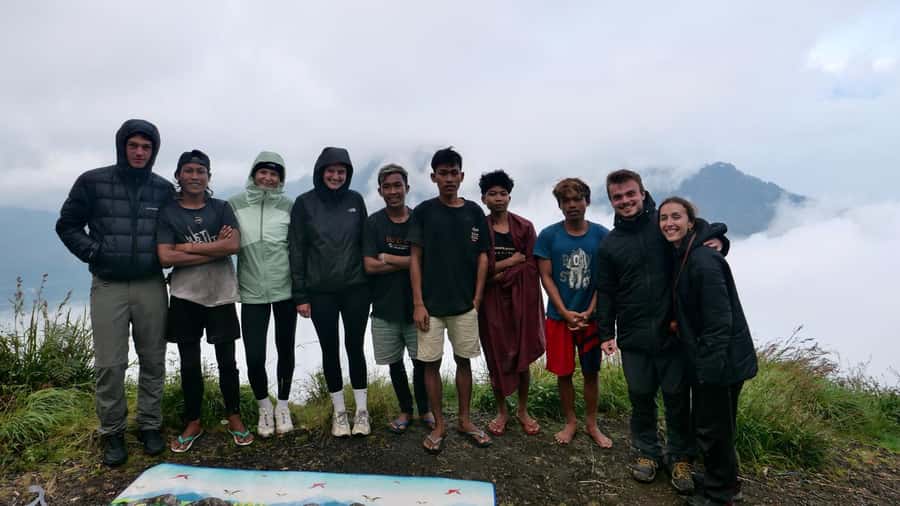
Day 2 begins early: wake-up around 2:00am, then a quick breakfast and start hiking around 2:30am. The goal is clear—reach the toughest part before the day gets fully bright and reach the summit just before sunrise.
Around 5:00am, you hit the toughest section: a rocky ascent with loose, gravel-like footing. The good news is that it’s described as strenuous rather than dangerous in terms of falling off the mountain edge. The hard part is grip. Loose rock is tiring because you have to place each step carefully and keep your balance under fatigue.
If you’ve never hiked on gravelly slopes in low light, this is where your pacing matters. Go slower than you think you need to. Consistency beats speed here, because your legs will already be working hard from the first day. Tight focus helps too: count steps, plant your feet firmly, and avoid rushing in the dark.
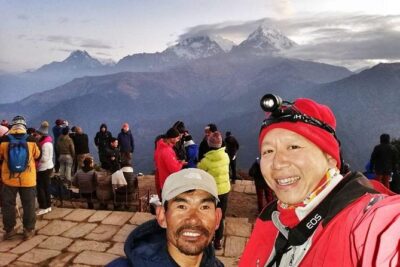
Eventually, you reach the summit and enjoy it for about 20–30 minutes before sunrise. That short peak window is exactly why this plan exists. You don’t linger for hours—you absorb the moment, get photos if conditions allow, and then prepare to descend.
Summit views and photo timing: how to make the peak window work
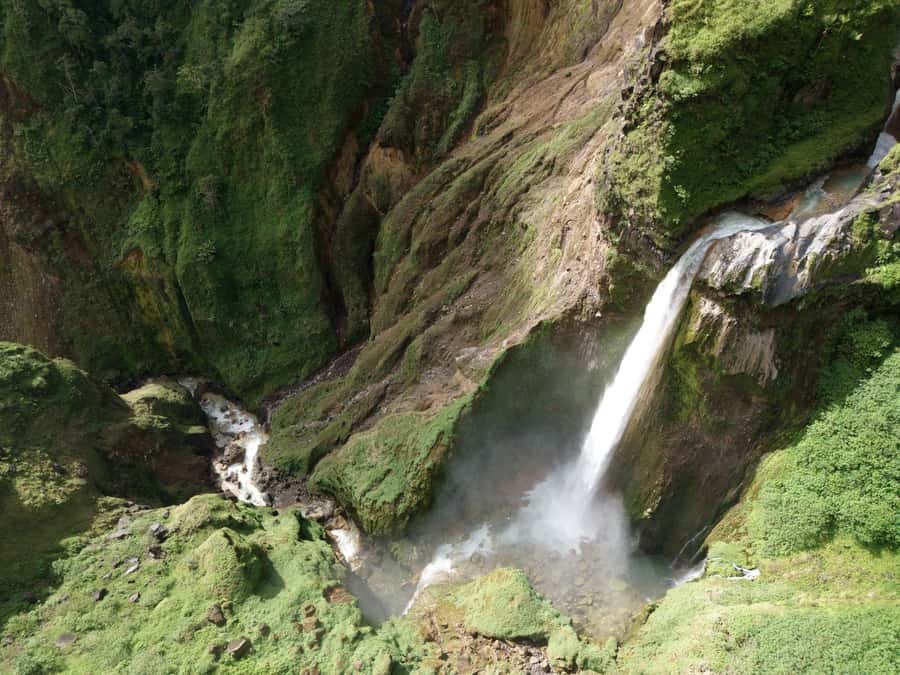
This trek is timed for a reason: the summit is for the sunrise moment, not for all-day hanging out. You’ll reach the top just before sunrise, and you’ll have roughly 20–30 minutes to enjoy it. If you want great photos, treat this like a schedule: get set up quickly, then enjoy the view.
Weather can change what you see, and sometimes it changes what you can reach. The trek notes that weather conditions can affect the itinerary, and that’s worth taking seriously. Even when the team does everything right, visibility and safety rules can alter summit plans.
What you can control: your readiness. Warm clothing matters because the climb starts in the cold hours. Bring sunscreen even if it feels chilly—it’s still bright at altitude. And if you’re prone to cold hands, plan for that. You’ll be stopped on the summit, so your body temperature can drop even if you feel fine while climbing.
After the peak, you return to the crater rim for a big breakfast. That’s not just comfort—it’s fuel. Then the descent day begins, and your legs will need that energy.
Descent day: Sembalun for steeper walking, Senaru for rainforest
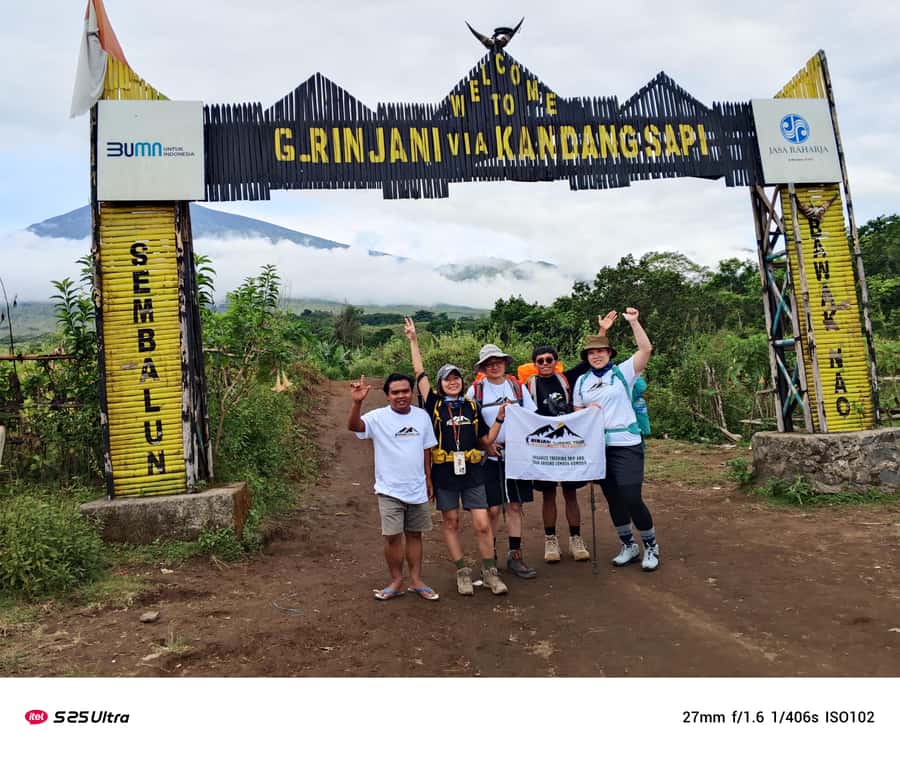
After breakfast at the crater rim, you descend. The itinerary notes that your return style can change depending on whether you’re going back toward Sembalun or Senaru.
If you’re traveling to Sembalun, the descent is described as mildly steep. That usually means long walking with steady pressure on your quads, but fewer “forest slog” vibes.
If you’re heading toward Senaru, you’ll spend much more time through thick rainforest for most of the day. That changes the feel of the trek: more moisture, more vegetation brushing past, and a different kind of fatigue. Rain gear becomes more important here, and the air can feel heavier.
Lunch happens mid-day during the descent, then you continue until you’re down to the bottom. Once you’re finished on the ground, you’ll be driven back—either to Bangsal Harbor or Mataram. If you’re continuing to another adventure, you may also be brought back to your homestay in Senaru.
Guides and porters: why this trek feels organized instead of chaotic
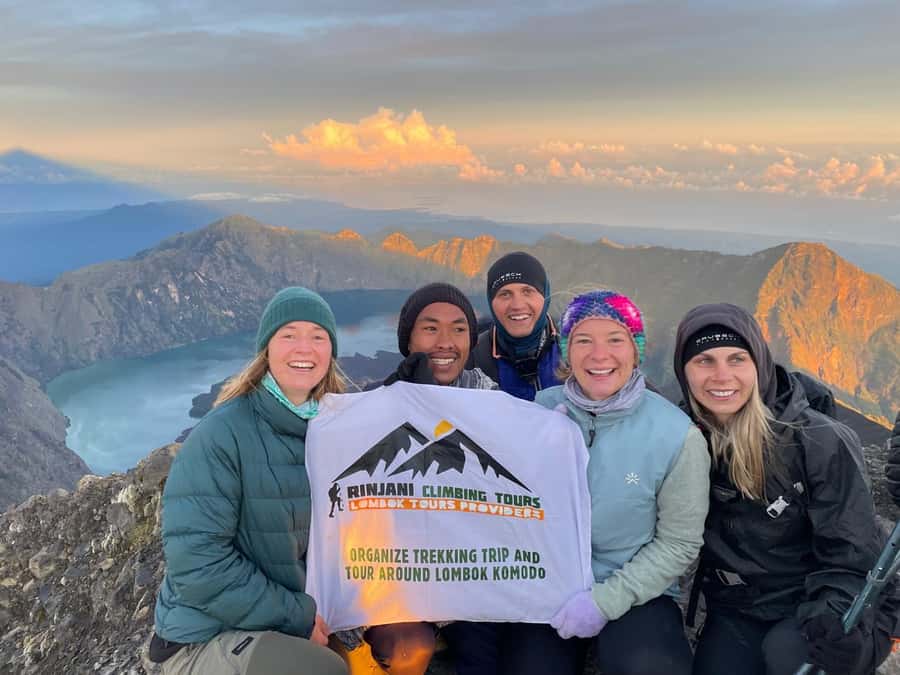
A big reason this trek scores so high is that you’re not doing it with just a map and hope. You get a hiking guide plus porters who carry the cooking utensils and camping equipment. That means your job stays focused on hiking and staying safe—not managing gear logistics while your body is under stress.
The guide is described as experienced and professional, speaking English and Indonesian. In the wider tour experience, you’ll hear guide names like Jack and August show up as a strong team dynamic, and other guides like Peaky and Ajis also get mentioned for helping people reach the top. You’re paying for that coordination: timing starts, managing the group pace, and keeping the camp setup running smoothly.
Porters are a key part of why the trek feels doable for many people. The descriptions around the team emphasize efficiency, steady support, and keeping basic needs handled. You’ll also have tea and coffee included, plus consistent water delivery planned around the trek.
Food quality matters more on a hike than people think. The included meals and warm drinks help you recover between the long climbs, and that shows up in how people rate the overall experience. If you’re the type who gets cranky when your stomach is empty, you’ll appreciate this setup.
Value and price: is $200 fair for 2 days on Rinjani?
At $200 per person for a 2-day trek, this is not a “cheap and cheerful” activity. You’re paying for more than a guide. You’re paying for porters, camping equipment support (tents, sleeping gear, toilet tent), included meals, and planned water for the climb.
Here’s what’s included that you’d otherwise pay for or struggle with on your own:
- Guides and professional porters with equipment-carrying support
- Camping setup: tent, sleeping bag, mat, and toilet tent + toilet paper
- Food: 3 meals a day plus fruit and tea/coffee
- Water: 3 liters mineral water per person per day
- Transportation after the trek to Bangsal Harbor or Mataram
- Trekking insurance
- Storage in the office for your backpack not needed for the hike
- Pickup around Senaru and transport to the starting point
Not included is also important. You’re on the hook for trekking shoes and warm clothes, plus any personal extras like extra snacks. The trek includes hiking water, meals, and key drinks, so you don’t need to bring a full supply—but you might want snacks for personal preference.
So is it good value? For most people, yes—especially because the included gear and meals remove the most stressful parts of planning. If you already have proper boots and cold-weather layers, the $200 feels more like paying for access and support, not buying necessities from scratch.
What to bring: the summit is cold and the footing is loose
This trek has a very specific reality: cold hours, dark starts, and rocky steps. Your packing list should reflect that.
You’ll want:
- Warm clothing (it can feel cold near the summit and during the early climb)
- Hat (helps with sun and wind)
- Camera
- Snacks (even with included meals, personal snacks are handy)
- Hiking shoes (trekking shoes are not included)
- Sunscreen
- Water (you’ll have planned water, but you can still want your own small backup)
- Rain gear (especially if your descent includes Senaru rainforest)
Also consider a small daypack approach. The trek notes a small backpack/daypack may be possible to rent, but it’s not included as a guarantee. You’ll also be storing the backpack you don’t need with office storage, so plan to carry only what matters for the hike.
One more practical note: you’ll be out in early darkness. Flashlight or headlamp is strongly worth it, and many people recommend having one. Even if you’re following the guide, you need to see your footing on loose rock.
Who should book this trek, and who should not
This trek is for people who can handle a physical challenge. It’s described as challenging and requiring good fitness. It’s not suitable for heart problems, vertigo, or low level of fitness.
If you’re someone who struggles with steep, rocky walking or you get anxious in low-visibility situations, this may be harder than you expect. The rocky ascent is intense, and the early start means you don’t get warm gradually on your timeline—you start in cold hours and keep working.
On the other hand, if you want a real mountain test with a payoff that’s tied to sunrise timing and crater rim scenery, this route makes sense. You get a structured day on Day 1, a very focused summit push on Day 2, and then a descent that ends with transportation back to your next stop.
Should you book this Mount Rinjani 2D/1N sunrise & sunset experience?
If you’re fit enough for a tough hike and you want sunrise moments that actually drive the schedule, I think this is a smart booking. The value is in what’s provided—porters, camping setup, meals, water, and a guide who can keep timing under control during the darkest hours.
Book it if:
- You want summit-before-sunrise timing and can handle early starts
- You’re comfortable with loose rocky ascent and cold conditions
- You want Segara Anak and crater rim viewpoints as the main event
Consider skipping or choosing a different option if:
- You’re sensitive to steep rocky footing, cold, or very early starts
- You have heart problems or vertigo
- You know you’ll be unhappy if weather forces itinerary changes
If that sounds like you, this trek can be one of the more memorable 2-day adventures in West Nusa Tenggara—serious effort, good organization, and views that justify the climb.
FAQ
How long is the Mount Rinjani trekking experience?
It runs for 2 days.
Where does the trek start, and how do you return after?
You start via the Sembalun route, with pickup around Senaru and transportation to the starting point. After the trek, you’re driven back to Bangsal Harbor or Mataram.
What time do you wake up and when do you start the summit hike?
You wake up at about 2:00am, have quick breakfast, and begin hiking toward the summit around 2:30am.
How much water is included?
You get 3 liters of mineral water per person per day.
What sleep and toilet facilities are included?
You’re provided a tent, sleeping bag, and mat. There is also a toilet tent and toilet paper.
What languages does the guide speak?
The live guide speaks English and Indonesian.
What should I bring, and what is not included?
Bring warm clothing, a hat, hiking shoes, sunscreen, rain gear, camera, and snacks. Trekking shoes, warm clothes, and a GoPro are not included.
Is there a cancellation deadline and can I pay later?
Yes. You can cancel up to 24 hours in advance for a full refund, and you can reserve now and pay later.