REVIEW · SENARU
Mount Rinjani: 2D-1N Trekking Summit Sunrise Point Join Tour
Book on GetYourGuide →Operated by Rinjani Trekking Information official · Bookable on GetYourGuide
Sunrise at 3,726 m feels unreal. This 2D-1N Mount Rinjani sunrise trek takes you from Sembalun up to the summit, with a night camping right by the crater rim at 2,639 m. I like the rhythm of the route: a steady first day, then a dark, early summit push timed for sunrise.
Two things I’d personally bank on here. First, the campsite setup is centered on that crater rim night—sleeping under the stars with a view. Second, the trek is strongly service-led: a guide, porters for the camping gear, and good cooking that keeps energy up during long stretches.
One consideration: the final approach to the top involves climbing up steep volcanic scree that’s loose. If you’re not comfortable with uneven footing and a tough, early start, you’ll feel it fast.
In This Review
- Key things you’ll notice on this Rinjani sunrise trek
- Senaru transfer, then Sembalun starts around 1,100 m
- Day 1 from open meadows to the crater rim at 2,639 m
- Crater-rim camping: stars overhead, gear handled for you
- The summit day starts in the dark at 3:00 am
- Breakfast at the rim, then a long 5-hour descent to Sembalun
- What you’re really paying for: $133 value check
- Service quality: guides, communication, and food that performs
- Is this trek right for you? Fitness and expectations
- Should you book the Mount Rinjani 2D-1N Sunrise trek?
- FAQ
- Where does the trek start?
- What time does trekking start on Day 1?
- What time do you start the summit hike on Day 2?
- What time do you reach the summit?
- Is the entrance fee included?
- What’s included in the tour price?
- What do I need to bring myself?
- What’s the cancellation and booking setup?
Key things you’ll notice on this Rinjani sunrise trek
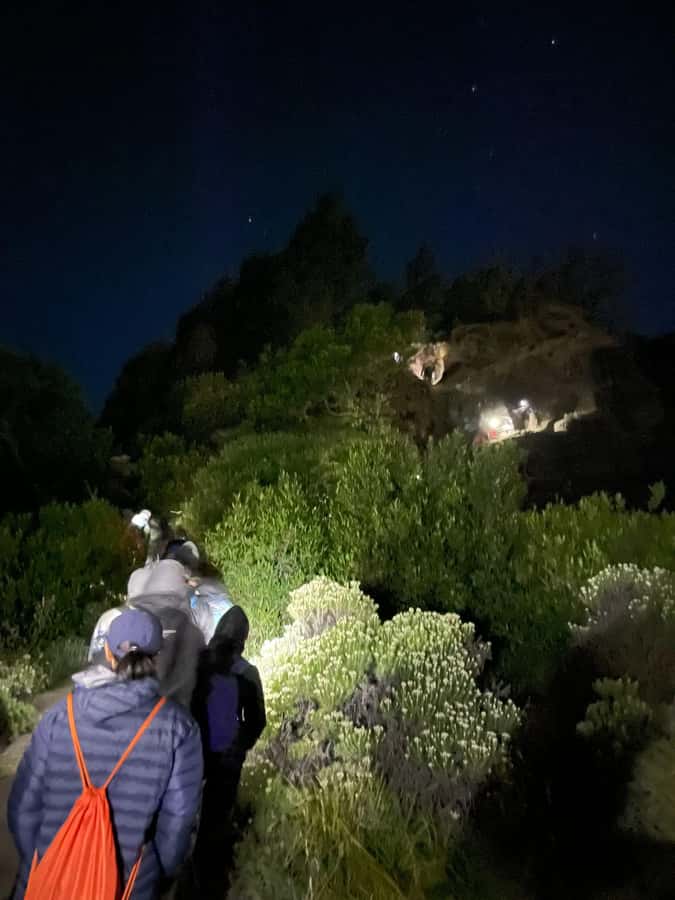
- Crater-rim camping at 2,639 m gives you starry skies and sunset or sunrise viewpoints
- A timed summit window with wake-up around 2:00 am and summit arrival around 6:00 am
- Day 1 altitude progression from Sembalun (about 1,100 m) through posts at 1,300 m, 1,500 m, and 1,800 m
- Final scree climb to 3,726 m is steep and loose, so trekking poles matter
- Included gear support like a headlamp, one trekking pole per person, gloves, and camping equipment
- Meals that match the workload: breakfast, lunch, dinner, plus drinking water on the trek
Senaru transfer, then Sembalun starts around 1,100 m
The biggest practical win here is the way the trek begins. You start with a transfer from Senaru village to Sembalun village. From there, the trekking work actually begins at Sembalun, which is around 1,100 m—about 1,000 m higher than Senaru.
Why you should care: starting in Sembalun means you’re not wasting your first hours on a huge, exhausting climb out of the gate. Your first day starts with a gentle climb through open meadow. That matters when you’re planning stamina for a summit attempt the next morning, where the pace changes from steady walking to serious uphill effort.
Transport is a little mixed in how it’s handled. The price doesn’t list general transport as included, so you should plan your own getting to the starting area. After the trek, you do get a car transfer back to Senaru.
You can also read our reviews of more tours and experiences in Senaru.
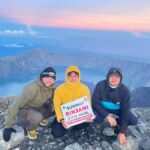
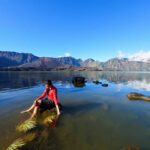
Day 1 from open meadows to the crater rim at 2,639 m
Day 1 is built for gradual buildup, not chaos. You’ll wake up around 6:00, then get breakfast and move toward Sembalun. Trekking starts around 8:00.
The route steps up in a clear way:
- You begin with a gentle meadow walk, then reach Post 1 (1,300 m) after about 2 hours.
- Then it’s another 40 minutes to Post 2 (1,500 m).
- Next you continue to Post 3 (1,800 m), where you have lunch and time to rest.
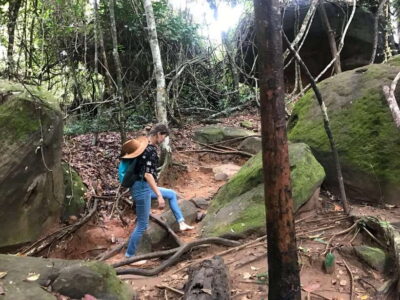
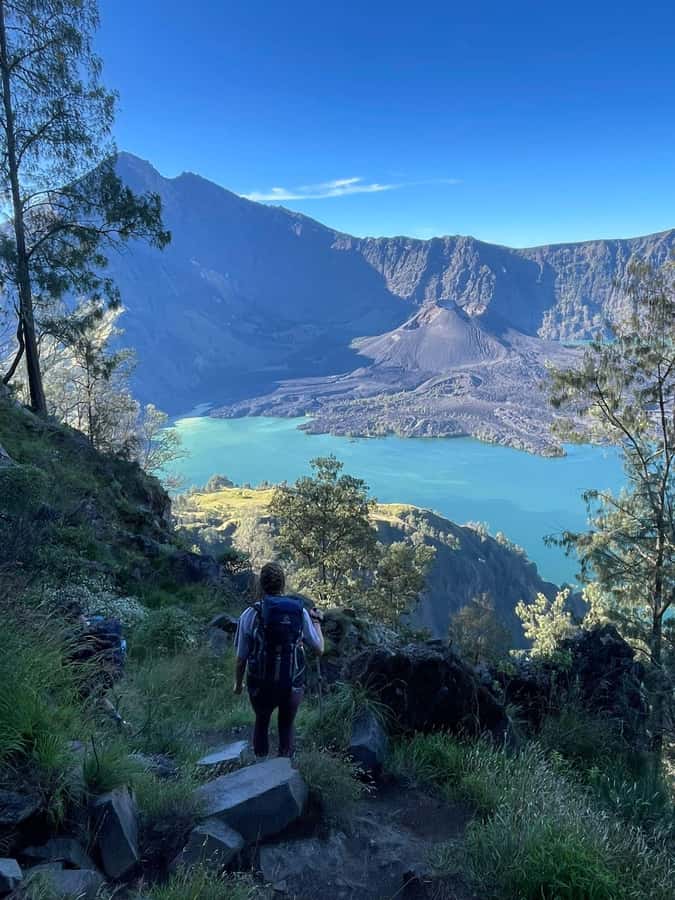
After lunch, the day turns heavier. The climb to Sembalun crater rim (2,639 m) takes about 3 hours, including a prolonged steep section. This is the “earning it” part of Day 1. You’re not just hiking for miles—you’re gaining height quickly enough that your breathing changes, especially if you’re not used to altitude.
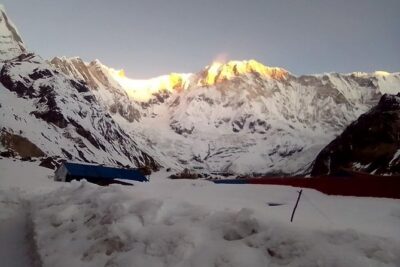
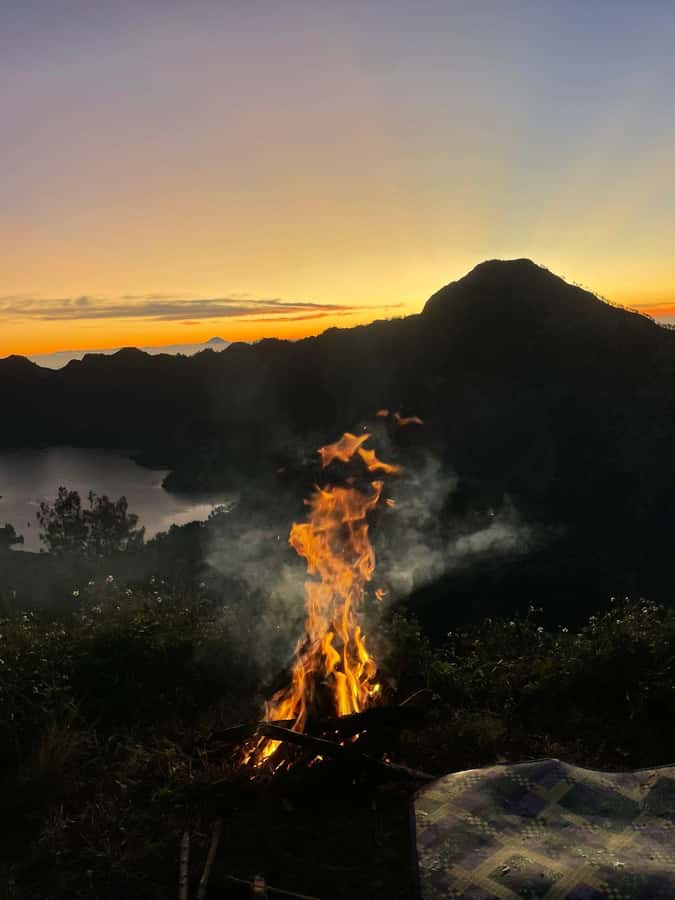
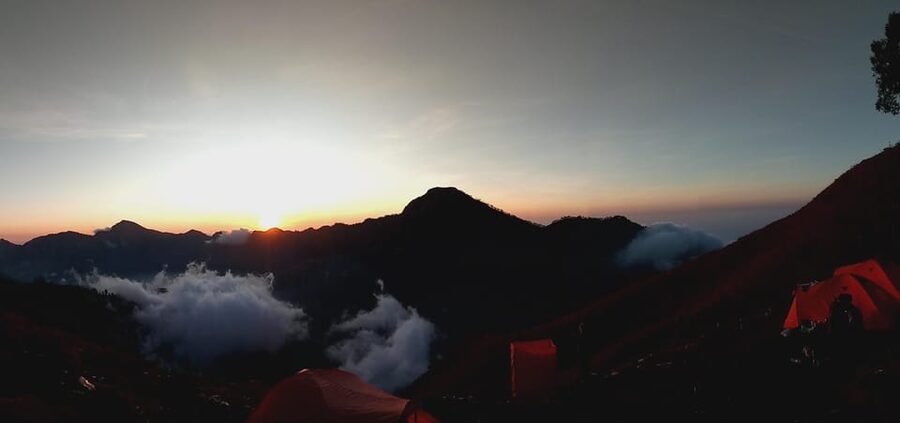
When you reach the rim, this is where the itinerary really pays you back. You camp for the night on the crater rim. From there, you can enjoy the views and catch sunset and sunrise from a dramatic high point.
Crater-rim camping: stars overhead, gear handled for you
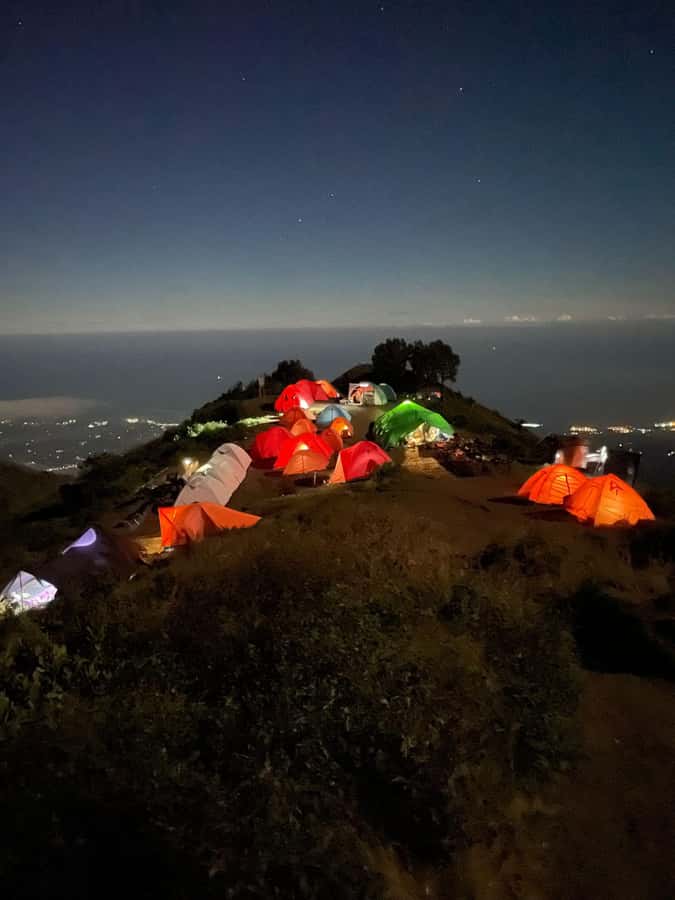
This tour’s highlight is the night at the rim, and the included items are meant to make that part easier.
You’ll have camping equipment provided, plus a porter to carry the camping setup so you’re not dragging the whole load on your back. Your kit is simpler on the trail thanks to trekking support: you’ll also get a headlamp and drinking water included.
What I like about this camp arrangement is that it turns downtime into part of the experience. Instead of sleeping somewhere average and commuting later, you’re actually positioned where the views happen. At 2,639 m, the sky tends to feel bigger, and you get that sense of being close to the volcano while still being safely on camp.
What to think about: crater-rim nights can get chilly at altitude, and the trek includes an early night routine. Even if warm weather is fine where you live, you’ll want to plan clothing for cool high-altitude temperatures. The tour does not include long pants, so come prepared for both comfort and warmth.
The summit day starts in the dark at 3:00 am
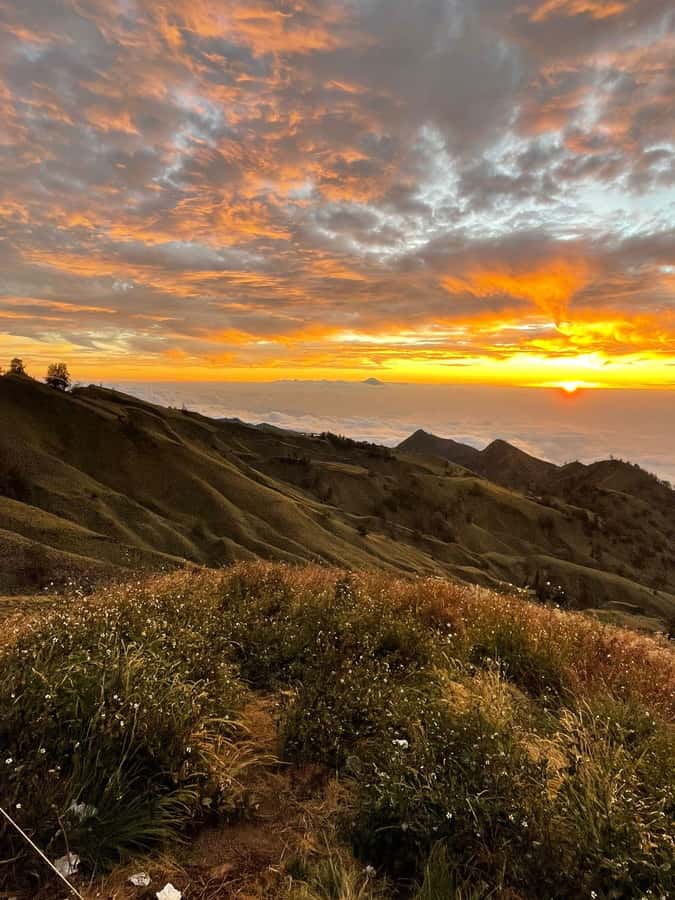
Day 2 is the serious one. You wake up around 2:00 am, drink something warm, and have a light breakfast. Then you start heading to the summit around 3:00 am.
The ascent is described in stages:
- A moderate trek early on
- Then a fairly easy but longer section
- Then the final approach: climbing steep volcanic scree that’s loose
This is the part where trekking poles help a lot. The tour provides one trekking pole per person, and that’s a smart inclusion for scree slopes where your footing has to be constantly adjusted. Poles won’t make it easy, but they can reduce strain and help you keep rhythm.
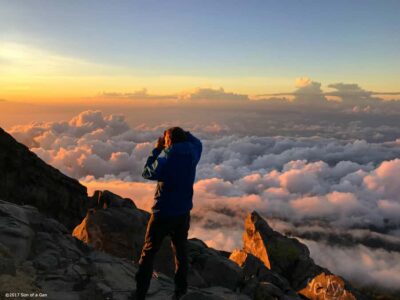
At around 6:00 am, you should reach the summit at 3,726 m. That timing is set for sunrise, and it’s not just about the light. The view from the top is panoramic, including Lombok island, Bali, Sumbawa, and Segara Anak Lake in the crater area.
That viewpoint payoff is why people do Rinjani in the first place. It’s a wide, open, volcanic scene, not a single photo spot.
Breakfast at the rim, then a long 5-hour descent to Sembalun
After the summit moment, you descend back to the crater rim area within about 2 hours. You’ll have breakfast there before continuing down.
From the crater rim, the trek back to Sembalun village is a long descent, taking about 5 hours. It’s not just about distance. Your legs have done uphill work, then you shift to downhill stress where knees and ankles take a hit if your pacing is off.
Here’s a practical approach: go slow early in the descent. Don’t try to “make up time” once you see the valley. If you rush, you burn energy faster and increase the chance of slipping on loose surfaces.
After you reach Sembalun, you’ll continue with a car transfer to Senaru and then head on to your next destination.
What you’re really paying for: $133 value check
Price listed: $133 per person. At this budget level, you’re paying for the structure that keeps a tough trek safer and more comfortable: guide leadership, porter support, meals, and key equipment.
What’s included:
- Trekking guide
- Porter for camping equipment
- Meals and drink: breakfast, lunch, dinner (and breakfast on the mountain during both key sections)
- Drinking water
- Camping equipment
- Trekking insurance
- Headlamp
- Trekking pole (one stick per person)
- Gloves
This matters because the summit trek is not the time to improvise. Having meals planned prevents the “panic snacks” problem. Headlamps keep you moving safely in the pre-dawn hours. Poles reduce downhill and scree stress.
What’s not included:
- Trekking shoes and long pants
- A small bag or day pack (you’ll need something to carry essentials)
- Entrance fee: Rp 210,000 IDR per day per person
- Transport and accommodation/hotel (besides the trek-related movement back to Senaru)
So is $133 fair? For a 2D-1N summit attempt with guide + porter + meals + camping gear, it’s competitive. Your biggest “extra” cost is the entrance fee and your personal hiking kit. Budget for that upfront so you’re not surprised on arrival.
Service quality: guides, communication, and food that performs
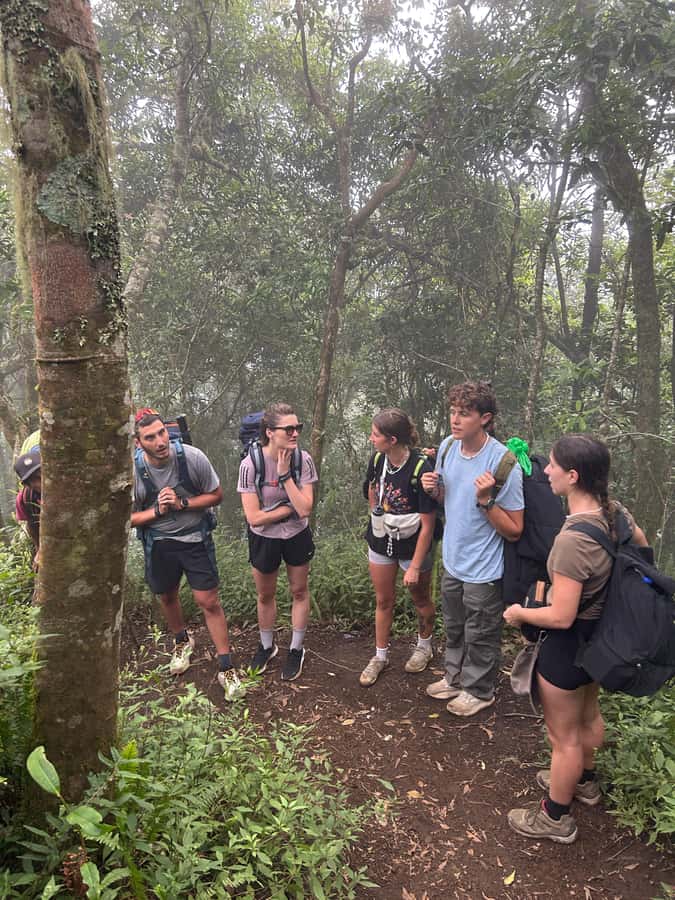
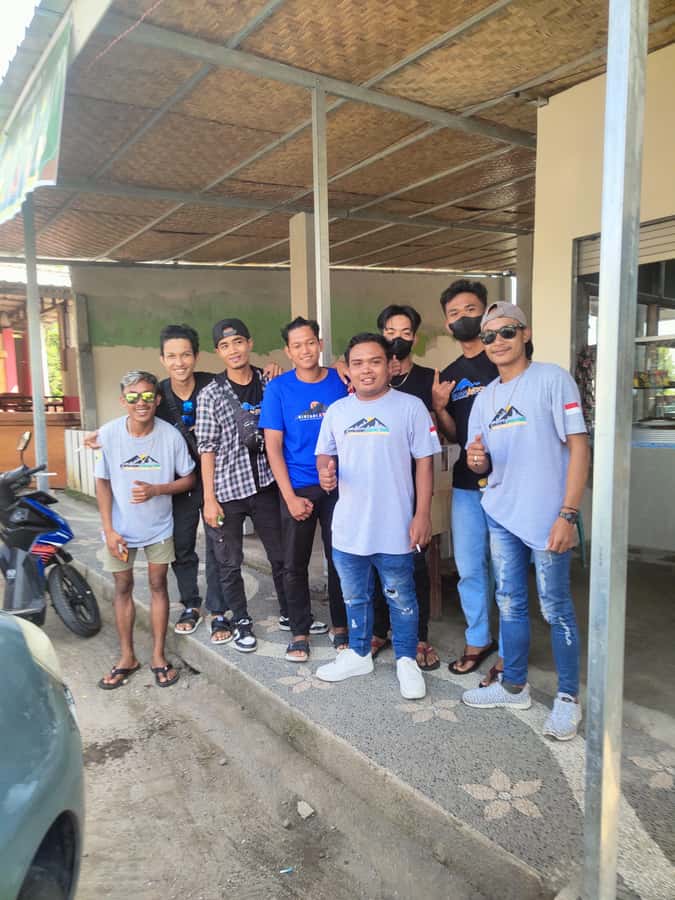
The strongest theme around this experience is how the team runs the trek. The vibe I’d expect is friendly and organized, with clear communication and help when you need it. That’s not a small thing on Rinjani. Early starts and steep segments punish slow planning.
On the food side, this trek is set up to keep you fueled across long walking hours. Meals are cooked by the team, and there’s a clear emphasis on making food that fits a heavy day. When you’re climbing through posts, then camping at high altitude, you don’t want bland, low-energy meals. You want food that makes the next push feel doable.
Equipment gets mentioned as comfortable and supportive too. Between the included headlamp, poles, gloves, and camping gear, you’re less likely to feel underprepared in the moments that count.
One more practical note: the group is run with a focus on communication. If you want to manage your pace or ask about the route, it helps to send questions by chat or email beforehand so you start the climb aligned with the plan.
Is this trek right for you? Fitness and expectations
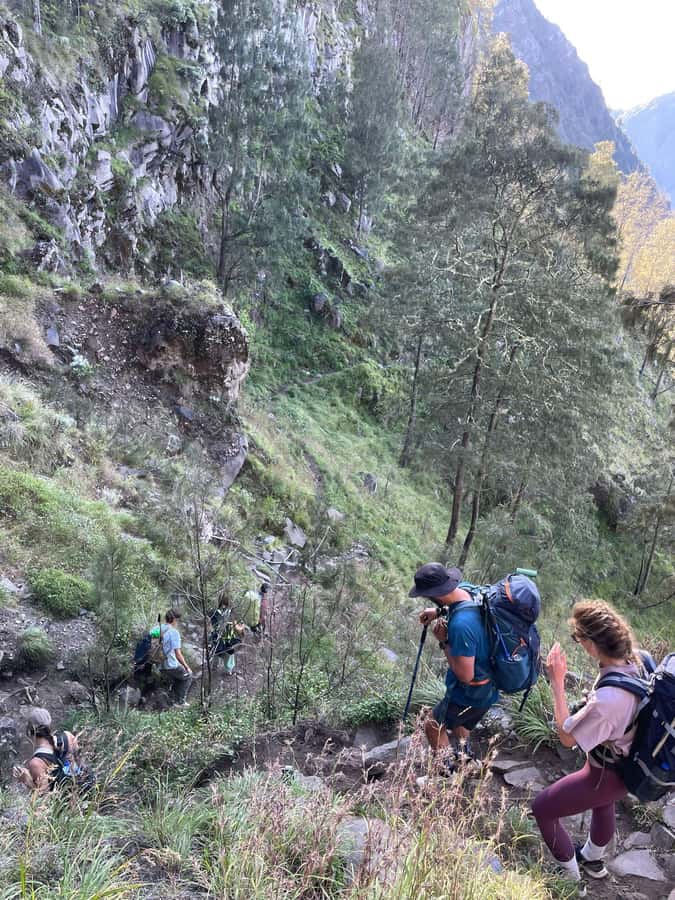
This is a serious 2D-1N summit experience, even though it’s only two days on paper. The reason is simple: you’re doing a crater rim climb on Day 1 and then a steep, loose scree summit on Day 2 that starts in the dark.
You should consider booking if:
- You’re comfortable hiking uphill for multiple hours
- You can handle a 2:00 am wake-up and early start
- You’re mentally ready for loose volcanic terrain near the summit
- You want that full package: camp at the rim, summit sunrise, then a long descent
You might want to think twice if:
- You have knee or ankle issues that flare on downhill
- You’re unsure about your fitness for steep scree
- You expect a relaxed sightseeing walk
Also, if you’re bringing kids, the trek can be done by families in some cases, but only if the child is truly capable and the pace is appropriate. Fit matters more than age.
Should you book the Mount Rinjani 2D-1N Sunrise trek?
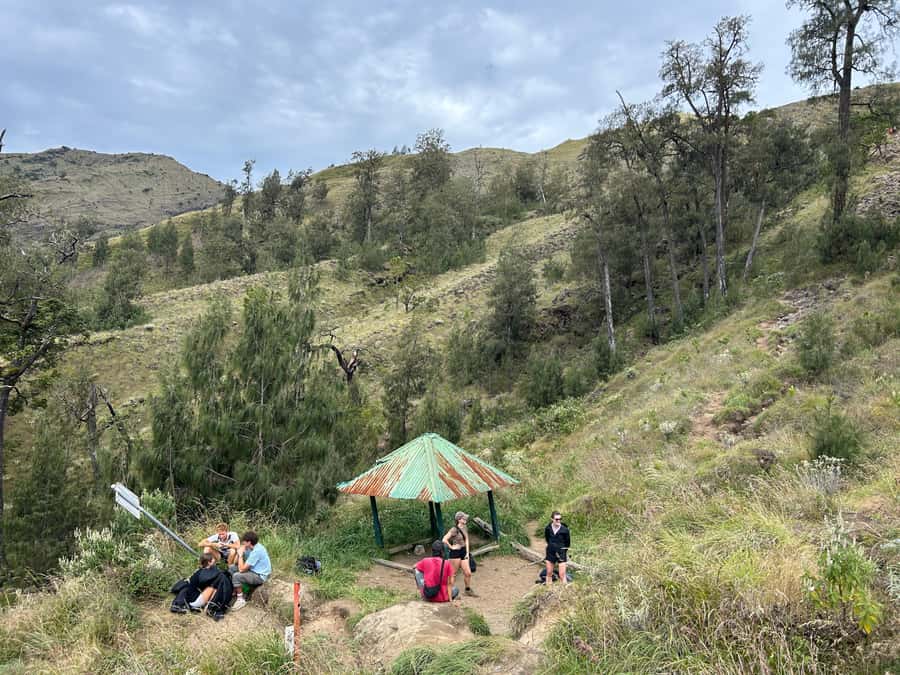
I’d book this trek if you want a real Rinjani experience with a sunrise summit and a crater-rim campsite—not a rushed day trip. The value is strongest when you take the included elements seriously: guide support, porter gear handling, and food designed for long hiking hours.
One last decision point: pack like it’s a mountain, not a walk. Bring proper shoes and long pants (not included), plus a small day pack so you’re not carrying everything in an awkward way.
If you’re fit, excited by early-morning trekking, and you respect the steep scree, this tour is a very solid way to chase Rinjani’s sunrise payoff.
FAQ
Where does the trek start?
You transfer from Senaru village to Sembalun village, and trekking starts from Sembalun.
What time does trekking start on Day 1?
After waking around 6:00 and breakfast, you start trekking from Sembalun around 8:00 am.
What time do you start the summit hike on Day 2?
You wake up around 2:00 am for a hot drink and light breakfast, and you begin heading to the summit at 3:00 am.
What time do you reach the summit?
At about 6:00 am, you reach the summit at 3,726 m and catch sunrise.
Is the entrance fee included?
No. The entrance fee is Rp 210,000 IDR per day per person and is not included.
What’s included in the tour price?
Included are a trekking guide, porter for camping equipment, meals and drink (breakfast, lunch, dinner), drinking water, camping equipment, trekking insurance, headlamp, one trekking pole per person, and gloves.
What do I need to bring myself?
You need to bring trekking shoes and long pants. A small bag or day pack is also not included.
What’s the cancellation and booking setup?
The tour offers reserve & pay later (book now and pay nothing today). You can cancel up to 24 hours in advance for a full refund.