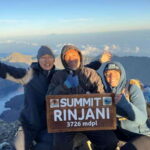
REVIEW · INDONESIA
Mount Rinjani Trekking 2D-1N Summit
Book on GetYourGuide →Operated by Cakrawala Rinjani Trekking · Bookable on GetYourGuide
Night lights up Rinjani for a big summit. This trek pairs Sembalun meadow starts with crater-rim camping, then a dawn push to 3,726m for panoramic views.
I really like two things here: the way the route is paced for safety (with an experienced guide who keeps you moving at a comfortable rhythm), and the payoff at the crater rim and summit—sunrise views are the whole point.
One heads-up: the hike is tough, and the provided headlamp may not be bright enough for everyone during the dark summit climb, so you should plan carefully with your gear and lighting.
In This Review
- Key things to know before you go
- Sembalun Meadows to Pos 1 and Pos 2: Where the Trek Begins
- Lunch Stops and Pos 3 (1,800 m): Building Strength Before the Crater Rim
- Crater Rim Camping at 2,639 m: Sleep for Sunrise, Not for Comfort
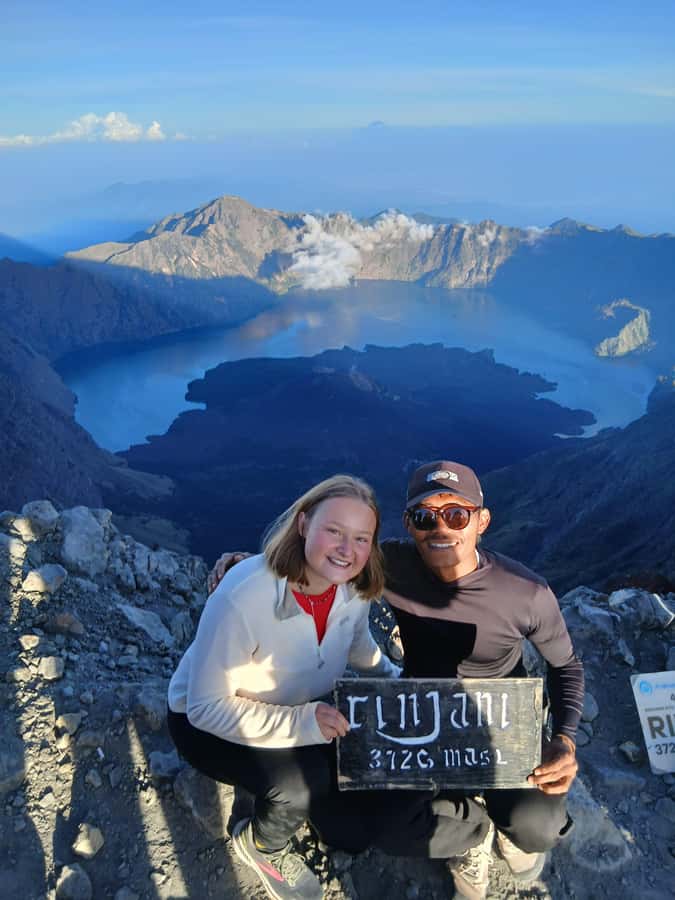
- The 2:00 am Wake-Up to the Summit at 3,726 m
- The Descent: Summit Satisfaction Plus a Long 5-Hour Finish
- What’s Included for $143: The Value That Actually Helps
- Permits and the Separate National Park Cost
- Gear Checklist That Matches the Actual Weather
- Who This Trek Suits Best (and Who Should Skip It)
- Getting to and from the Trail: Senaru Pickup and Bangsal Transfers
- The Small Things That Can Make or Break Your Day
- Should You Book This Mount Rinjani 2D-1N Summit Trek?
- FAQ
- How long is the Mount Rinjani 2D-1N summit trek?
- Where does the trek start?
- What time do you start the summit climb?
- What altitude do you reach at the summit?
- Are meals and water included?
- What about the national park permit cost?
- What should I bring for weather and comfort?
- Is this trek suitable for kids or people with health issues?
- What’s the cancellation window?
Key things to know before you go
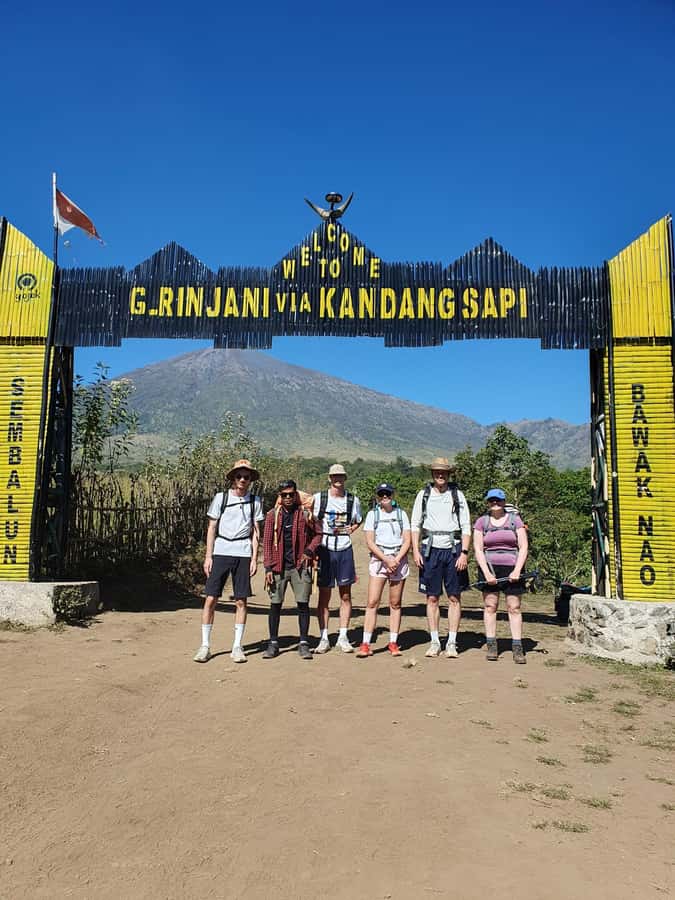
- Sembalun start: Gentle climbing through open meadow makes day 1 feel like a warm-up.
- Crater-rim camping at 2,639 m: Expect big skies for sunrise and sunset.
- Summit at 3,726 m: You’ll chase sunrise around 6:00 am after an early 2:00 am wake-up.
- Pace + safety: The experience runs smoothly with guides who prioritize steady steps and check-ins.
- Bring better lighting: Some trekkers found the headlamp didn’t help much on the summit push.
- Value for $143: Guide, porter, meals, water, and post-trek transport help you travel lighter.
Sembalun Meadows to Pos 1 and Pos 2: Where the Trek Begins
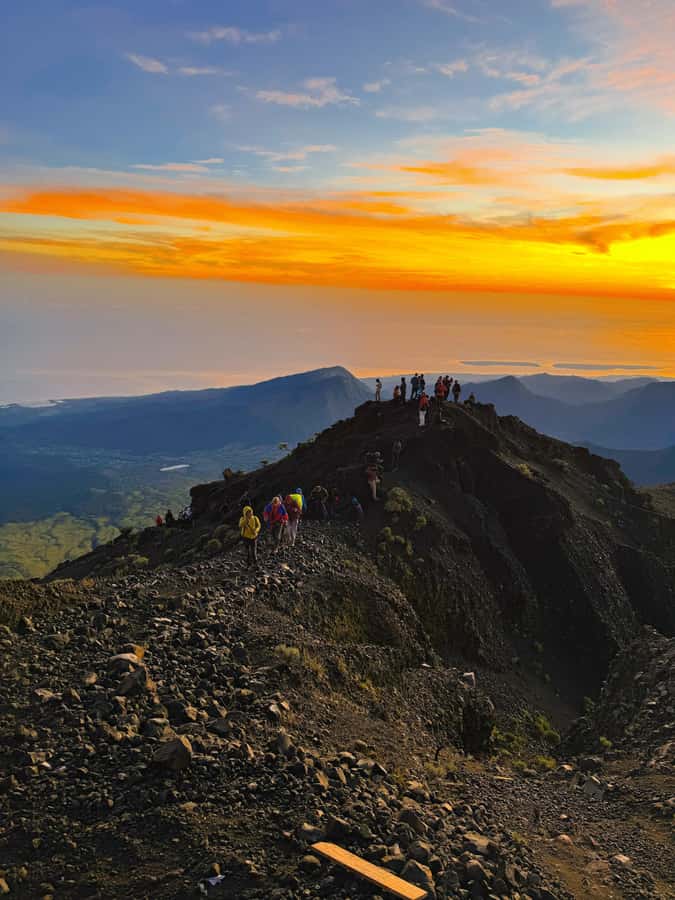
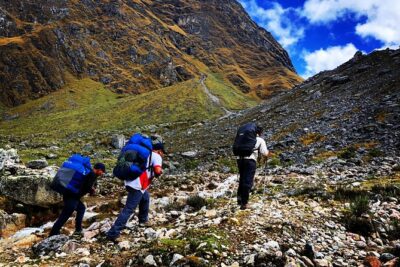
Your day starts with pickup from your hotel area around 7:00 am, then a drive to the trailhead in Sembalun. You’ll begin walking around 8:00 am with a gentle climb through open meadow. This part matters more than it sounds. Rinjani’s big moments come later, but the meadow section helps you find your breathing, sort out your shoe fit, and get into that rhythm where you can keep a steady pace for hours.
After about 2 hours, you’ll reach Pos 1 (1,300 m). Think of it as your first real “you made it” checkpoint. About 40 minutes later is Pos 2 (1,500 m), where lunch is served. Lunch here is a smart move: it breaks up the effort and gives you energy before the trail starts climbing more seriously.
Even if you’re in good shape, don’t rush the early segments. You’re gaining elevation fast, and the body can feel surprisingly sluggish if you go out too hard at the start. Use the early time to test your layers and hydration. The trek provides 3 liters of water per person per day, but if you sweat heavily, you’ll want to drink regularly rather than wait until you feel thirsty.
You can also read our reviews of more tours and experiences in Indonesia.
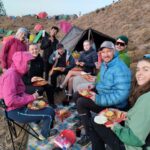
Lunch Stops and Pos 3 (1,800 m): Building Strength Before the Crater Rim
After lunch at Pos 2 (1,500 m), you continue toward Pos 3 (1,800 m). This stretch keeps your calves working but doesn’t feel like the full “end boss” yet. It’s also where you start noticing how the air changes as you go higher—cooler temperatures at night are part of the deal, and early elevation sets the stage.
Once you reach Pos 3, you’ll rest and regroup before heading for the Sembalun crater rim at 2,639 m. This is a key part of the trip because it’s not just a climbing milestone. It’s your overnight location, which means you’re earning your views with every step.
From there, you’ll spend around 3 hours climbing to the crater rim, including a long, steep section. That’s where I’d expect the most fatigue on day 1—especially if you’re not used to consistent uphill walking. The good news: by now you’ve already warmed up, eaten, and found your pace.
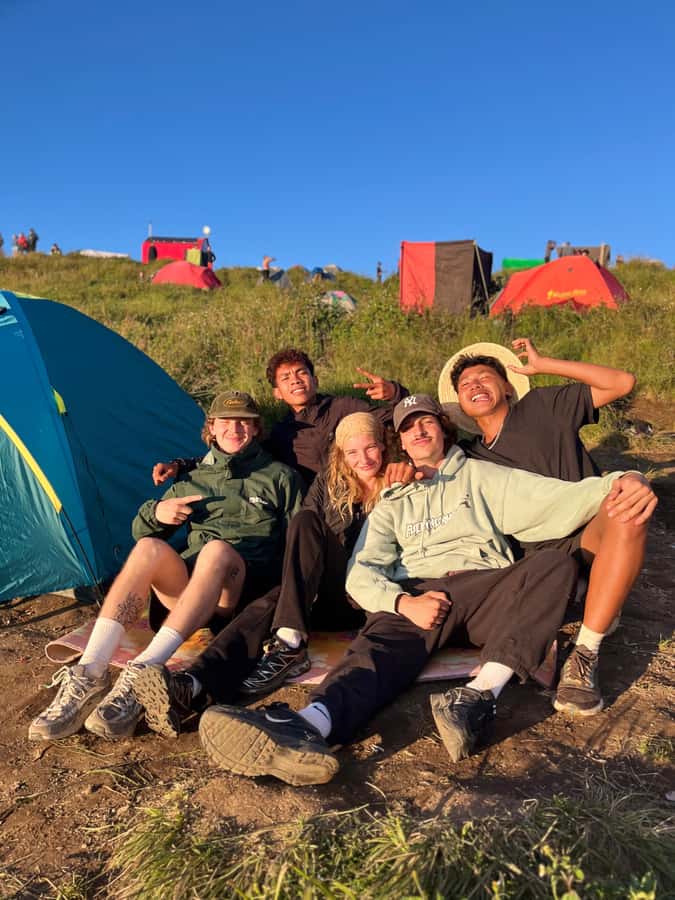
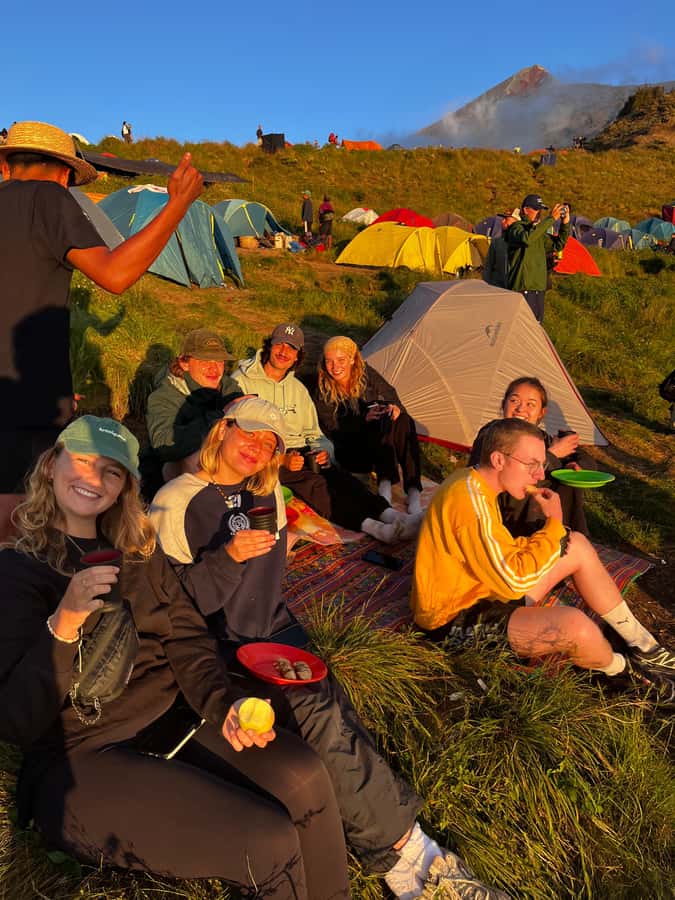
When you arrive at the crater rim, you’ll camp overnight. You can enjoy the sunrise and sunset from this spot, which is basically why people do this trek in the first place. You’re getting a full day of high-altitude drama: daylight transitions, colder air, and the kind of silence you only hear when you’re above the usual noise.
Crater Rim Camping at 2,639 m: Sleep for Sunrise, Not for Comfort
Camping on the crater rim is the heart of this 2D-1N format. You’re around 2,639 m, and temperatures can drop fast after dark. The trek includes warm-weather planning items in your kit list (like warm clothing and rain gear), and that’s not optional—being cold at night turns the whole experience from fun into grumpy.
On night 1, you’ll likely focus on two things: managing warmth and getting any rest you can. The schedule reflects this. You wake up very early the next day, so don’t expect a leisurely camp morning.
During sunset time, you’ll have the kind of sky that makes you understand why people travel halfway across the world for a volcano viewpoint. And at sunrise, the crater rim becomes a natural stage for the next big moment: the summit push.
One more practical note: because you’re camping, you need to pack smart. Keep essentials accessible so you’re not digging around in the dark. If you’re carrying a camera, decide where it will live during the night—easy access beats rummaging when your headlamp angle and hands are tired.
The 2:00 am Wake-Up to the Summit at 3,726 m
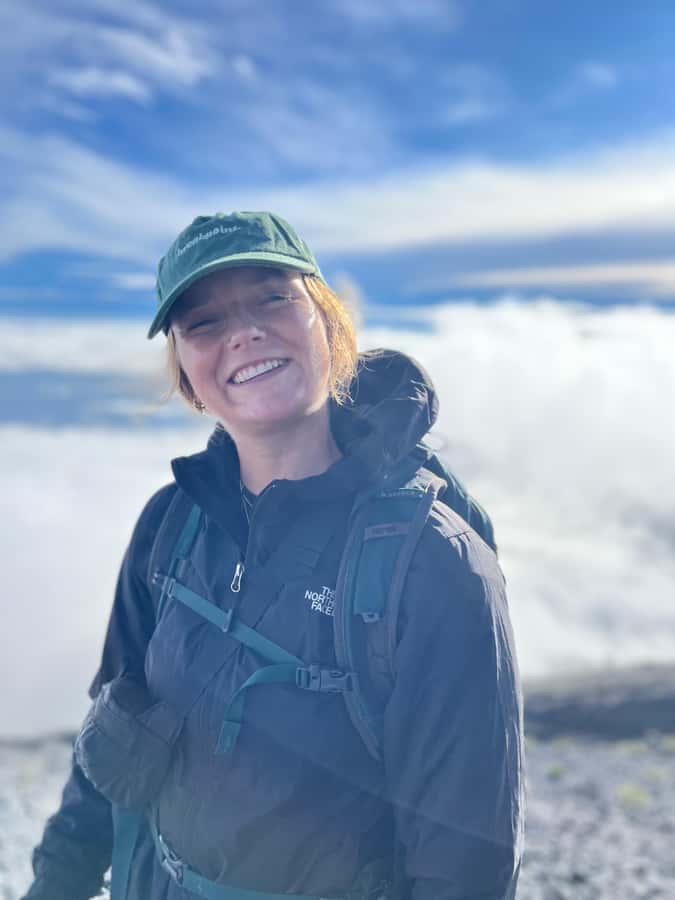
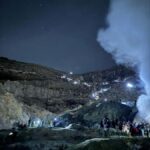
You’ll wake around 2:00 am with a hot drink and a light breakfast. Then you start heading toward the summit at 3:00 am in darkness. This is the section where headlamps matter most, and it’s also where the biggest frustration can happen if your lighting isn’t strong enough.
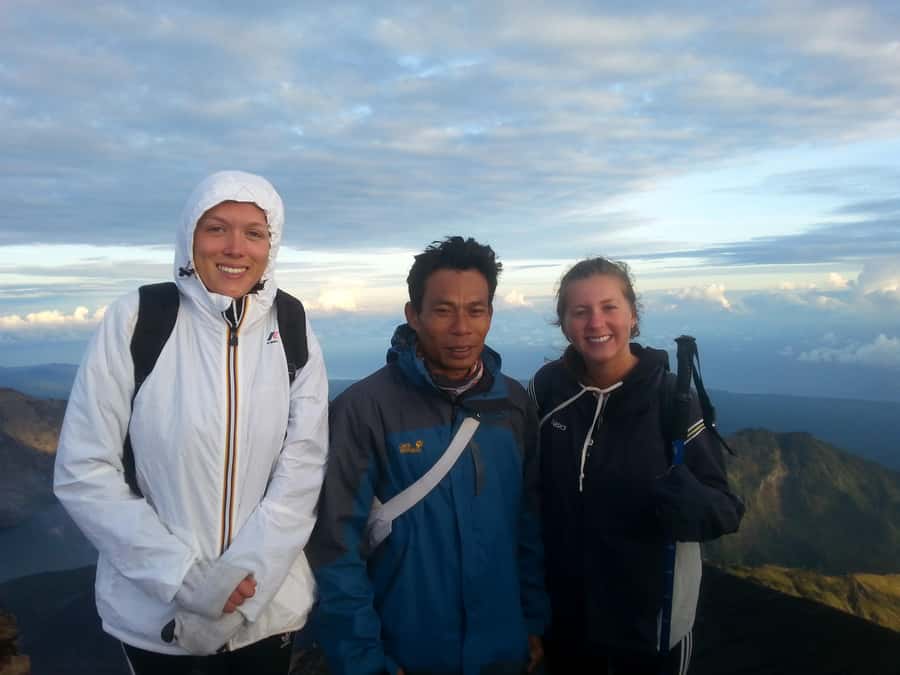
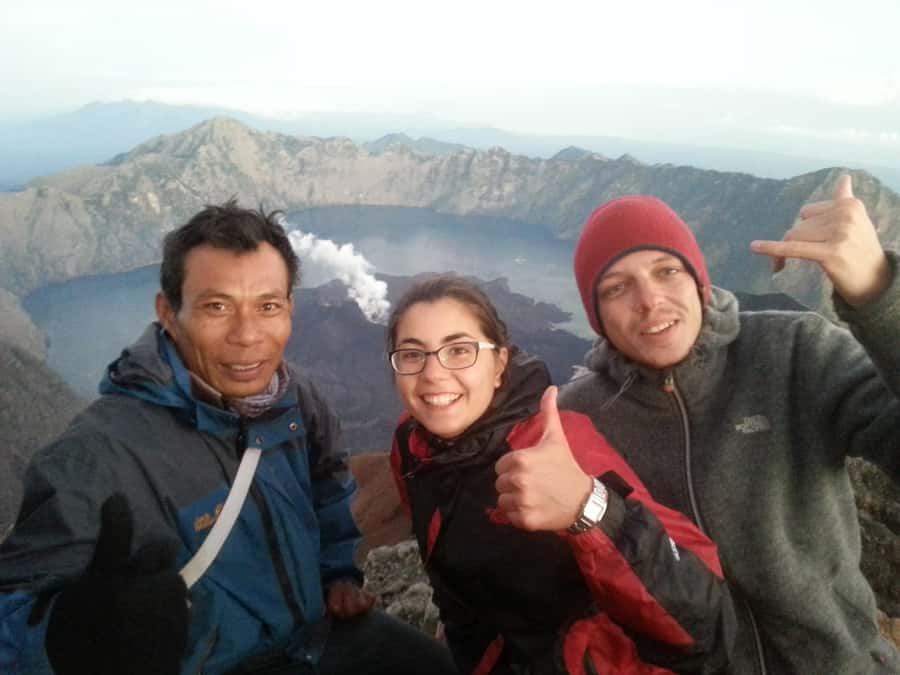
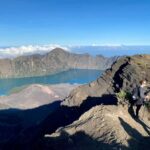
Plan for cold, effort, and concentration. The route climbs from camp up to the top, and you’re aiming to reach the summit around 6:00 am. That timing is built around sunrise, and the reward is cinematic: panoramic views across Lombok island, Mount Bali, Mount Tambora in Sumbawa, and Segara Anak Lake.
This is also where the “challenge” in the program becomes real. The early start means you climb while sleepy, so the most important thing isn’t hero strength—it’s steady steps. One of the strong positives from experience feedback is that the guide team manages pace well. You’ll generally get taken seriously for safety: stopping when needed, keeping you from sprinting ahead, and making sure everyone stays together.
And yes, the summit itself is high—3,726 m—but it’s not just about height. It’s about timing and atmosphere. You’re up there when clouds and wind are often calmer, and when the world below is slowly waking up.
If you’re worried about lighting, consider bringing a strong backup or testing your gear before pickup so you’re not relying on the last 10% of battery at the worst time.
The Descent: Summit Satisfaction Plus a Long 5-Hour Finish
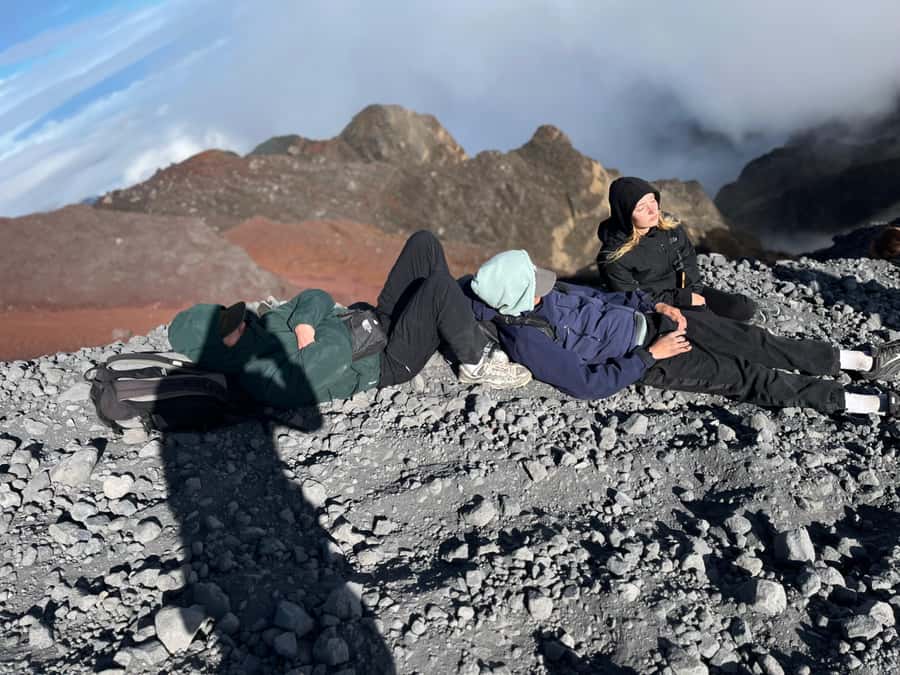
After reaching the summit and enjoying sunrise, you’ll descend toward the next camp area. The descent back to camp takes about 2 hours, and then you’ll have breakfast. That matters because your body will be low on energy and high on vibration—downhill hiking works your knees and thighs in a different way than uphill.
Then you continue descending all the way back to Sembalun village, which takes about 5 hours to reach. This is a long finish day. Don’t underestimate it. Even when you feel “done” at the summit, your legs still have to carry you for hours.
One of the best strategies is to treat the descent like a workout in control. Short steps, steady cadence, and good foot placement help a lot. If you rush, the trail becomes a knee-grinder.
When you finish, the trek includes transport after the trek to places like Bangsal harbour, Mataram, and Senggigi. That’s a big value point. You don’t have to wrestle with extra logistics right after hiking exhaustion, which is when mistakes happen.
What’s Included for $143: The Value That Actually Helps
At $143 per person, this trek can be good value because it covers the stuff that’s hardest to organize last-minute when you’re already tired: staffing, food, and getting you to and from the trail.
Here’s what’s included:
- Experienced trekking guide
- Porter to carry your equipment
- Pick-up transport from your hotel area in Senaru to the start point in Sembalun
- Transport after the trek to Bangsal harbour and onward to Mataram and Senggigi
- Trekking insurance
- Water: 3 liters/day/person
- Meals (lunch, breakfast, dinner for 3 times)
- Fruits + cookies chocolate
- Headlamp, gloves, and hiking poles (the poles are listed as hiking pools)
- Luggage storage at the Cakrawala Rinjani office
- A clear plan for the two-day schedule, including the early start
Value check: Most independent travelers would pay extra for a guide, food on-trail, and post-trek transfers. The porter also reduces the load you have to manage during the steep sections. That doesn’t mean it’s easy. It means you can focus on your footing and breathing.
One caution from real-world experience: the headlamps were considered could be better for some hikers, especially when you’re hiking in near-darkness toward the summit. So while it’s included, I’d still treat strong lighting as something you might want to upgrade yourself.
Permits and the Separate National Park Cost
One cost you’ll handle separately is the national park permit:
- IDR 200k per day
- or IDR 400k for 2 days
That’s the kind of expense that can surprise people if they assume the listed price includes everything. Plan for it. If you’re budgeting, treat this permit as a required add-on for a smooth, legitimate trek.
This also helps you understand something important: the trek is tied to official access rules. You’re not just walking up a trail. You’re entering a protected area, and the permit is part of that reality.
Gear Checklist That Matches the Actual Weather
The trek gives you some essentials, like headlamp and gloves, but you still need to bring the right basics. Here’s the practical kit list that aligns with the conditions described:
- Warm clothing (night and early morning at altitude can feel brutal)
- Hiking shoes
- Rain gear
- Sunscreen
- Camera
- Snacks
- Garbage bag
- Water (you’ll get 3 liters/day, but carrying a personal bottle or extras can help if you run through water faster)
Two practical tips:
- Treat warmth as a performance upgrade. If you’re cold, you hike slower and get less enjoyment.
- Pack for dark mornings. Your hands will be busy; you’ll want quick access to the camera and snacks without opening everything.
If you tend to run cold, consider extra layers even if the daytime feels warm in Sembalun. Altitude changes the rules.
Who This Trek Suits Best (and Who Should Skip It)
This is a trek for people who are comfortable with uphill walking for long stretches and an early-night schedule. It’s marked as not suitable for:
- Children under 12
- Pregnant women
- People with back problems
- People with heart problems
If you’re new to hiking, you’ll want to think hard. The program is described as good for experienced trek and people with good level conditions. That doesn’t mean you need to be an ultra athlete. It means your body should handle steep climbs, a dark summit push, and a long downhill finish.
On the other hand, if you like real mountain challenges and want sunrise views that feel earned, this trek fits your taste. The route is intense, but the planning and guiding help make it manageable.
Getting to and from the Trail: Senaru Pickup and Bangsal Transfers
One piece of logistics that matters is where you start and where you end. You’ll have:
- Pickup in the Senaru area to reach the trail start
- End of activity returning to the meeting point
- Transport after the trek to Bangsal harbour, and onward to Mataram and Senggigi
If you’re coordinating your day around Lombok ferries, pay attention to the Bangsal harbour pickup time. The info asks you to send pickup details in advance so timing stays clean.
Also note: if you request a pickup outside Port Bangsal, there’s an extra cost of 150k per person. That’s the kind of small add-on that can blow up your budget if you forget to confirm it early.
The Small Things That Can Make or Break Your Day
Based on experience feedback, the biggest positives are straightforward:
- The overall operation runs smoothly.
- The team of guides is experienced, friendly, and keeps you safe.
- They take the time needed and adjust to the group pace.
The summit push can feel hard. That’s normal. What matters is whether the guide helps you handle it without panic. Here, the guiding approach seems to focus on safety and steady pacing.
The main drawback is equipment quality—specifically the front lamps. If you’re sensitive to low visibility or you rely on lighting for safe footing, consider bringing your own stronger headlamp as a backup.
And remember: the trek includes gloves and a headlamp, plus poles. That’s helpful for grip and balance on steep and slippery areas.
Should You Book This Mount Rinjani 2D-1N Summit Trek?
Book it if you want a true volcano summit experience with a schedule built around sunrise and you’re physically ready for a steep, early, high-altitude day. You’ll likely love the crater-rim camping at 2,639 m and the panoramic summit views over Lombok, Bali, Tambora, and Segara Anak.
Skip it (or choose a gentler route) if steep uphill walking, dark early starts, and a long downhill finish would be too stressful for your body. And if you’re the type who hates questionable lighting, treat the included headlamp as a baseline, not a guarantee—plan a backup.
FAQ
How long is the Mount Rinjani 2D-1N summit trek?
It runs for 2 days and 1 night, with walking on day 1 and a very early summit climb on day 2 before descending back to Sembalun village.
Where does the trek start?
The trek starts in Sembalun village, with pickup from your hotel area around 7:00 am.
What time do you start the summit climb?
You wake up around 2:00 am, and the summit climb starts around 3:00 am, aiming to reach the summit around 6:00 am.
What altitude do you reach at the summit?
The summit altitude listed is 3,726 m.
Are meals and water included?
Yes. You get water (3 liters/day/person) plus lunch, breakfast, and dinner for 3 times, along with fruits and cookies chocolate.
What about the national park permit cost?
The national park permit is not included. It’s listed as IDR 200k per day or IDR 400k for 2 days.
What should I bring for weather and comfort?
Bring warm clothing, hiking shoes, rain gear, sunscreen, snacks, a camera, and a garbage bag.
Is this trek suitable for kids or people with health issues?
No. It’s not suitable for children under 12, pregnant women, or people with back problems or heart problems.
What’s the cancellation window?
You can cancel up to 24 hours in advance for a full refund.