REVIEW · LOMBOK
Rinjani trekking 2D 1N RIM
Book on Viator →Operated by Green Rinjani Trekking · Bookable on Viator
Senaru to the crater rim is the kind of hike that makes your camera work overtime. This 2D/1N Mt. Rinjani trek centers on going from the jungle up to the 2,641m crater rim, camping overnight, then watching sunrise and descending back to Senaru. You get a private tour, so the pace can match your group, not some loud speed-demon standard.
What I like most is how the day is paced with real recovery breaks and snack stops: Montong Satas (soft drinks, crackers, fresh fruits) and Mondokan Lokak (lunch cooked on the spot). I also appreciate the included package that goes beyond a guide—camping gear, food, drinks, bottled water, and even camping toilet setup mean you can show up with just your hiking basics.
One thing to plan for: the trail is stony and steep in sections, and you’ll want real trekking shoes (not included). Also, if you pack something small and tempting, expect monkeys to treat it like a snack buffet—so keep hands on your bag.
In This Review
- Key things to know before you go
- Senaru Start: Coffee Plants, Jungle Shade, and the First Climb
- Pos 1 to Pos 2 (1,500m): Montong Satas Break With Real Refuel
- Pos 2 to Pos 3 (2,000m): Mondokan Lokak Lunch and Monkey Safety
- Rainforest Out to the Crater Rim: Steep Savanna, Stony Steps, Big Views
- Crater Rim Camping at 2,641m: Sunset Over the Gilis and Agung
- Day 2 Sunrise and the Long Descent: Back to Senaru in 5–6 Hours
- Food, Drinks, and Included Gear: Why the $205 Price Can Make Sense
- Gear and Clothing: What You’ll Miss If You Arrive Unprepared
- The Private Tour Setup: Guide Names, Porter Power, and English-Friendly Help
- Who Should Book This Rinjani Crater Rim Trek (and Who Should Rethink It)
- Should You Book This 2D/1N Rinjani Crater Rim Trek?
- FAQ
- What time does the trek start?
- Is this a private tour?
- How long is the trek on each day?
- What’s included in the price?
- What should I bring that isn’t included?
- Is there an option to hire an extra porter?
- Is cancellation free?
Key things to know before you go
- Private pace with a local guide and porters, so you can move at your group’s comfort level
- Camping by the rim with sunset and sunrise views over the Gilis and Bali’s Mt. Agung
- Stops with altitude changes (about 1,500m → 2,000m → 2,641m) and built-in breaks for recovery
- Food and gear covered: tents, sleeping bags, sleeping mats, and meals plus coffee/tea
- Rainforest to savanna changes your hike vibe fast—bring layers for humid mornings and cooler nights
Senaru Start: Coffee Plants, Jungle Shade, and the First Climb
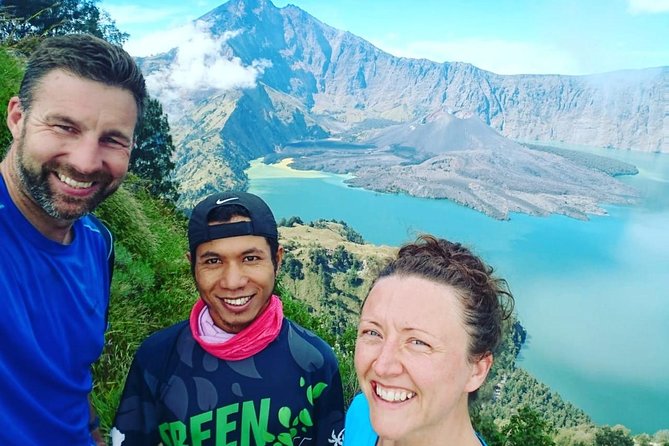
The day begins early, around 7:30–8:00am, while Senaru is still cool. Right away, you’re walking through open views for about the first half hour. Expect coffee-tree greenery, bamboo, and plants used by local people—a nice warm-up before the harder terrain shows up.
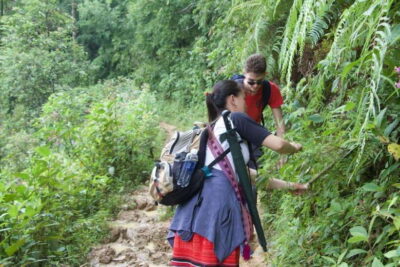
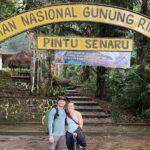
About 30 minutes in, you pass through the gate into tropical rainforest. This is where the hike feels more protected: shade, humid air, and a darker green tunnel of trees. There’s a 15-minute break early on in the rainforest, then you continue deeper into the jungle.
One of the best practical parts of this section is the “rhythm.” You’re not just grinding uphill the entire time. You’re moving, pausing, and letting your breathing settle. You also get constant little distractions: you might spot black/brown monkeys moving and calling above you. It’s exciting—until you realize those same monkeys later decide your bag looks delicious.
Consideration: bring insect repellent and sunscreen. The rainforest helps with direct sun, but you still need sun protection when you emerge from cover later.
You can also read our reviews of more tours and experiences in Lombok.
Pos 1 to Pos 2 (1,500m): Montong Satas Break With Real Refuel
You’ll register at Rinjani Trekking Centre, Pos 1 in Senaru village. After that, the itinerary heads to Pos 2: Montong Satas (about 1,500m).
Your trek to Pos 2 takes roughly 3 hours, and it’s a good benchmark for your energy level. By the time you reach Montong Satas, you’re ready for the kind of break that actually matters: lay down, recover, and reset. This stop isn’t just a photo moment. Your guide and porters prepare soft drinks, crackers, and fresh fruits like banana and pineapple.
This is also where you learn a subtle but important hiking lesson: you’re not racing to the next point. You’re building stamina for the steeper part ahead. If you’ve ever started strong and faded later, this break is the gear-shift that prevents that.
Pos 2 to Pos 3 (2,000m): Mondokan Lokak Lunch and Monkey Safety
From Pos 2, you continue about 2 hours to Pos 3: Mondokan Lokak (around 2,000m). You can spot local strawberries along the way, especially in June, July, and August.
Mondokan Lokak is where the trail starts to feel more “basecamp-ish.” Your guide and porters cook lunch here, and you’ll get fresh fruits and biscuits as snacks. It’s also a good time to hydrate properly because the next stretch pushes you out of the rainforest.
After lunch, you rest for about 1.5 hours at this stop. That rest matters. It’s one of those times where you’ll either feel fresh for the crater rim push—or you’ll realize you didn’t eat/drink enough earlier.
Now for the part you need to take seriously: at Mondokan Lokak (and beyond), there are brown monkeys. They may try to steal small items from your pack. Keep your day pack zipped and on you, not dangling where you can’t reach it.
Rainforest Out to the Crater Rim: Steep Savanna, Stony Steps, Big Views
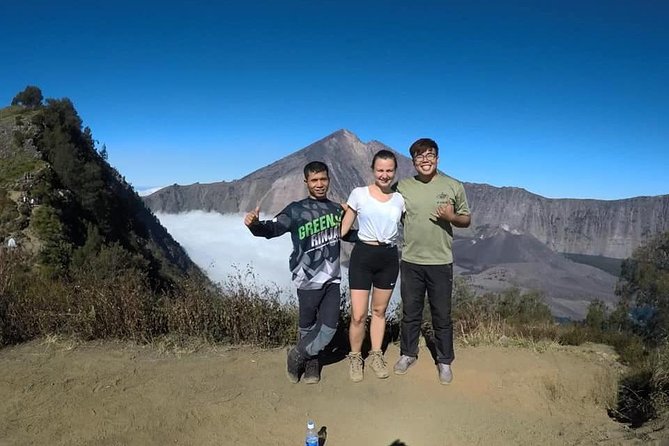
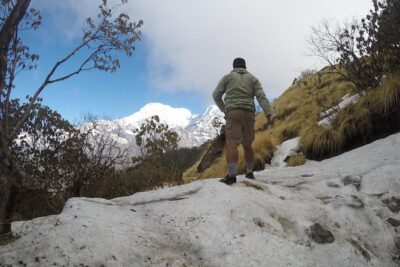
From Mondokan Lokak, you head toward Crater Rim (2,641m). The first part of this section is about 25 minutes, still within the transition zone. Then you come out of the rainforest and enter savana on the hills with more open views.
This is where the hike shifts. The scenery spreads out, but the trail gets quite steep. You’ll want to take your time—short steps, steady breathing, and let your porters do their job with the heavier load. The experience is still “moderate physical fitness,” but this is the portion where your legs learn new vocabulary.
There’s a break point called Cemara Lima where you stop again (the trek notes mention views back toward Senaru village). After that, it’s about 1 hour to Pelawangan 1 Senaru Crater Rim.
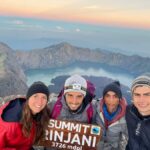
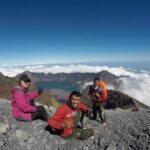
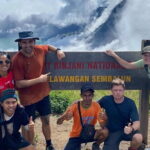
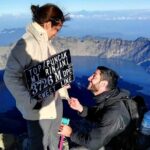
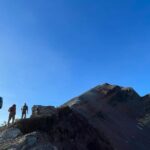
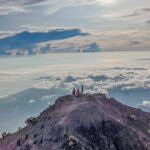
When you finally reach the rim, you’re at 2,641 meters, staring at the volcanic world you came for. And it’s not just pretty—this is the real reason people do Rinjani.
Crater Rim Camping at 2,641m: Sunset Over the Gilis and Agung
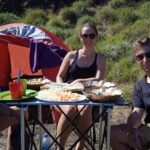
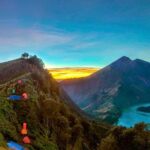
Camping on the rim is the emotional peak of this trek. Your overnight setup includes tent, sleeping bag, camping pillow, camping chair and table, a toilet tent, and sleeping mat. That’s a lot of comfort handled for you, especially if you don’t want to haul gear around Lombok.
After you settle in, you’ll have time for the signature views:
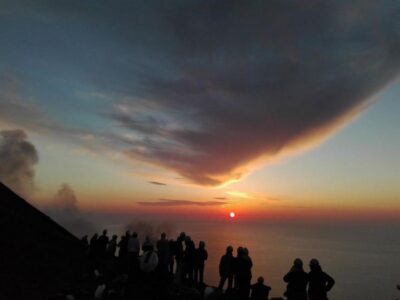
- Sunset over the 3 Gilis
- Bali’s Mt. Agung in the distance
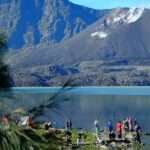
- The volcanic drama around Segara Anak (the crater lake area)
- Rinjani’s peak (3,726m) as a landmark on the horizon
At night, it’s also about the simple stuff: star visibility and that quiet feeling you only get from high, open places. The trek plan mentions the best sleep under the stars, and from this kind of elevation, you should expect cooler air than you’re used to around the coast.
Practical note: bring layers for camp. Even if your day hike starts cool, nights at the rim can feel chilly.
Day 2 Sunrise and the Long Descent: Back to Senaru in 5–6 Hours
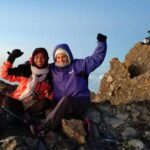
Day 2 begins with breakfast and sunrise, then time for photos with the crater lake views. This part matters because you’re getting both moods: the rim’s sunrise glow and the chance to confirm what you saw the night before.
After pictures and eating, you start descending back to Senaru village. This return takes about 5–6 hours, which is long enough that you’ll want to protect your knees and keep your foot placement careful. The trail is coming down from a stony, steep section, so use steady pacing rather than speed.
You’ll reach the Rinjani Trekking Centre around 12:30–1:00pm, then a private car returns you to your next destination.
Food, Drinks, and Included Gear: Why the $205 Price Can Make Sense
At $205 for a 2-day/1-night crater rim experience, the key question is what you’re actually buying. In this case, you’re not just paying for “someone to lead you.” You’re paying for the whole system:
- Guide and porters
- Food and drink (including breakfast, lunch, dinner, snacks, coffee/tea, bottled water)
- Alcoholic beverages are included
- Camping gear (the bulky stuff like tent and sleeping bag)
- Pick-up and transfer
That matters because trekking costs pile up fast when you start adding rentals, meals, and “where do I sleep?” logistics. Here, a big chunk of the hassle is handled for you, which is great if you want the experience without turning it into a gear-buying project.
What’s not included is also important:
- Extra porter for your own luggage: $22/day
- Headlamp/hand torch
- Long pants/trousers, trekking jacket
- Small daily pack
- Trekking shoes
- Trekking jacket and shoes
- Tips for guide/porter
So, if you already own decent hiking shoes and a headlamp, this can be strong value. If you don’t, the “not included” list is where you’ll spend.
Gear and Clothing: What You’ll Miss If You Arrive Unprepared
The trek notes are practical about footwear and light. You should plan to have:
- Trekking shoes (not included)
- Long pants/trousers (not included)
- Headlamp/flashlight (not included, but you really want it)
- Sun protection: sun block, hat/cap, sunglasses
- Insect repellent
- Windproof jacket (recommended in the pack list)
A small daily pack is also important. The tour includes camping gear, but you still need a personal day pack so you can keep essentials with you—especially during monkey-heavy stretches.
Trekking poles are optional. If you have them, they can help on steep or rocky downhills. If you don’t, you can still do this trek, but expect your legs to work.
Humor with a purpose: you’re carrying less, but your day pack should still be treated like it has VIP contents. Keep it close and zipped.
The Private Tour Setup: Guide Names, Porter Power, and English-Friendly Help
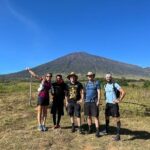
This is a private tour, meaning it’s just your group. That usually improves the experience in two ways: less waiting around, and a better chance your guide can adjust to your pace.
From the guide/porter team details you’ll hear on the ground, you should expect:
- A local guide who manages timing, breaks, and your comfort
- Porters who carry the heavy camping setup and handle camp logistics
- Meals that arrive reliably, including fresh fruit and cooked lunch at the higher camp stops
You might get guides like Dana, Adi, Yun, Ubang, or Sri (names tied to past trek experiences), and porters such as Jamal and Jaka. Different people, same goal: keep you moving safely and fed.
One safety-related takeaway from the way these teams operate: when plans change due to health, communication and adjustment are part of the service. That doesn’t mean you should gamble with your fitness, but it does suggest the team takes wellbeing seriously.
Who Should Book This Rinjani Crater Rim Trek (and Who Should Rethink It)
This trek fits you best if:
- You want a classic crater rim experience with sunset and sunrise
- You’d rather have gear and camp logistics handled
- You’re okay with steep, stony sections and a 5–6 hour descent
It might not be your best choice if:
- You hate hiking on rocky paths
- You’re missing basic items like trekking shoes and headlamp
- You’re not comfortable with crowds of wildlife (monkeys) that may go after small belongings
If you can handle moderate physical fitness demands and you respect the steep parts, you’ll likely feel proud at the rim.
Should You Book This 2D/1N Rinjani Crater Rim Trek?
I’d book it if you want the heart of Lombok’s volcano experience without turning it into a DIY operation. The combination of private pacing, included camping gear, and meals + bottled water is exactly how you protect the enjoyment of the hike.
Do it with one mindset: you’re buying a full-value trekking package—then you show up with the basics (especially shoes and a headlamp) and keep your day pack secure around monkeys. If you’re prepared, this is one of those trips where the views feel earned.
FAQ
What time does the trek start?
Start time is 7:00am. The hike itself begins around 7:30–8:00am in the cool morning.
Is this a private tour?
Yes. It’s a private activity, so only your group participates.
How long is the trek on each day?
Day 1 is roughly 6–7 hours total hiking time plus breaks, ending with camping overnight at the rim. Day 2 includes a 5–6 hour descent back to Senaru.
What’s included in the price?
The package includes overnight accommodation, trekking camping equipment (tent, sleeping bag, sleeping mat, toilet tent, etc.), food and drinks (including bottled water, coffee/tea, lunch, dinner, snacks, and alcoholic beverages), a local guide and porter, and pick up and transfer.
What should I bring that isn’t included?
You should bring headlamp/hand torch, trekking shoes, long pants/trousers, and a trekking jacket. A small daily pack is also listed as not included.
Is there an option to hire an extra porter?
Yes. You can arrange an extra porter for your own luggage for $22/day.
Is cancellation free?
Free cancellation is available up to 24 hours in advance for a full refund. If you cancel less than 24 hours before start, the amount paid is not refunded.