REVIEW · LOMBOK
2D1N Senaru Crater Rim Trekking
Book on Viator →Operated by Lombok Volcano Trekking · Bookable on Viator
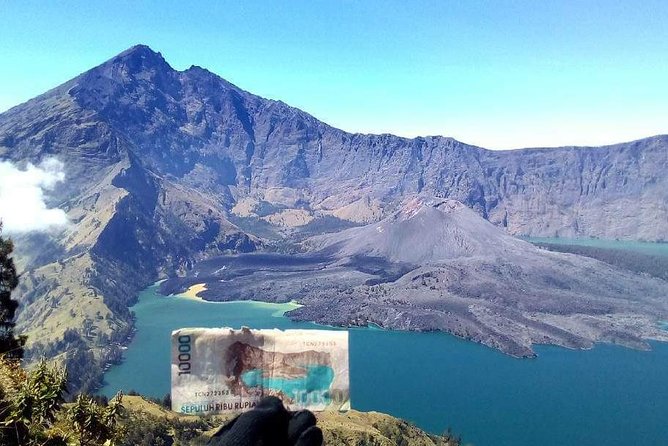
A volcano rim night feels unreal. This 2D1N trek from Senaru takes you up to Mt. Rinjani’s crater rim for sunset and sunrise, with big views that stretch to the Gili Islands and Bali’s Mount Agung.
You climb through forest, then grassland, then sleep on the rim in proper camping comfort. The whole point is that you get the highlight people come for, without trying to force the full summit-style route.
I love that it’s truly private, so your guide can set the pace that fits your group. I also love the camp setup: mattresses, pillows, sleeping bags, and even a toilet tent (with paper), which makes the “crater rim night” way more doable than you’d expect.
One thing to consider: even on the easier route, day 1 includes a steep ascent totaling more than 2,000 meters in elevation, so you’ll want solid stamina.
In This Review
- Key Highlights Worth Getting Excited About
- Senaru Start: What Makes This Trek Feel Manageable
- Day 1: Forest Trails, Steep Grassland, and the Rim at 2,641m
- Pos 1 & Pos 2: Dense forest, first breathing checks
- Lunch at Pos 3 (2,000m): A useful milestone
- Final push to the crater rim: Steeper trail energy
- The rim camp view: a payoff that starts before sunset
- Camp Setup at the Rim: Comfort on a Volcano Night
- Day 2: Sunrise, Breakfast, Snacks, and the Descent Back
- Price and Real Value: What $156 Actually Covers
- Guides and Porters: Why People Feel Looked After
- What to Bring (and What You’ll Be Missing)
- Who This Trek Suits Best (and Who Should Think Twice)
- Should You Book This Senaru Crater Rim Trek?
- FAQ
- Where does the trek start?
- What time does the trek begin?
- How long is the trek?
- Is this a private tour?
- What’s included in the camp at the crater rim?
- How much water do you get during the trek?
- Are meals included?
- Is the Rinjani National Park permit included?
- What should I bring?
- What happens if I cancel?
Key Highlights Worth Getting Excited About
- Private guide + porters who carry the cooking gear and camping equipment, so you can focus on the hike
- Crater rim camping comfort with mattresses, pillows, sleeping bags, and a toilet tent
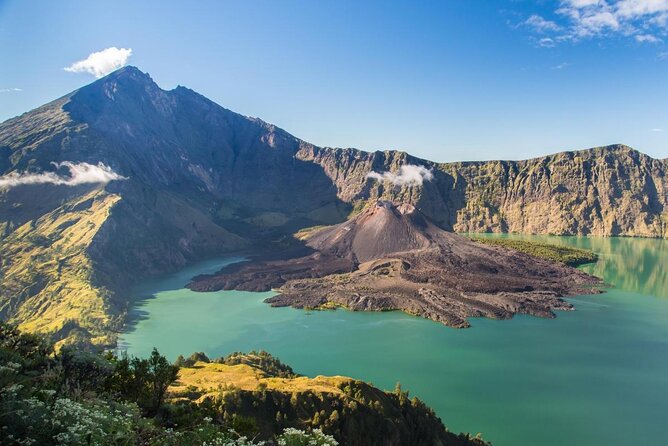
- Big sunset and sunrise sightlines spanning the Gili Islands and Mount Agung
- Route variety from dense tropical forest to grassland as you gain altitude
- Real daily hydration with 3 litre mineral water per person for the trek days
- Camp location at the rim (2,641m), meaning you’re not just near the action—you’re on it
Senaru Start: What Makes This Trek Feel Manageable
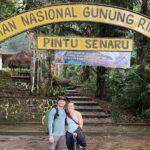
The day kicks off in Senaru, starting at 7:00am at the Lombok Volcano Trekking office on Jl. Pariwisata. You’ll register at the Rinjani Trek Centre in Senaru (starting point listed at 601m). This matters because you’re not scrambling last-minute after meeting your guide—you begin the hike with everything lined up.
This is a private tour, meaning it’s only your group. That changes the whole vibe. You’re not boxed into a fast tempo to match strangers. Your guide can adjust pacing, rest stops, and how you handle the uphill rhythm—important on a trek that can feel brutal if you go out too hot.
One more practical touch I appreciate: there’s luggage storage available at the VolcanoTrekking office in Lombok. So you don’t need to juggle bags you don’t want on the trail.
You can also read our reviews of more tours and experiences in Lombok.
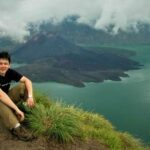
Day 1: Forest Trails, Steep Grassland, and the Rim at 2,641m
Day 1 is the workday. You start at a low elevation (601m) and climb all the way to the crater rim at 2,641m, with lunch along the way. That elevation gain is the main reason people call Rinjani hard—even on the “easiest” rim option. You’re climbing more than 6,500 feet (2,000m) in a day.
Pos 1 & Pos 2: Dense forest, first breathing checks
Early on, you trek through dense tropical forest and make stops at Pos 1 & Pos 2. These breaks aren’t just for photos. They’re where your body finds its climbing pace, and where your guide can check how everyone’s doing—especially with the heat in the lower forest stretches.
Lunch at Pos 3 (2,000m): A useful milestone
Lunch happens at Pos 3 (2,000m). That’s a big deal. It gives you a real mid-trek landing point—both physically and mentally. At that height, you’ll likely feel the air change a bit and you’ll understand why the rim is a separate world.
Final push to the crater rim: Steeper trail energy
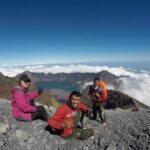
After lunch, you move onto grassland and a steeper trail up to Senaru Crater Rim (2,641m). Grassland climbs can feel more exposed and less forgiving underfoot. This is where having porters is more than convenience: it reduces fatigue so your legs can handle the final pitch.
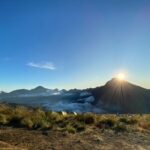
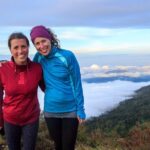
The rim camp view: a payoff that starts before sunset
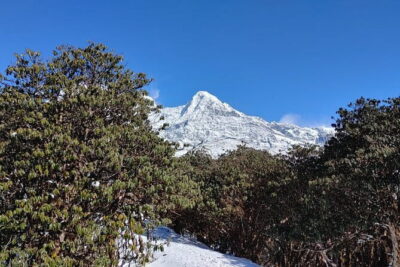
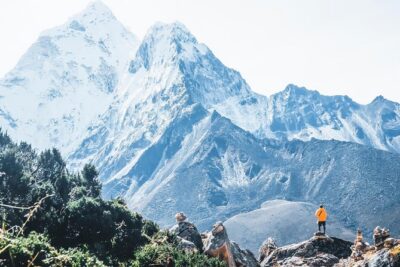
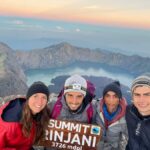
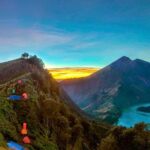
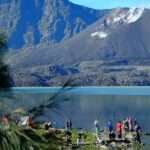
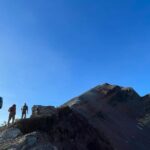
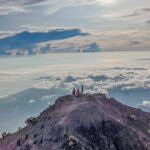
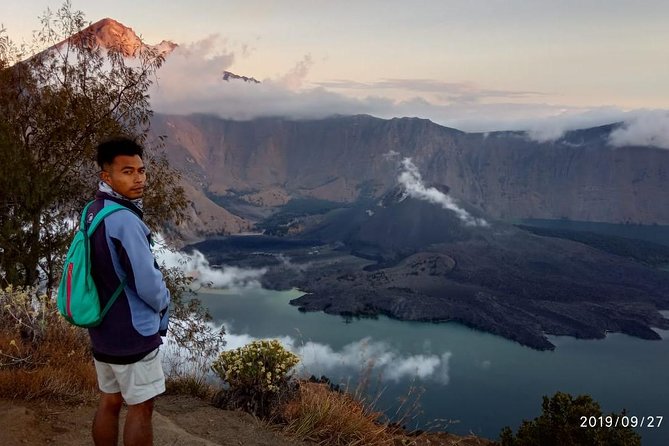
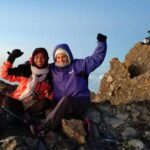
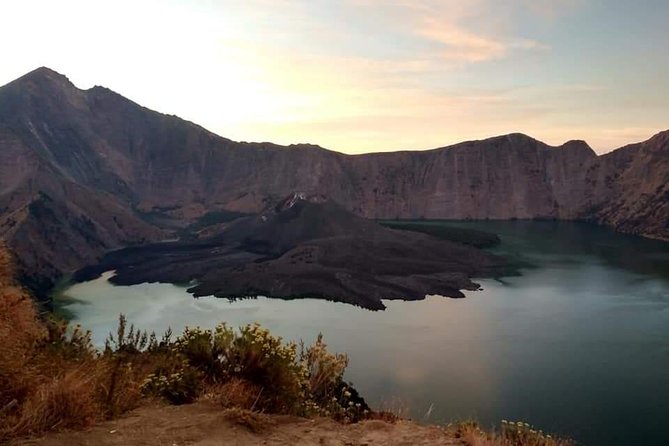
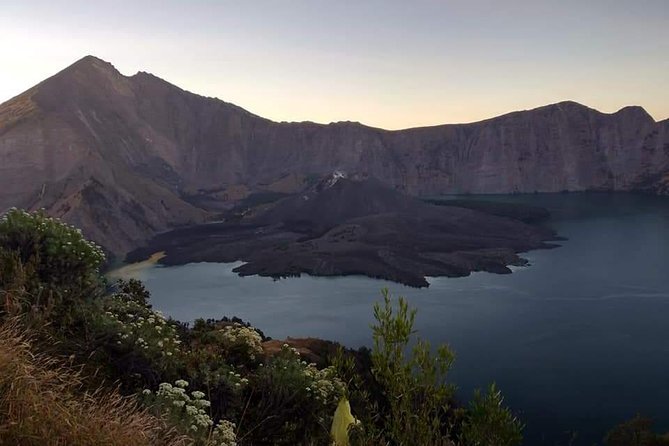
When you reach the rim, you don’t just “arrive.” You set camp with views that include sunset, Mount Agung (Bali), the Gili Islands, Mt. Rinjani’s summit area, Segara Anak Lake, and the Gunung Baru volcanic cone. The rim is where the trek earns its reputation.
Camp Setup at the Rim: Comfort on a Volcano Night
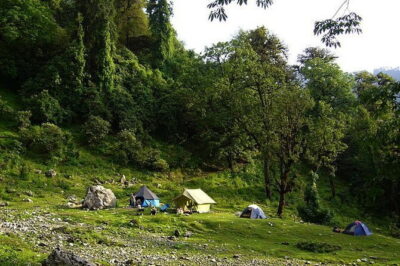
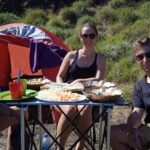
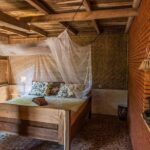
Sleeping on a crater rim sounds like a rough, cold survival story. In practice, this trek is designed to keep it comfortable enough that you can actually enjoy the view and not just endure the night.
Your camp setup includes:
- tent plus a toilet tent
- mattress and pillow
- sleeping bag
- paper for the toilet tent
This is a big quality-of-life upgrade compared to the basic “sleep anywhere” style camping you sometimes see on Indonesian hikes. One reason guides like Mario, Benji, Anton, Lim, and Rudy show up in many positive experiences is that a calm, organized camp makes the whole outing feel safe and cared for—not chaotic.
And once you settle in, you can focus on the best part: the sky work. You get sunset on day 1 and sunrise on day 2. From the rim, those moments tend to feel bigger because you’re high enough to see multiple volcanic points and islands at once.
Day 2: Sunrise, Breakfast, Snacks, and the Descent Back
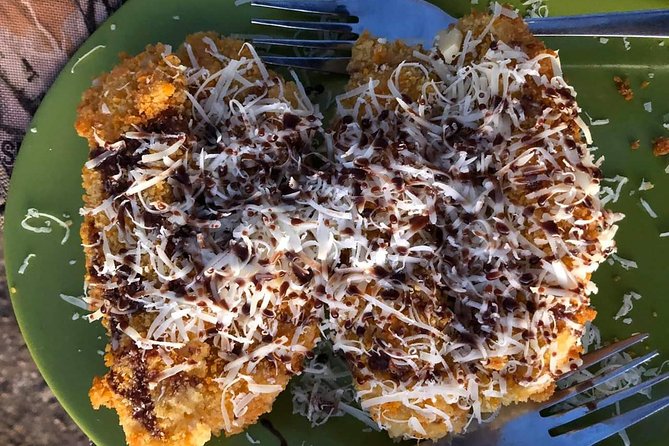
Day 2 starts with an early wake-up for sunrise, followed by a relaxed breakfast. This slower rhythm is a smart contrast to day 1. After the uphill grind, you’re not rushing to the top again—you’re enjoying the morning payoff and getting your energy back.
Then comes the descent. You’ll head back toward Senaru, with snack breaks along the way and lunch at Pos 2. Lunch at Pos 2 is another helpful checkpoint because it keeps you from waiting until you’re totally spent before you eat.
You’re set to arrive back in Senaru around 1pm. That time slot is useful because it gives you part of the afternoon to recover, eat normally, and plan onward travel. It also means you don’t have to build an entire buffer day just to survive the hike.
Price and Real Value: What $156 Actually Covers
At $156 per person for 2D1N, you’re not just paying for a trail. You’re paying for the whole system that makes the trek doable: guide, porters, food, water, and camp gear.
Here’s what’s included:
- an English-speaking trekking guide plus professional porters
- porters who carry cooking gear and camping equipment
- food and drinking water (3 litre mineral water per day/person)
- tent, toilet tent, paper, sleeping bags, mattress, pillow
What’s not included:
- Rinjani National Park permit/tickets: IDR 250,000 per person per day
- accommodation before the trek
- transportation (pick up before and transfers after)
This matters for your budget. If you only look at the $156 headline, it’s easy to think you’re paying the full trip cost. In reality, the national park permits are a real extra day-cost. On the other hand, you’re not paying separately for the guide, the camp gear, or most of the on-trail logistics—those are built into the package. For many hikers, that combination is the value: fewer headaches, less weight on your body, and a rim camp you can sleep through.
Also note: you’ll need your own basic hiking items. Included gear isn’t the same as full kit.
Guides and Porters: Why People Feel Looked After
The recurring theme in strong experiences is the crew. A lot of trekking pain comes from poor pacing, unclear guidance, and unclear expectations. Here, the guide and porters are set up to remove those pressure points.
You’ll be hiking with:
- an experienced English-speaking guide
- professional porters who carry what slows you down (cooking gear and camping equipment)
In many guides’ styles, you can see the difference quickly: staying encouraging on the steep parts, explaining what you’re seeing from the rim, and keeping the group moving steadily rather than sprinting. Names that come up repeatedly include Mario, Benji, Anton, Lim, Jo, and Rudy—not as trivia, but as evidence that the company puts real people in the role of leading you through a physically serious climb.
And yes, tipping is part of the culture. If you do this trek, plan on rewarding the guide and porters for the work they carry on your behalf.
What to Bring (and What You’ll Be Missing)
The trek supplies a lot, but it does not supply your personal hiking essentials. Based on what’s listed as not included, pack:
- trekking shoes
- rain jacket
- long pants
- gloves
- head lamp/hand torch
Even if the weather looks calm in Lombok, you’re climbing from 601m up to 2,641m and spending a night at elevation. Weather can change, and a rain layer plus a head torch makes night-to-dawn life easier.
Also dress for a long day of climbing. Don’t plan on your outfit being the limiting factor. On steep routes, comfort becomes safety.
Who This Trek Suits Best (and Who Should Think Twice)
This trek is listed for travelers with moderate physical fitness—which is fair. But “moderate” doesn’t mean easy. The climb still totals over 2,000 meters in a day and includes a steeper grassland section.
You’ll likely enjoy it if:
- you want the rim experience without pushing to the full summit-style route
- you like clear structure: lunch checkpoints, camp setup, and a guide-led pace
- you want comfortable camping with mattress/pillow/toilet tent (not just a thin sleeping pad and hope)
You might want to reconsider if:
- you’re expecting a gentle hike
- you get frustrated by steep altitude days
- you hate camping with basic facilities, even when they’re improved (toilet tent is included, but it’s still camping)
Should You Book This Senaru Crater Rim Trek?
I’d book it if you want the Rinjani highlight with a realistic plan and real support. The best reason to choose this version is that it combines the crater rim views you came for with camp comfort that keeps the night from becoming a misery test. The private guide setup is also a practical advantage: you’re not fighting the pace of a mixed group.
I’d think harder before booking if you’re not confident in uphill endurance. Day 1 is steep, and that can catch people off guard. Also budget for the national park permit (IDR 250,000 per person per day), since that’s the one big extra cost you must account for.
If you’re ready for effort and you value good organization, this trek is a strong way to experience Lombok’s volcano side without turning it into a suffering contest.
FAQ
Where does the trek start?
It starts at the Lombok Volcano Trekking office in Senaru (Jl. Pariwisata, Senaru, Kec. Bayan, Kabupaten Lombok Utara, Nusa Tenggara Bar. 83354, Indonesia). You also register at the Rinjani Trek Centre in Senaru.
What time does the trek begin?
The start time is 7:00am.
How long is the trek?
The duration is 2 days (approx.). You return to Senaru around 1pm on day 2.
Is this a private tour?
Yes. It’s a private tour/activity, meaning only your group participates, and your group sets the pace.
What’s included in the camp at the crater rim?
The package includes a tent, toilet tent (with paper), sleeping bags, a mattress, and a pillow.
How much water do you get during the trek?
You receive 3 litre mineral water per person per day during the trek days.
Are meals included?
Yes. Food is included on the trek (meals throughout both days).
Is the Rinjani National Park permit included?
No. Permit/tickets for Rinjani National Park are IDR 250,000 per person per day and are not included.
What should I bring?
You should bring trekking shoes, a rain jacket, long pants, gloves, and a head lamp/hand torch.
What happens if I cancel?
This experience is non-refundable and cannot be changed for any reason.