REVIEW · LOMBOK
Trekking Rinjani Volcano To Crater Rim Senaru 2D-1N Private – Syam Trekker
Book on Viator →Operated by Syam Trekker · Bookable on Viator
Rinjani from Senaru is a real adventure. I like that this private 2D/1N trek mixes jungle hiking with a proper crater-rim sleep, then pays you back with sunset and sunrise views. I also like the practical setup: an experienced English-speaking guide, porters, and solid camping gear, plus national park entrance and full meals. One thing to keep in mind: you’re going high and then back down, so you’ll want moderate fitness and a head for steep, sometimes slippery trails.
You’ll start early from the Rinjani Trek Center in Senaru, then work through dense tropical forest with bird life and butterflies. Along the way you pause at named posts for tea, snacks, and lunch, then push up to 2,641 m for camp on the crater rim. In short: it’s not just hiking, it’s pacing, stopping, eating well, and getting safely to the view.
For me, the best part is the blend of comfort and wild setting. You sleep in a tent with a 7 cm thick mattress, a warm sleeping bag, and even a toilet tent, which matters when nights are cooler at altitude. The possible downside is the usual Rinjani factor: the route and timing depend on weather, and the whole experience needs good conditions.
In This Review
- Key Highlights You’ll Feel on the Trek
- Senaru-to-Crater Rim: What This 2 Days Feels Like
- Day 1 Through Dense Tropical Forest and to the Rim
- The forest climb: Post 2 for tea and Post 3 for lunch
- The final push to camp at 2,641 m
- Sunset Over Mount Agung: The Rim Camp Payoff
- Day 2: Sunrise, Then Rainforest Descent to Senaru Village
- Guide and Porters: Why This Trek Runs Smooth
- Camping Gear and Comfort at Altitude (The Stuff You’ll Notice)
- Meals, Water, and Pacing: Staying Strong on Steep Ground
- Price of $237: Does It Match the Value?
- Who This Private Trek Suits Best
- Should You Book This Syam Trekker 2D/1N Rinjani Trek?
- FAQ
- Where does the trek start and where does it end?
- What time does the trek start?
- Is this a private trek?
- How long is the Rinjani trek?
- Where do you camp overnight?
- What are the main stops during the hike?
- What meals and drinks are included?
- What camping gear is provided?
- Is the national park entrance fee included?
- Do I need travel insurance?
- FAQ
- Can I cancel for free?
- What happens if weather is poor?
Key Highlights You’ll Feel on the Trek
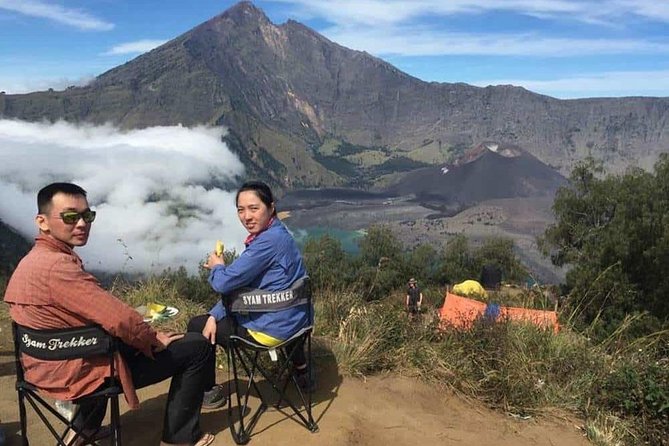
- Crater rim camp at 2,641 m with sunset over Mount Agung and smoke from a fresh volcano edge
- Tropical forest hiking with organized stops at Post 2 and Post 3 for tea, lunch, and breaks
- Camping kit that’s actually useful: tent, 7 cm mats, sleeping bags, camping chair and table, toilet tent
- Full meal coverage: 3 meals a day, snacks and fruits, plus a large bottle of mineral water daily
- Safety-focused guide support on steeper, slippery sections
- Private group experience so your pace and plans stay in your hands
Senaru-to-Crater Rim: What This 2 Days Feels Like
This is a two-day trek that’s built around one big idea: get you from Senaru up to the crater rim with enough support to enjoy it, not just survive it. You’ll gain height through tropical forest, stop at specific posts, then camp high so you can watch the light change across the region.
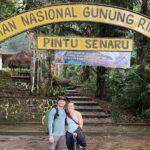
The route starts at the Rinjani Trek Center in Senaru and climbs to Senaru crater rim at 2,641 m. That’s where the experience turns into something memorable: the view from the rim is the payoff. On day two, you go back down to Senaru village at 601 m, crossing rainforest and keeping your legs moving at a steady pace.
What makes this setup feel good is the balance. You’re not left to figure out logistics in the dark or guess how to camp at altitude. Instead, you have an English-speaking guide, professional porters, and a clear rhythm of hiking, breaks, meals, and rest.
You can also read our reviews of more tours and experiences in Lombok.
Day 1 Through Dense Tropical Forest and to the Rim
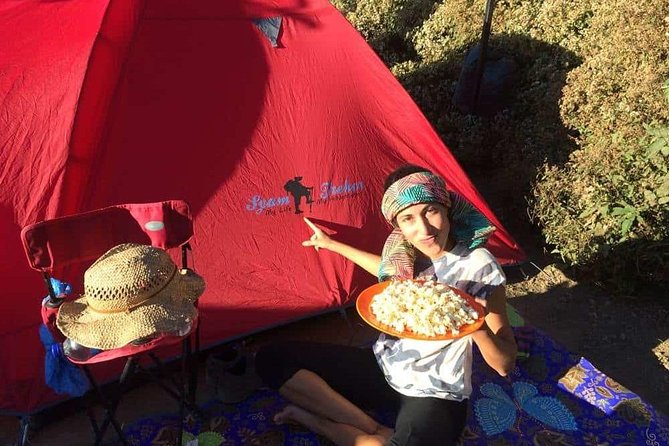
Day 1 starts with an early meet-up at Syam Trekker in Senaru. The planned start time is 7:00 am, and you’ll begin walking on the trail around 8:00. That early start isn’t just tradition. It helps you move before the hottest part of the day and reach the rim on schedule.
The forest climb: Post 2 for tea and Post 3 for lunch
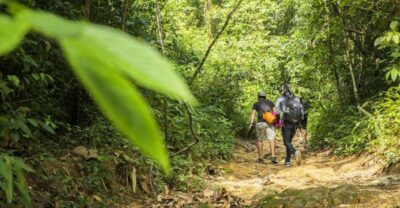
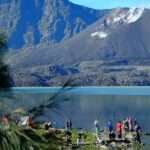
Your first section moves through dense tropical forest, with a lot of life on the trail—think birds, butterflies, and dense greenery. It’s one of those climbs where you can get lost in the scenery because it feels like you’re walking through a living ecosystem.
You stop at Post 2 Montong SATAS shelter (about 1,500 m) for tea with biscuits. It’s a small moment, but it matters. It breaks the grind and gives you a warm, steady reset before the next push.
Then you continue up for about 2 hours to Pos 3 Mondokan Lolak (about 2,000 m) for a break and lunch. After lunch, you don’t linger too long—you leave Pos 3 and start the climb toward the rim.
The final push to camp at 2,641 m
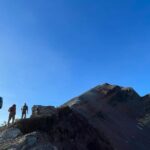
From Pos 3 after lunch, you head up to Senaru crater rim (2,641 m) for about 2 hours. This is the section where trekking poles and careful footwork help. Even when you feel okay physically, steep stretches can feel different at altitude, and guides typically focus on safe steps here.
Then you set up camp for the night. You’re there for more than sleeping. The rim is specifically described as having the most spectacular view after the peak—so you’ll get that sense of arrival while the light is still good.
Sunset Over Mount Agung: The Rim Camp Payoff
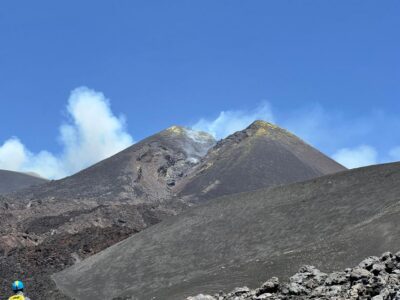
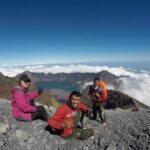
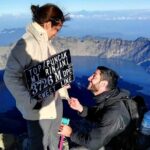
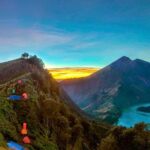
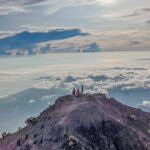
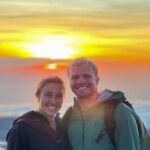
Once you reach the rim, the trek becomes about timing and atmosphere. You camp at the Senaru crater rim and wait for sunset. The view includes Mount Agung in Bali, and you can also see smoke from a new volcano near the edge of the lake.
This is where the value of the overnight camp becomes clear. If you did only a one-day push, you’d miss the best light and the feeling of being perched above everything at nightfall. Overnight at altitude also changes how the hike feels: day one is work, but day one night is the reward.
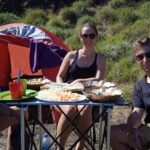
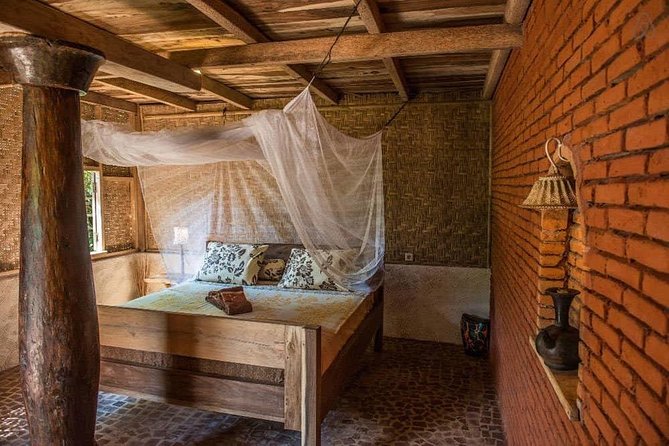
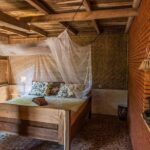
Also, camping comfort isn’t a luxury here. At higher elevations, nights can feel cooler, and a real sleeping setup helps. The trek includes sleeping bags and a 7 cm thick mattress, plus a tent and even a toilet tent, so you’re not dealing with a rough sleep on top of a tough climb.
Day 2: Sunrise, Then Rainforest Descent to Senaru Village
Day 2 begins with breakfast and a beautiful sunrise. That’s a key mental shift. Instead of racing down because you’re done, you get the morning calm first, then you go.
After breakfast, you descend from the crater rim back toward Senaru village through rainforest. The descent takes about 5 hours, and you’ll take lunch along the way.
You end in Senaru village at about 601 m, and your service finishes there (back at the meeting point area). It’s a long day on your legs, but it’s also the part that feels most like “travel.” You’re moving through a greener, lower world again after spending the night on the rim.
Guide and Porters: Why This Trek Runs Smooth
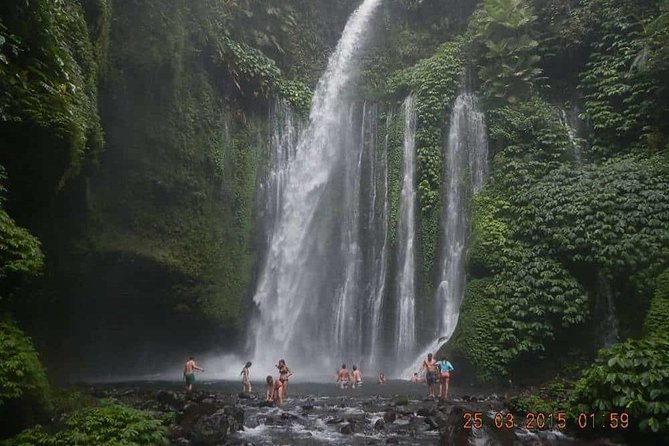
For a trek like this, the guide isn’t just someone holding the front of the group. They influence safety, pacing, and your stress level—especially on the steeper, potentially slippery parts.
This experience includes an experienced English-speaking guide and professional porters. In practice, you should expect help that goes beyond pointing at the trail. Guides are described as explaining things, keeping morale up, and making sure trekkers are safe on tricky footing.
You’ll also notice that the team is built around practical support. Porters handle the heavy work so you can focus on your steps and breathing. That’s how you end up with a trek that still feels human at the top, not just brutal.
If you’re curious about who you might meet, the names that show up in previous experiences include guides such as Hadi, Dean, and Moon. Porters mentioned include people like Yon, Mami, and Aldi. You can treat this as reassurance that Syam’s team has real humans with real roles, not a random day-of assignment.
Camping Gear and Comfort at Altitude (The Stuff You’ll Notice)
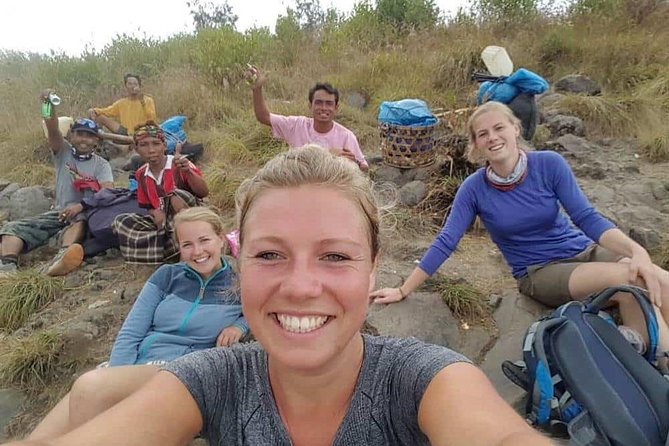
A lot of trekking companies advertise gear. What you feel is whether the gear works for real conditions.
Here’s what’s included for camping comfort:
- Tent
- Sleeping mats (7 cm thick)
- Sleeping bags
- Toilet tent
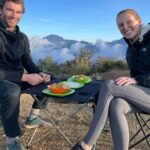
- Camping chair and table
- Pillow
- Trekking poles (listed as included)
The 7 cm mattress is one of those details that can make a big difference. Soft sleeping setups are not the main reason to do Rinjani, but they make the second day descent less miserable.
Warm sleeping bags also matter because crater rim nights aren’t the same as beach weather. Having a toilet tent is also a real plus; it keeps the whole night routine easier and more respectful of comfort and privacy.
Meals, Water, and Pacing: Staying Strong on Steep Ground
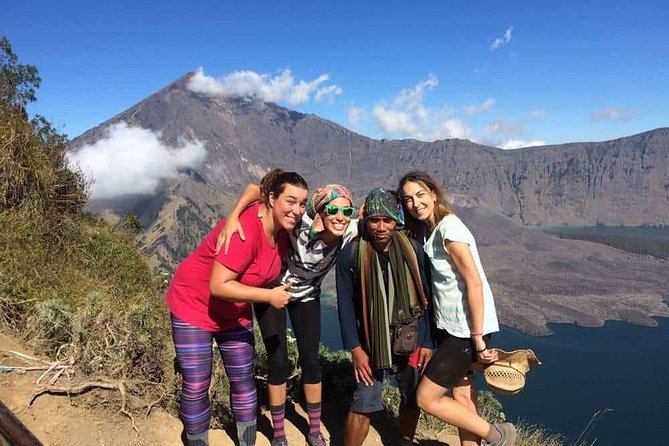
Good meals are part of “success” on Rinjani. This trek includes all meals during the trek and a steady rhythm:
- 3 time meals a day
- snacks and fruits
- a large bottle of mineral water per day
That matters because day one has several climb sections and day two is a long descent. When your energy stays stable, you climb more confidently and you don’t burn out as fast.
You’ll also get breaks that are built into the route: tea and biscuits at Post 2, lunch around Post 3, and another lunch stop during the descent. Those aren’t random pauses. They’re timed so you can eat, catch your breath, and reset.
From what I’d want you to take away: pack-friendly, schedule-friendly fuel beats trying to improvise snacks under pressure.
Price of $237: Does It Match the Value?
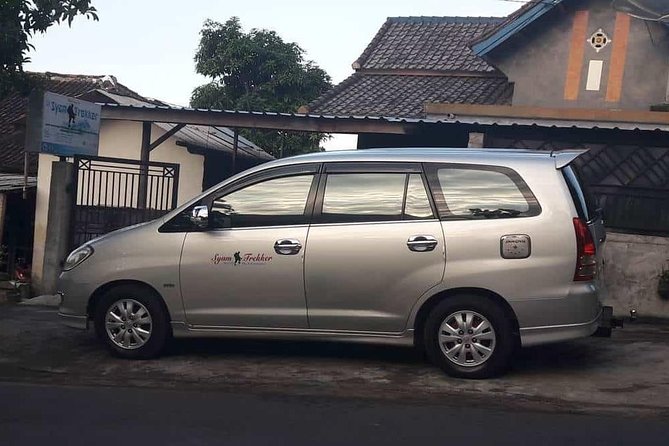
At $237 per person, this trek sits in the mid-range for a private, guided Rinjani package. The big reason it can feel like good value is what’s bundled, not just what’s offered.
Included items that protect your budget and reduce hassle:
- Rinjani entrance fee (national park entry)
- 3 meals a day plus snacks, fruits, and mineral water
- Camping gear (including mattress thickness, sleeping bags, toilet tent, and more)
- English-speaking guide and professional porters
- Hiking insurance
Not included, so you should plan for it:
- personal expenses
- tipping for guide and porter
For me, that “included” list is the difference between a cheap trek that feels chaotic and an organized trek that lets you focus on the trail. With this setup, you’re paying for the whole operating system.
Who This Private Trek Suits Best
This is best for people who:
- want the flexibility of a private group (your group only)
- have moderate physical fitness
- like guided trekking where someone handles the details and safety
- want a real crater-rim overnight instead of a quick day hike
It may be less ideal if you’re looking for a super-light, low-effort hike or if you hate tent camping. Even with comfortable gear, it’s still camping and it’s still a serious hike.
It’s also a strong choice if you care about English-speaking guidance. You’ll get explanations along the way and support on slippery sections, which can take a lot of the edge off.
Should You Book This Syam Trekker 2D/1N Rinjani Trek?
I’d say yes if you want a well-run Rinjani experience that prioritizes comfort and safety without turning it into a slow tourist stroll. The combination of rim camp, structured breaks, and camping gear that’s specifically named (including the 7 cm mat, sleeping bags, toilet tent) is the kind of practical detail that makes the trek feel worthwhile.
Before you book, be honest about your legs and your schedule. You’re climbing to 2,641 m and then descending to 601 m in two days. If you feel good about that, this is a solid match.
If you hate heights, hate camping, or want a purely self-guided hike, then look elsewhere. But if you want a private, guided trek where you can focus on the views and the experience, this one makes a lot of sense.
FAQ
Where does the trek start and where does it end?
The trek starts at Syam Trekker: Mount Rinjani Trekking Tour Lombok Agency on Jl. Pariwisata, Senaru, Kec. Bayan, Kabupaten Lombok Utara, Nusa Tenggara Bar. 83354, Indonesia. The experience ends back at the meeting point.
What time does the trek start?
The stated start time is 7:00 am. The trek itself starts from the Rinjani Trek Center Senaru around 08:00.
Is this a private trek?
Yes. This is a private tour/activity, and only your group will participate.
How long is the Rinjani trek?
The duration is 2 days (approx.).
Where do you camp overnight?
You camp at the Senaru crater rim at about 2,641 m.
What are the main stops during the hike?
On day 1, you stop at Post 2 Montong SATAS shelter (about 1,500 m) for tea and biscuits, then at Pos 3 Mondokan Lolak (about 2,000 m) for a break and lunch, before continuing up to the crater rim.
What meals and drinks are included?
It includes 3 time meals a day, plus snacks and fruits, and a large bottle of mineral water per day.
What camping gear is provided?
The included camping gear includes a tent, sleeping bags, sleeping mats 7 cm thick, camping chair and table, a toilet tent, a pillow, and trekking poles.
Is the national park entrance fee included?
Yes. The Rinjani entrance fee is included.
Do I need travel insurance?
Hiking insurance is included. Personal expenses are not included, and tipping for the guide and porter is not included.
FAQ
Can I cancel for free?
Yes, you can cancel for free up to 24 hours in advance of the experience start time for a full refund.
What happens if weather is poor?
This experience requires good weather. If it’s canceled due to poor weather, you’ll be offered a different date or a full refund.