REVIEW · ARUSHA
8 Days Lemosho Route Kilimanjaro Trekking
Book on Viator →Operated by Mafie Adventures · Bookable on Viator
Rainforest to ice in eight days is a switch-flip. The Lemosho Route stacks big scenery changes fast, starting in forest, crossing the Shira Plateau, then sharing viewpoints with the Machame route once you converge in the south. I like that this plan aims for a smoother experience by building in acclimatization along the way, instead of rushing straight upward.
What I love most is the route variety and the way each day feels like a chapter, from moorland to alpine desert to stone scree. I also like the human side: a local team with fast communication, including owner Erastus and guide Oliver (with John supporting), which makes planning and day-to-day logistics feel less stressful. One possible drawback is that the trek still asks for grit—summit night is long, and Day 6 includes an exposed ridge camp with no accessible water at camp.
Here’s the practical take: if you want a classic Kilimanjaro itinerary with strong scenery and a solid chance to acclimatize, Lemosho is a smart pick. Just be ready for cold, wind, and the physical reality of gaining serious altitude.
In This Review
- Key things that make this 8-day Lemosho trek special
- Why Lemosho feels varied instead of repetitive
- Price and value: what the $2,700.52 covers on this 8-day plan
- Arusha start, pickup, and the drive to the Lemosho trailhead
- Day 1 in Kilimanjaro National Park: rainforest and your first camp
- Day 2 to Shira 1: moorland, streams, and a Kibo across-the-plateau moment
- Day 3 to Shira 2 and Moir Hut: toward the Northern Ice Fields
- Day 4: Lava Tower, Arrow Glacier, and ending at Barranco Hut
- Day 5: Great Barranco Wall and Karanga Camp (a short day with a big payoff)
- Day 6: Barafu Hut and the no-access-water reality
- Day 7 summit night: Stella Point sunrise to Uhuru Peak, then the long descent
- Day 8: celebration, certificates, and your forest finish at Mweka Gate
- Mafie Adventures team: communication, local talent, and why it feels easier
- Packing and gear notes that the itinerary explicitly covers
- Should you book this 8-day Lemosho trek?
- FAQ
- How long is the Kilimanjaro trek on this 8-day Lemosho route?
- Where does the tour start and end?
- What time does the trekking day begin?
- Do you get pickup from Arusha?
- What ticket format do you receive?
- What is included in the price?
- What is not included?
- What camps and major landmarks are part of the route?
- What certificates do you get for reaching the summit or Stella Point?
- Is this tour private?
- What happens if you cancel?
Key things that make this 8-day Lemosho trek special
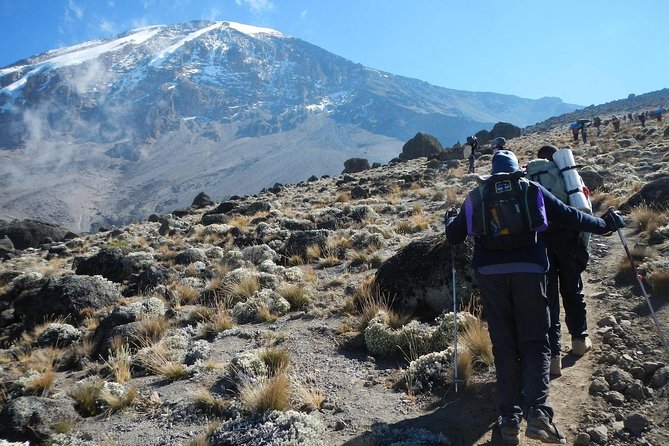
- Rainforest start that stays quieter before the route merges with Machame
- Shira Plateau views and a Kibo look from across the plateau
- Built-in acclimatization days at moorland and moorland-to-higher terrain
- Major highlights hit hard but on schedule, like the Lava Tower and Great Barranco Wall
- Stella Point sunrise before the push to Uhuru Peak
- Local organizing and guiding with Erastus coordinating and Oliver leading the expedition
Why Lemosho feels varied instead of repetitive
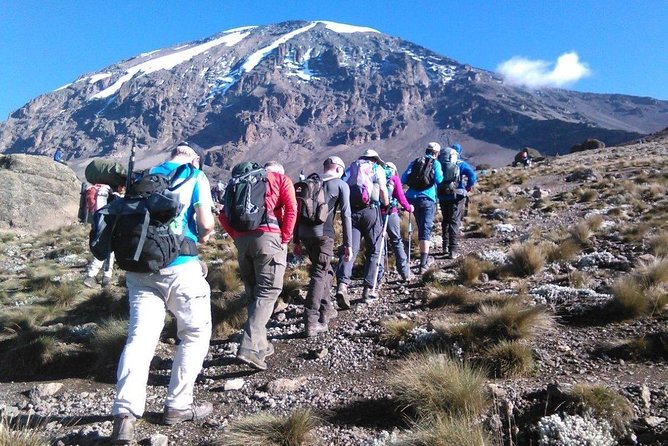
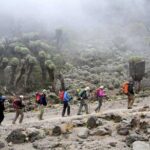
On Kilimanjaro, the best routes don’t just climb. They change the world under your feet. Lemosho starts in rainforest and then transitions into moorland, semi-desert, and finally alpine terrain. You’re not just chasing altitude—you’re watching ecosystems shift day by day.
Another big win is the crowd pattern. Lemosho tends to feel calmer early, since it begins on its own and only later combines with Machame for parts of the southern circuit. For you, that often means more quiet walking time and more breathing room at viewpoints.
The route also balances “get altitude” with “give your body a chance.” You’ll stage through Shira Ridge, Shira 1 and Shira 2, the Lent Hills area near Moir Hut, then up toward Arrow Glacier before tackling Barranco and Barafu. That pacing is what makes Lemosho feel like a trek you can manage, not just a stairway to the top.
You can also read our reviews of more tours and experiences in Arusha.
Price and value: what the $2,700.52 covers on this 8-day plan
At $2,700.52 per person, this isn’t a cheap add-on. But it also isn’t just a guy with a map. The included package is heavy on the stuff that actually costs money on Kilimanjaro: porters, food, tents, and on-mountain logistics.
Here’s what you’re getting in the included list:
- Camping setup: mess tent, mattress, and cooking equipment
- Accommodation during the itinerary
- Meals: 7 breakfasts, 8 lunches, 7 dinners
- Porterage (huge for energy conservation)
- Professional driver/guide plus rescue fees and parking fees
- All taxes/VAT
What’s not included matters too: climbing gear and a sleeping bag are not included (though both are available for rent), and bath towels are not included. Tips are also on you.
So the value question becomes simple: if you want a supported climb where porters handle the heavy stuff and your food is covered, this price starts to make sense. If you already own the gear and plan to self-manage as much as possible, you might compare alternatives—but most people choose Kilimanjaro guides because they want fewer moving parts during the hardest days.
Arusha start, pickup, and the drive to the Lemosho trailhead
Your day begins early, with a 6:00 am start. The tour notes that pickup is offered, and it ends back at the meeting point in Arusha after the trek.
Day 1 gives you the altitude jump before the hiking starts. You’ll drive from Arusha (about 1,400 m) to Londorossi Park Gate (about 2,100 m)—around two hours—then complete entry formalities in the village nearby. After that, you drive about one more hour to the Lemosho trailhead.
Why this matters: Kilimanjaro isn’t just “the walk.” It’s a schedule. If you’re the type who gets cranky when plans change, having the route set with timed transfers helps. If you’re the type who worries about altitude, that short pre-trek climb from Arusha also sets expectations.
Day 1 in Kilimanjaro National Park: rainforest and your first camp
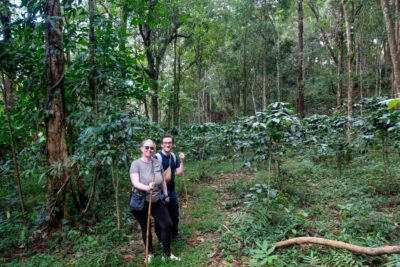
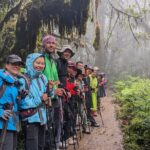
Day 1 is long-ish on the hiking side—about 3–4 hours over roughly 6 km—but it’s designed to be a gentle entry. You’ll leave the trailhead after lunch and hike through undisturbed forest.
This is the day where you learn how your group moves: steady pace, frequent stops, and how your body reacts before you get serious about elevation. The route winds through trees to the first campsite.
You’ll also be meeting the mountain rhythm right away: you’re on a schedule, your guide briefs the day, and the team keeps meals and camp life functioning. Since you’re camping, the included tents and cooking setup mean you’re not assembling camp from scratch at the end of a tiring hike.
One small consideration: rainforest trails can be slippery and humid. That’s not a reason to avoid the trek—it’s just why you’ll want to feel confident in your footing from the start.
Day 2 to Shira 1: moorland, streams, and a Kibo across-the-plateau moment
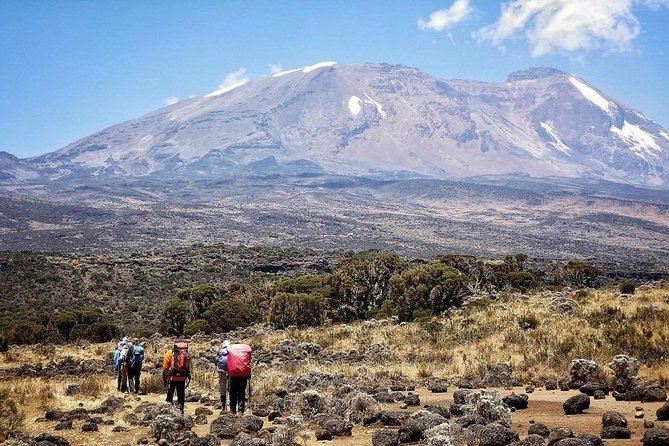
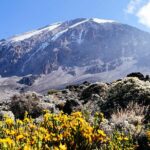
On Day 2 you step out of forest and into moorland. The hike is about 5.5 hours and around 8 km, climbing through rolling hills with tall grasses, heather, and volcanic rock topped with lichen.
You’ll cross several streams and head toward Shira Ridge, then descend gently to Shira 1 camp. The standout here is the viewpoint: the view of Kibo from across the plateau is described as amazing.
This day is important because it’s a bridge between ecosystems. You go from shaded walking to open air. That can feel tougher on your body, but it also makes the day’s sense of progress very clear.
If you get anxious in open terrain, Day 2 is a good place to practice calm pacing. You’re still not at summit altitude, but you’re learning how the higher zones feel.
Day 3 to Shira 2 and Moir Hut: toward the Northern Ice Fields
Day 3 is where the itinerary leans into dramatic high-altitude scenery. You’ll hike roughly 15 km in 5–7 hours, mostly through moorland.
The plan targets camps under the Northern Ice Fields area. You’ll walk east toward Kibo’s glaciered peak across the plateau to reach Shira 2 camp by a stream. After that, you continue to Moir Hut, a less-used site near the base of the Lent Hills.
The Lent Hills element matters for your body. The itinerary notes that there are a variety of walks here, making it excellent for acclimatization. In plain terms: this is a day where you can adjust altitude exposure without jumping straight into the hardest terrain.
You’re also getting high-altitude context. Shira is described as one of the highest plateaus on Earth, and you feel that scale once you’re walking at elevation with big sky overhead.
Day 4: Lava Tower, Arrow Glacier, and ending at Barranco Hut
Day 4 is a true altitude workday. You’ll spend around 7 hours hiking about 7 km. The habitat shifts into semi-desert, with rocky terrain and big views.
From Moir Hut, you continue east up a ridge, passing a junction toward the peak of Kibo. Then the direction changes toward the Lava Tower, called the Shark’s Tooth. After that, you reach another junction that brings you up to the Arrow Glacier at about 16,000 ft.
Then the plan turns practical: you go down to Barranco Hut at about 13,000 ft. Even though the end elevation isn’t drastically higher than where you started, this day is still key because it helps your body prepare for the summit push.
If you like high points with purpose (not just “hike and hope”), Day 4 is that. It gives you dramatic features—Lava Tower and Arrow Glacier—while still following an acclimatization logic.
Day 5: Great Barranco Wall and Karanga Camp (a short day with a big payoff)
Day 5 is shorter by distance—about 5 km in 4–5 hours—and it’s timed for acclimatization. The habitat is alpine desert.
Your highlight is tackling the Great Barranco Wall. It may look intimidating at first glance, but the itinerary notes it’s considered a Class 2 hike and usually easier than expected. At the top, you get a view of Heim Glacier, and you’re often above the clouds.
After the wall, you hike up and down through the Karanga Valley and spend the night at Karanga Camp (3,950 m). Dinner and washing are mentioned as part of the camp routine.
This day is a useful reality check: you’re not sprinting. You’re learning how to move efficiently on steeper, higher ground. If your legs feel heavy, that’s normal. The important thing is controlled effort.
Day 6: Barafu Hut and the no-access-water reality
Day 6 lasts about 3–4 hours and covers about 4 km. It’s in alpine desert and sets you up for the final summit attempt.
After breakfast, the trail intersects with the Mweka Route, which is the route used for the descent on the last two days. After about an hour of hiking, you reach Barafu Hut. This is also a timing clue: Barafu is the last water stop for porters because there is no accessible water at Barafu Camp (4,550 m).
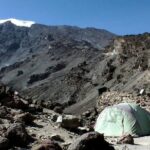
That detail is not trivia. It changes how you plan your energy and hydration. The camp is on a rocky, exposed ridge; the itinerary notes tents can be battered by wind and rocks. Before dark, you’ll want to familiarize yourself with the campsite.
You’ll get an early dinner so you can rest. In other words, this is a “save your strength” day. The climb ramps back up hard on Day 7.
Day 7 summit night: Stella Point sunrise to Uhuru Peak, then the long descent
Day 7 is the headline day, with a wake-up around 23:30 for tea and biscuits. Then you start the summit attempt.
The climb heads northwest and you’ll ascend over stone scree. The itinerary notes that this is the most mentally and physically challenging part for many hikers. After about 6 hours, you reach Stella Point (5,685 m) on the crater rim. You’ll then enjoy sunrise.
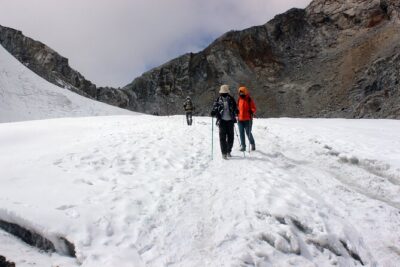
From there, you continue ascending for about 2 hours on a snow-covered trail to Uhuru Peak (5,895 m).
The descent is the other half of the day and it’s substantial. The schedule says 7–8 hours to descend to Mweka. Distance is listed as about 7 km ascent and 23 km descent, which tells you why good pacing matters as much as stamina.
One practical note: you’re going from sunrise glory to daylight survival mode. Your head and feet have to switch gears fast. This is not a day for heroics. Slow, steady, and listening to your guide is the winning strategy.
Day 8: celebration, certificates, and your forest finish at Mweka Gate
After breakfast, your staff celebrates you with dancing and singing. It’s also when you present tips to the guide, assistant guides, chef(s), and porters—so keep that in mind early if you like having a smooth end-of-trek moment.
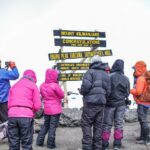
Then you descend for about three hours back to Mweka Gate. The National Park requires all hikers to sign for completion certificates. There’s a nice incentive detail here: hikers reaching Stella Point (5,685 m) receive green certificates, while those reaching Uhuru Peak (5,895 m) receive gold certificates.
After certificates, you continue into the Mweka village for about one hour (the distance is cut off in the provided details, but the village stop is part of the plan). Finally, you return to the meeting point in Arusha as your tour ends.
This day matters because it gives closure. After the hardest night of your life, you finish with forest walking instead of more icy exposure.
Mafie Adventures team: communication, local talent, and why it feels easier
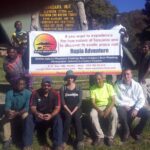
This trek is operated by Mafie Adventures, and the standout from their customer experiences is how smoothly the planning and on-the-ground team communicate.
The owner, Erastus, is highlighted for quick replies and clear guidance, including communication over WhatsApp. The expedition is led by Oliver, described as friendly and a strong presence during the climb, with John mentioned as part of the team.
What you should take from this: Kilimanjaro is mentally demanding. The expedition leader and support crew influence how calm your days feel, especially on summit night and on steep sections like the Barranco Wall.
The fact that this is framed as a local Tanzanian outfit also matters for you. You’re dealing with people who understand the country’s rhythms, park processes, and mountain logistics as day-to-day work, not as a one-off tourist product.
Packing and gear notes that the itinerary explicitly covers
The trek includes camping equipment like the mess tent, mattress, and all cooking equipment, so you’re not bringing camp kitchen gear. You also have sleeping accommodation during the itinerary as listed under included.
But two key items are not included:
- Climbing gear (available for rent)
- Sleeping bag (available for rent)
Also, bath towels are not included. Tips are also not included, and you’ll present them on Day 8 during the celebration.
Since the itinerary includes a snow-covered summit route and exposed ridge camp conditions, you should expect cold and wind. The tour doesn’t list every item you must bring, so your best move is to confirm the rental package you’ll receive (especially for summit conditions) before you leave home.
Should you book this 8-day Lemosho trek?
Book it if you want:
- the rainforest-to-plateau variety that makes Lemosho feel like more than one type of walking
- a plan with acclimatization built into multiple days, including Lent Hills near Moir Hut
- the classic big moments: Lava Tower, Great Barranco Wall, and Stella Point sunrise on summit day
- a supported experience with porters, camp setup, and meals included
Skip (or pause) if:
- you’re looking for a relaxed hike with short days. Day 7 is still a long summit attempt with a heavy descent
- you’re not comfortable with exposed ridge conditions at Barafu Camp, including the note that there is no accessible water at camp
If you’re fit, realistic, and want strong scenery with a well-paced plan, this is a solid way to climb Kilimanjaro.
FAQ
How long is the Kilimanjaro trek on this 8-day Lemosho route?
The trek is listed as 8 days (approx.).
Where does the tour start and end?
It starts in Arusha, Tanzania, and it ends back at the meeting point.
What time does the trekking day begin?
The tour start time is listed as 6:00 am.
Do you get pickup from Arusha?
Yes, pickup is offered.
What ticket format do you receive?
The tour provides a mobile ticket.
What is included in the price?
Included items list camping equipment (mess tent, mattress, cooking equipment), parking fees, rescue fees, all taxes/VAT, accommodation, a professional driver/guide, porterage, and meals: 7 dinners, 7 breakfasts, and 8 lunches.
What is not included?
Not included: climbing gear (available for rent), sleeping bag (available for rent), bath towels, tips, international flights, accommodation before and at the end of the tour, and personal items like souvenirs and travel insurance.
What camps and major landmarks are part of the route?
The plan includes camps such as Shira 1, Shira 2, Moir Hut area, Barranco Hut, Karanga Camp, Barafu Camp, and the summit attempt via Stella Point to Uhuru Peak, finishing at Mweka Gate.
What certificates do you get for reaching the summit or Stella Point?
Everyone signs to receive certificates. If you reach Stella Point (5,685 m) you get a green certificate, and if you reach Uhuru Peak (5,895 m) you get a gold certificate.
Is this tour private?
Yes. It is listed as private, meaning only your group participates.
What happens if you cancel?
The experience is listed as non-refundable and cannot be changed for any reason. If you cancel or ask for an amendment, the amount paid is not refunded.