REVIEW · LOMBOK
Mount Rinjani: 2D/1N Trekking To Sembalun Or Senaru Views
Book on GetYourGuide →Operated by Din Trekking Rinjani} · Bookable on GetYourGuide
Waking for Rinjani sunrise changes your pace. This 2-day, 1-night Mount Rinjani trek is built for big rewards on a tight schedule, with a hot spring soak plus sunrise views that make the hard parts feel worth it. The catch: the route is steep, slippery, and altitude can hit fast.
I like that this climb starts and ends on the same side, with a straightforward loop via Sembalun. You begin at about 1,156 m, camp at the crater rim around 2,639 m, then push early the next morning to reach 3,726 m. If you’re prone to height issues, the timing and the grade can be too much.
One more thing I’d highlight is the people factor. Guides like Din and Awan (and porters such as Man) are repeatedly praised for being attentive, organizing the day well, and keeping meals going even when conditions are rough. Just keep your expectations practical: you should show up ready to hike, not ready to stroll.
In This Review
- Quick take: what matters most on this 2D/1N Rinjani hike
- Why this Rinjani trek is a smart choice for limited time
- From Sembalun (1,156 m) to crater rim camp (2,639 m): Day 1 in plain terms
- Sunset at the crater rim: why the camp night is the payoff
- Day 2 at 3 a.m.: summiting Mount Rinjani for sunrise at 3,726 m
- Hot spring soak and recovery: the built-in reset your body needs
- Food, water, and what “included” really means on this trek
- Equipment reality check: what to bring so you’re not stuck improvising
- Guides and porters: the difference between a good hike and a safe one
- Who should book this 2D/1N Rinjani trek (and who should skip it)
- Price and logistics: whether $190 is a bargain or a gamble
- Getting ready: packing list that matches this specific trek
- Should you book Mount Rinjani 2D/1N from Sembalun or Senaru?
- FAQ
- What is the duration of the Mount Rinjani trek?
- How much does the trek cost?
- What are the main elevations you’ll reach?
- What is included in the package?
- What should I bring for this trek?
- What equipment is not included?
- Who is this trek not suitable for?
Quick take: what matters most on this 2D/1N Rinjani hike
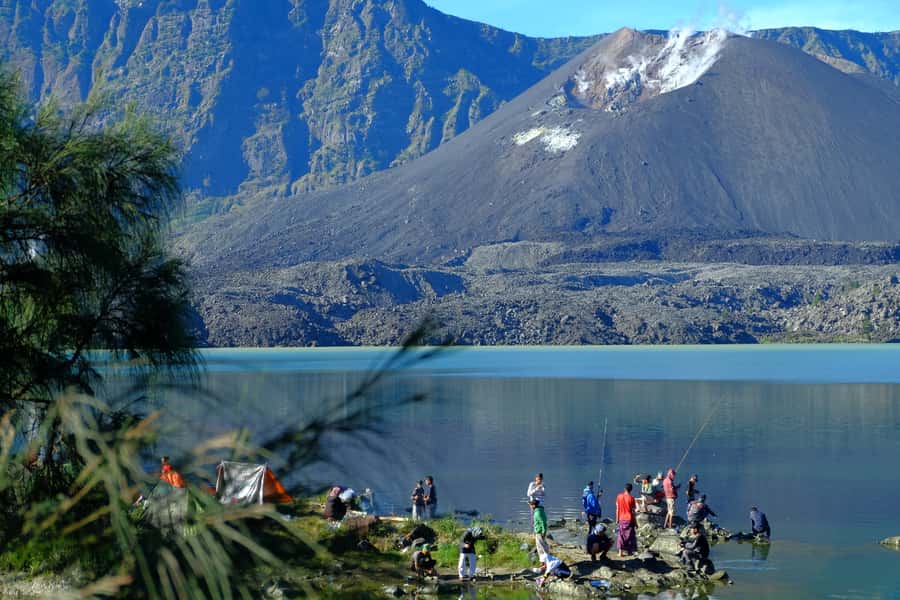
- Sembalun-to-summit setup: same area in and out, so you’re not constantly transferring
- Crater rim camp at 2,639 m: sunset, Lake Segara Anak views, and the Rinjani summit lined up for you
- A 3 a.m. summit climb to 3,726 m: sunrise time is real, not marketing fluff
- Hot spring recovery: built-in soak to help your legs after a long Day 1
- Meals and water included: 3 liters of mineral water per person per day, plus fruits like banana and pineapple
- You’re covered for park logistics: Rinjani National Park entrance ticket is included, and you skip the ticket line
Why this Rinjani trek is a smart choice for limited time
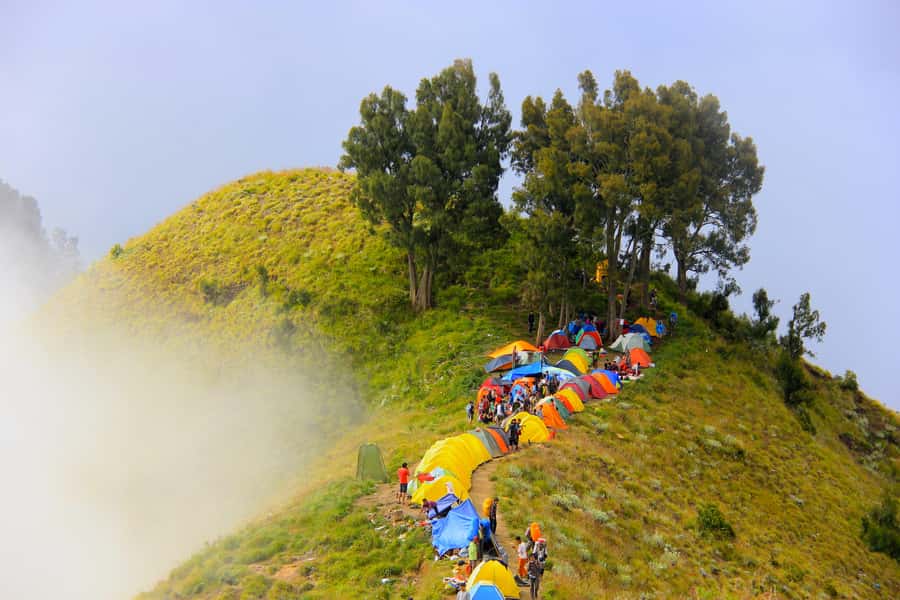
Mount Rinjani is one of those places where views do most of the talking. This 2 days / 1 night format keeps the focus on altitude, crater-rim scenery, and a sunrise that’s usually the main event.
The route also makes practical sense. You start from Sembalun at about 1,156 m and climb to the crater rim for the night at roughly 2,639 m. The next day is a faster, more intense push up to the summit (3,726 m) and then a descent back toward Sembalun village. For many people, that single-trail loop is less confusing and less tiring than trekking packages that bounce you between multiple pickup points and trailheads.
Now the important reality check. This is not a gentle hike. You’re dealing with steep and slippery sections, early darkness, and an ascent that can feel aggressive. If you’ve struggled with altitude before, you should take the “not suitable” warning seriously and choose a safer plan.
You can also read our reviews of more tours and experiences in Lombok.
From Sembalun (1,156 m) to crater rim camp (2,639 m): Day 1 in plain terms
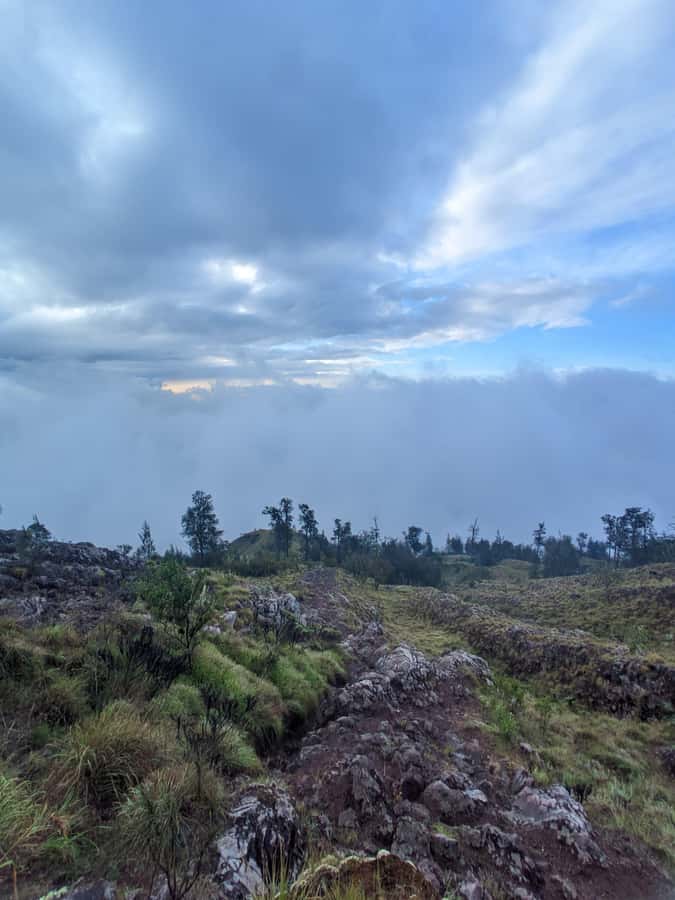
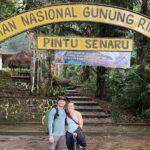
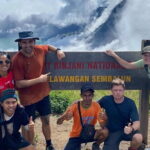
Day 1 begins with an early breakfast and a drive from Senaru to Sembalun by 4WD. You’ll register at the Rinjani Information Centre before you start walking. That step matters because it anchors the day with official entry procedures, and it’s part of why this trek feels organized.
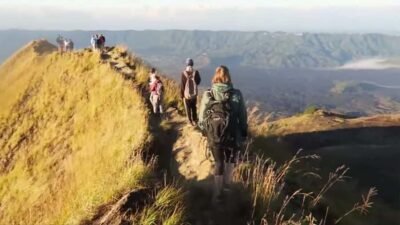
The hike starts with open grasslands as the trail climbs. You’ll stop at Pos 1 and Pos 2 for rest breaks and snacks. These pauses aren’t just nice to have. They help you keep a steady pace rather than sprinting uphill and paying for it later.
At Pos 3 (1,800 m), you get a longer break for lunch. I like this pacing because you build up slowly, eat while you still have momentum, and then shift into the steeper work after lunch.
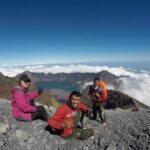
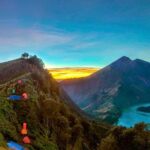
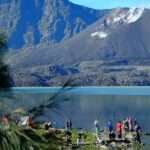
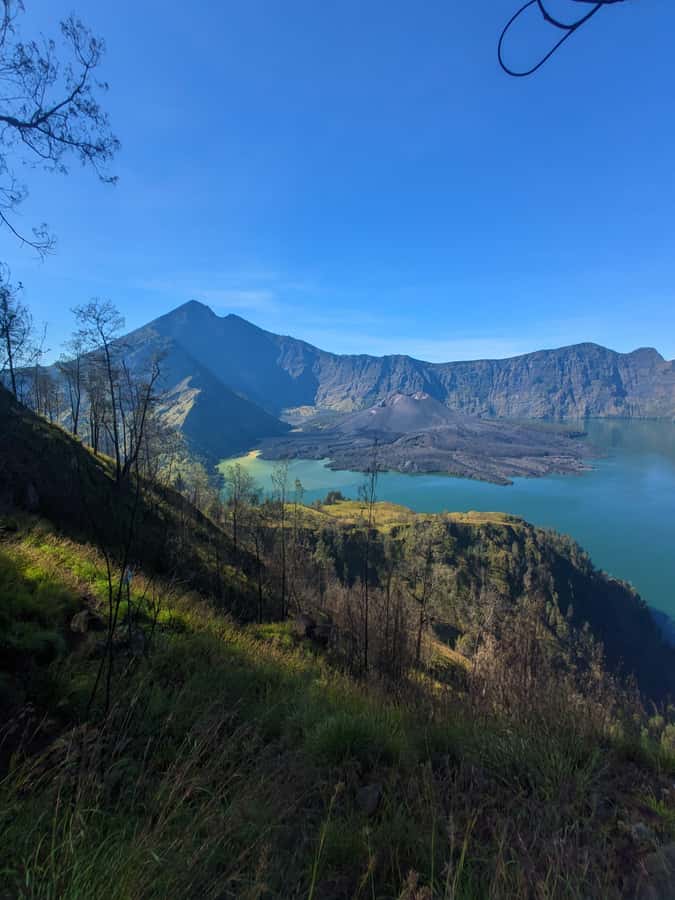
From there, the day turns into the crater-rim climb. You’ll head upward toward the rim, then set up camp at the Sembalun Crater Rim (2,639 m). This is where the scenery starts stacking up. From camp, you can look out over Lake Segara Anak, see the summit area ahead, and catch sunset views with northern Lombok in the mix.
Also, the day isn’t only about climbing. The highlight notes a walk through dense tropical forest in the broader route profile. Even if you don’t see forest the whole time, you should expect at least some sections that feel cooler and shaded compared with the open grassland parts.
Sunset at the crater rim: why the camp night is the payoff
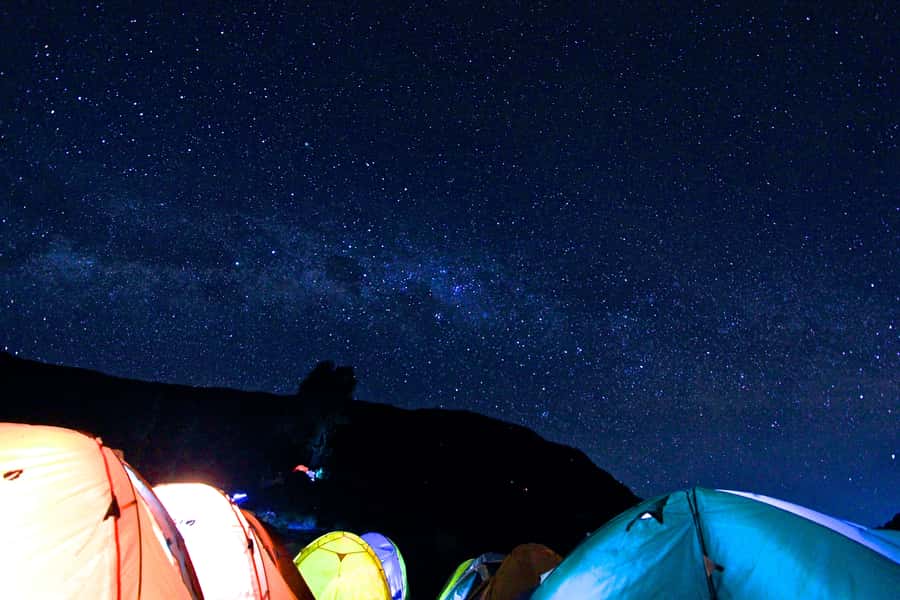
Camping at the crater rim is more than a place to sleep. It’s a viewing platform. At roughly 2,639 m, you’re close enough to feel the mountain’s scale and high enough to get those sharp horizon lines that make photos look like you’re standing inside a movie.
At this camp, the day’s timing gives you two big moments: sunset and the long “watch the volcano think” period that follows. You can look down at Segara Anak Lake and watch light shift across the slopes. If you’ve never done high-altitude camping before, this is a great introduction to what changes at elevation: cooler air, stronger wind, and that quiet intensity that comes when you’re sitting right next to active geology.
Practical note: your sleep setup is included. The package provides tents, sleeping bags, and mats, plus toilet paper. You’ll want to treat that as helpful, not as a reason to show up unprepared. Crater rim nights can be cold, and you’ll appreciate gloves and warm layers even if you weren’t planning to.
Day 2 at 3 a.m.: summiting Mount Rinjani for sunrise at 3,726 m
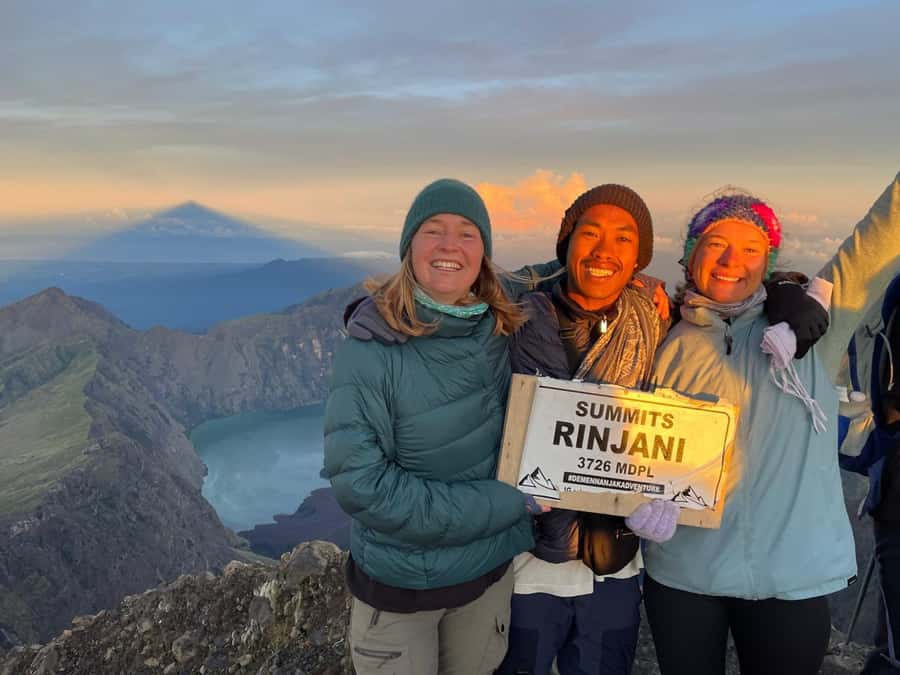
The day starts with a very early wake-up around 3 a.m., followed by a light breakfast. Then it’s a challenging three-hour trek to the summit at about 3,726 m. This is the part that determines how the whole trip feels.
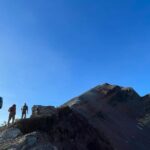
The key is not hero-mode speed. You want a steady, controlled climb in the dark because you’ll be on steeper terrain again. The summit push is also slippery. That’s why trekking poles and good footing help more than you think, especially if you get tired.
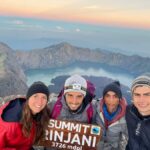
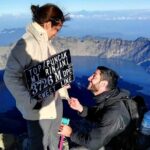
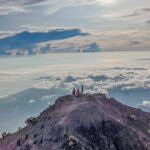
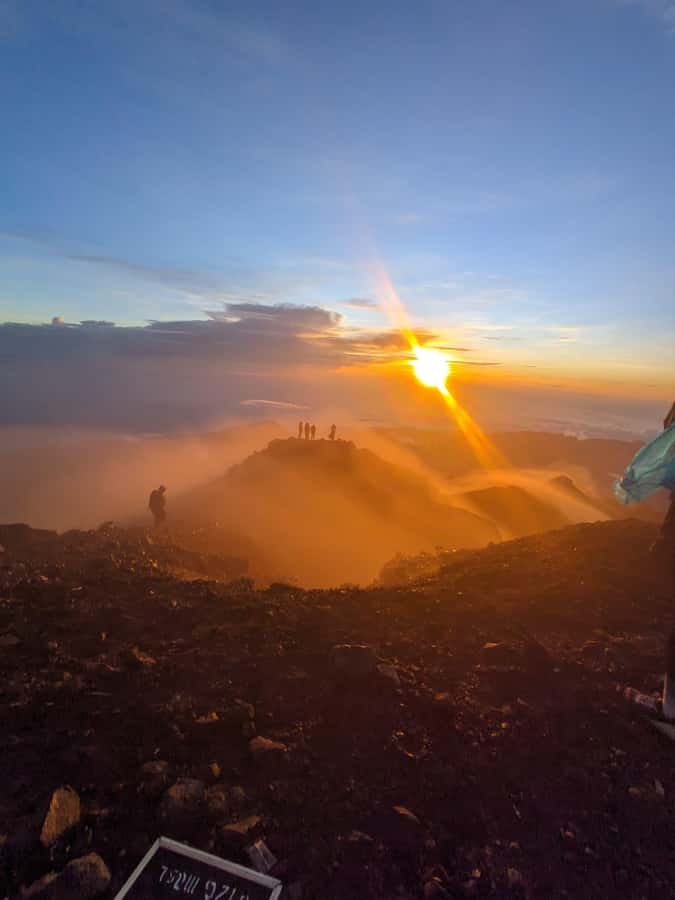
You’re heading to the summit in time for sunrise, and the view is described as covering the 4 Gili Islands. Sunrise here tends to do two things at once: it gives you a wide, bright horizon and it makes the mountain’s contours look dramatic, even from a distance. It’s the kind of scene where you stop worrying about your legs for a few minutes.
After sunrise, you return to the campsite at the crater rim. You’ll stop for a hot breakfast and a rest before starting the descent back toward Sembalun village. Lunch is paused again at Pos 2 or Pos 3, and you typically reach Sembalun in the early afternoon.
Even though the second day is “short,” it’s still physically demanding. Coming down can be just as tough on knees and shins as going up is on calves. Treat the descent seriously and don’t rush it.
Hot spring soak and recovery: the built-in reset your body needs
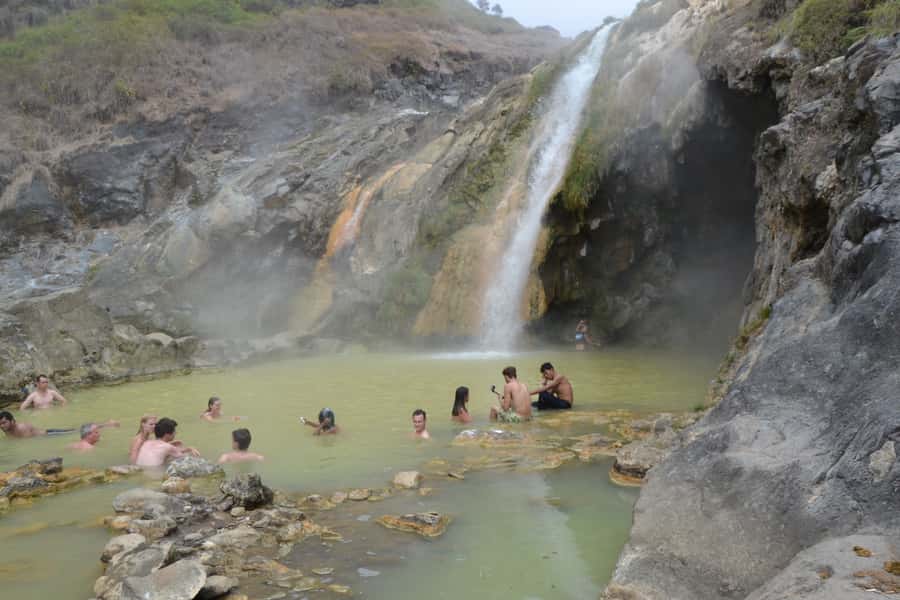
One of the best things in this plan is that it’s not just hike, summit, collapse. The highlight specifically calls out soaking in a natural hot spring with healing powers. Even if you only get a short soak window, that’s a smart recovery tool on a trip where your muscles will be tight and your feet will feel every stone.
This matters because Rinjani isn’t a one-and-done activity. It’s two days that keep stacking effort. If you recover well at the right time, you’ll enjoy the rest of Lombok more instead of feeling wrecked for the next transfer.
Food, water, and what “included” really means on this trek
At $190 per person, the value is strongest when you look at what’s bundled for you instead of what you still have to buy yourself.
Here’s what the package includes during the trek:
- Food and drinking water: 3 liters of mineral water per day per person, plus meals and tea/coffee
- Fruits like pineapple and banana
- Cooking utensils and camp setup support
- Tents, mats, sleeping bags, and toilet paper
- Rinjani National Park entrance ticket, with skip-the-ticket-line convenience
- Hiking guide, plus a porter tour guide/porter support, and trekking insurance
- Storage for your backpacks at the office
- A transportation connection after the trek to Senggigi, Bangsal, Mataram, or Kuta-free (wording varies, but the idea is that you’re not left hanging)
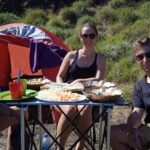
You’re also likely getting some “small comforts” that can be easy to underestimate: tea and coffee, and hot food at key stops. The reviews strongly echo that meals are generous. One comment notes food was close to too much, which is a good sign when you’re burning calories at altitude.
What’s not included, and where you should plan ahead:
- Trekking shoes
- Warm clothes
- Supplementary food
- Headgear and other small gear might be limited depending on what you’re assigned (more on that next)
Equipment reality check: what to bring so you’re not stuck improvising
The trek data lists what to bring (camera, gloves, climbing gear, goggles, downloaded app), but it also says certain items like trekking shoes and warm clothes are not included.
One review detail I think you should take seriously: equipment can be basic, and sometimes people share items like a headtorch. Another person mentioned needing walking poles because one was broken. That doesn’t mean the standard is always bad. It does mean you should reduce your risk by packing what helps you personally.
If you can, bring:
- Your own headlamp (not just a phone light)
- Trekking poles
- Warm layers (even if you think you won’t need them)
- Gloves (listed in the “what to bring” section for a reason)
- Goggles (also listed)
If you’re missing small gear, the plan notes you can rent a small everyday backpack. That’s worth confirming with your operator before you arrive, so you’re not forced into an awkward carry system at the start.
Also, confirm that your guide can provide your chosen language support. This trek lists English, Chinese, and Hindi for the live guide. In practice, clarity matters on steep routes where instructions need to land fast.
Guides and porters: the difference between a good hike and a safe one
In a trek like this, a great team makes the mountain feel manageable. Several guide and porter names show up in feedback, and the patterns are consistent: people appreciated clear explanations, caring pace, and solid meal execution.
Din comes up as a person who does a briefing in the office before the hike starts, including checking what you might need. Awan is mentioned as attentive and safety-focused, and porter Man is credited with preparing delicious meals despite mountain conditions. Kas is also named as a strong, kind team member.
Why this matters for you: summit-day success depends on logistics working behind the scenes. You need timing, hydration, food on schedule, and good group control in the dark. The guide team’s job isn’t just route-finding. It’s managing energy so you don’t burn out before sunrise.
Who should book this 2D/1N Rinjani trek (and who should skip it)
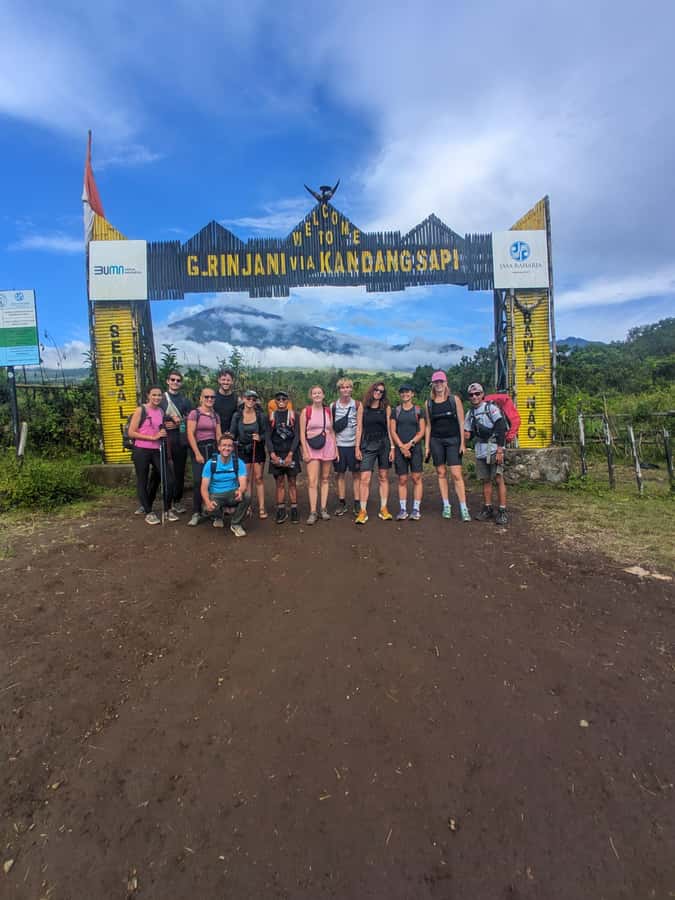
This is a strong match if you:
- Want a short Mount Rinjani plan that still includes summit and sunrise
- Are comfortable with a steep, slippery climb
- Have the stamina for long walking days and an early 3 a.m. start
- Like clear “checkpoint” structure (Pos 1, Pos 2, Pos 3) with breaks and meals
It’s not a match if you:
- Have altitude sickness risk, mountain sickness history, or you’re told to avoid height exposure
- Have a height phobia
- Are outside the age guidance: minimum age is 10, and people over 70 are listed as not suitable (and over 95 too)
- Are traveling with babies in a way that conflicts with rules (the data lists baby strollers and baby carriages as not allowed)
Price and logistics: whether $190 is a bargain or a gamble
Here’s the honest way I look at the $190 per person price.
The strongest part of the value is that the trek includes core costs you’d normally pay separately: national park entrance ticket, guide and porter support, tent and sleeping gear, food, and a meaningful amount of water (3 liters per day). On top of that, you get transport after the trek to areas like Senggigi, Bangsal, Mataram, or Kuta (and that kind of pickup/drop can save real hassle).
So where can cost feel less “safe”?
- If you show up without the gear you need (shoes, warm layers), you’ll spend more quickly.
- If you’re expecting premium equipment, you might be surprised. One account mentioned limited or shared headlamps and poles that weren’t ready. You can reduce this uncertainty by bringing your own key items.
- If your primary goal is a very specific route plan, I suggest you ask how they handle any restrictions. You’ll want clarity before you start hiking.
If you’re the kind of person who confirms details before you go, this price can feel fair. If you assume everything will be top-tier and never ask questions, you might feel disappointed.
Getting ready: packing list that matches this specific trek
Based on what the trek data expects and what helps on real mountain terrain, I’d plan around these categories:
Cold and visibility
- Warm clothes (not included)
- Gloves (listed)
- Goggles (listed)
- Headlamp/headtorch (often limited; bring your own if you can)
Footing and movement
- Trekking shoes (not included)
- Climbing gear (listed)
- Trekking poles (recommended for slippery descents)
Comfort and simplicity
- Camera if you want to capture Lake Segara Anak and sunrise over the 4 Gili Islands
- A downloadable app if you use it for navigation or weather checks (listed)
The goal is to keep your carry light but smart. During the trek, you’ll want to be able to move fast when the trail demands it.
Should you book Mount Rinjani 2D/1N from Sembalun or Senaru?
Book it if you want the classic Rinjani experience in a tight time window: crater rim camp, a hard summit day, and sunrise at 3,726 m. This plan also adds practical comfort through included tents and sleeping gear, plus real fuel in the form of meals and water.
Think twice or choose a different style of trek if you’re worried about altitude, you’re uncomfortable with steep slippery sections, or you’re unsure about your fitness. The schedule is demanding. This isn’t built for people who need a slow acclimatization process.
If you do book, I’d go in prepared and proactive:
- Bring your own headlamp and poles if possible.
- Show up with warm layers and proper shoes.
- Ask your guide team how they handle route or summit-day changes if conditions don’t cooperate.
FAQ
What is the duration of the Mount Rinjani trek?
It runs for 2 days and 1 night.
How much does the trek cost?
The price is $190 per person.
What are the main elevations you’ll reach?
You start around 1,156 m in Sembalun, camp at the crater rim around 2,639 m, and aim for the summit around 3,726 m.
What is included in the package?
Included items cover a hiking guide, porter support, food and water during the climb (3 liters mineral water per person per day), tents, sleeping bags, mats, toilet paper, cooking utensils, trekking insurance, park entrance ticket, and transportation after the trek to Senggigi, Bangsal, Mataram, or Kuta areas. It also includes tea/coffee and fruits such as pineapple and banana.
What should I bring for this trek?
Bring a camera, comfortable clothes, gloves, climbing gear, and goggles. The tour also lists downloading an app.
What equipment is not included?
Trekking shoes, warm clothes, and supplementary food are listed as not included.
Who is this trek not suitable for?
It is not suitable for people with altitude sickness or height phobias. The minimum age is 10. People over 70 are listed as not suitable, and babies under 1 year are not permitted.