REVIEW · LOMBOK
Trekking Mt. Rinjani 2D1N Via Sembalun – Crater Rim – Summit
Book on Viator →Operated by Rinjani Excellent · Bookable on Viator
Sunrise summit on Mt. Rinjani is the whole point. I like that the trek starts in Sembalun at about 1,150 m, so you climb in gradually before the steeper stuff.
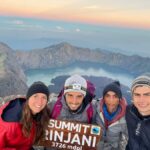
What really sells this trip is the timing. You wake around 02:00, start the final push at 03:00, and have a real shot at reaching the 6:00 a.m. sunrise view from the summit at 3,726 m. The organization also sounds consistent, with guides and porter teams that focus on pacing, safety, and getting the group up and down.
This is not a casual hike. Plan for cold night starts, long days, slippery volcanic steps, and the fact that the package does not include key personal gear like a jacket or headlamp.
In This Review
- Key Things I’d Focus On Before You Go
- Sembalun vs. Senaru: Why This Route Feels More Manageable
- Day 1 in Senaru: Waterfall Option and a Real Night’s Setup
- Day 2: From Sembalun Lawang to the Higher Posts
- Day 3: The 02:00 Wake-up, Sunrise at Summit, Then Crater Rim Work
- Guides, Porters, and Food: Where the Trip Gains Real Value
- Price and Logistics: Is $375 Fair for What You Get?
- What to Pack (and What to Expect at Night and on Volcanic Steps)
- Who This Trek Suits Best (and Who Should Rethink It)
- Should You Book This Rinjani Summit Trek?
- FAQ
- What’s the duration of the trekking experience?
- Where do you stay before the trek starts?
- Do you provide pickup and drop-off?
- What’s included for food during the trek?
- What gear should I bring since it’s not included?
- What should I do about cancellation timing?
Key Things I’d Focus On Before You Go
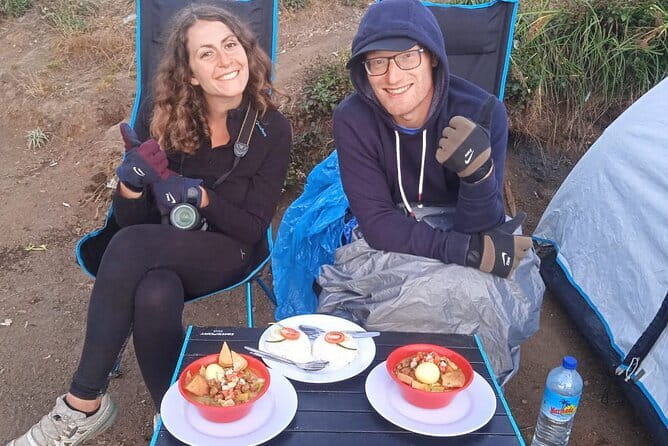
- Sembalun’s higher start (about 1,156 m at Sembalun Lawang) helps you settle into the altitude before the harder segments.
- The summit schedule is tight: wake ~02:00, summit goal around 6:00 a.m., then you immediately pivot to crater-rim breakfast and descent.
- You travel with a guide and porter team, plus cooking equipment and food included, so you’re not self-managing the whole mountain.
- Daytime highlights are built in: open grassland sections, specific trail posts (Pos 1, Pos 2, Pos 3), and views that include Segara Anak.
- Day 1 in Senaru gives you a calmer start, with optional Sendang Gile and Tiu Kelep waterfall stops if timing works.
- Private tour format means it’s only your group, not a crowded public shuffle on the trail.
Sembalun vs. Senaru: Why This Route Feels More Manageable
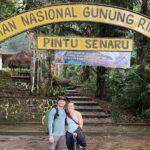
Mt. Rinjani is the kind of climb that makes you respect volcanoes. The smart part of this itinerary is that it starts in Sembalun, which sits much higher than Senaru (about 1,150 m vs. 601 m). That difference matters on day one because you’re not scrambling up a wall from the lowest point you can find.
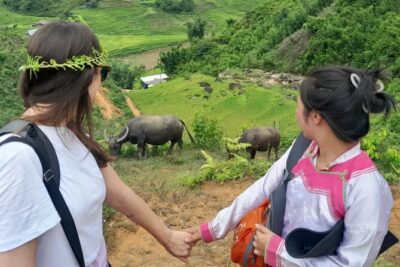
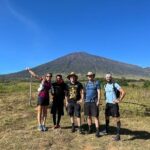
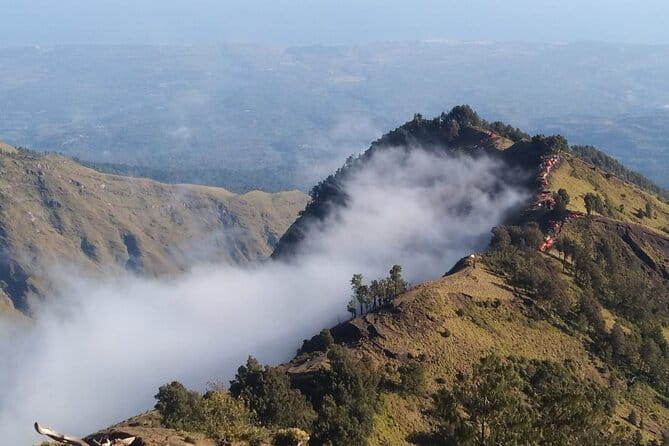
On day two you’ll begin from Sembalun Lawang (around 1,156 m) with a relatively gentle ascent through open grassland that locals use for grazing. It’s a good warm-up. You get walking time to find your rhythm, and you also get a feel for the trail surface before things get steep.
As you climb, you’re moving through multiple “posts” on the way up, including Pos 1 at about 1,300 m, then Pos 2 around 1,500 m with summit views, and Pos 3 at about 1,800 m. That structure helps you mentally, because you don’t just see one long line to the top. You see stages.
If you’re a first-timer who’s nervous about endurance, you’ll appreciate that the route doesn’t rush you immediately into the hardest climbing. You still have a tough trek. But the flow of the day is designed to get you ready.
You can also read our reviews of more tours and experiences in Lombok.
Day 1 in Senaru: Waterfall Option and a Real Night’s Setup
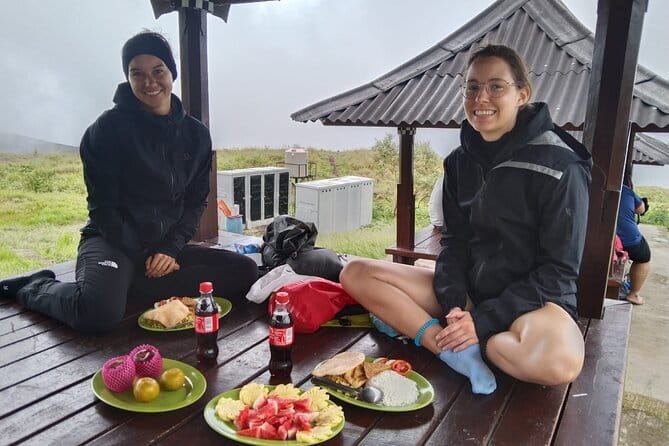
Day one is all about getting you placed and ready. The trip includes pickup from several Lombok spots (Lombok Airport, Lembar Harbor, Mataram City, Senggigi Beach, Teluk Nare, Teluk Kodeq, Bangsal Harbor, Kayangan Harbor, and Tete Batu), then transfer to Senaru for check-in.
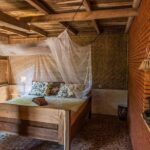
The Senaru accommodation includes hot/cold water, which is more important than it sounds when you’re about to leave for a night trek. You also get a briefing before you’re sent off into free time. That briefing matters because it sets expectations on route details and safety procedures, including rubbish management.
If you have time (the offer is for about 3 hours before sunset), you can visit Sendang Gile and Tiu Kelep waterfalls. The best practical tip here is simple: don’t schedule yourself too tightly. The waterfall is an add-on, not the core of the trek. If clouds and timing make it tricky, it’s okay to skip. You’ll need energy for the next two days.
You’ll likely feel a mix of excitement and anxiety on day one. That’s normal. Use this day to sleep, hydrate, and keep your packing tidy. If your gear is messy, day two becomes harder than it needs to be.
Day 2: From Sembalun Lawang to the Higher Posts
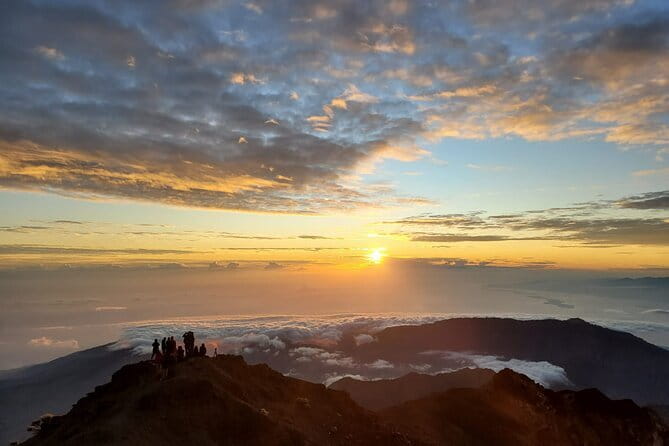
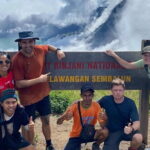
Day two is your long “get higher” day, and it starts early. Your guide picks you up from your hotel lobby around 06:00, then you transfer to Sembalun. From there you register at the Rinjani Information Center (RIC) in Sembalun Lawang, meet your guide, and arrange national park entry tickets.
This part isn’t glamorous, but it’s how you know the trip is operating inside the rules. The guide also gives you a full rundown: route details, local cultural traditions you might encounter, and safety procedures like rubbish management.
Once trekking starts, you’re on that gentle ascent through cattle-grazing grassland. It’s open enough that you can breathe. You can also adjust your pace before you reach steeper sections.
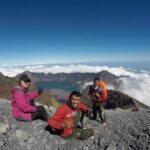
After a few hours you reach Pos 1 Pemantauan (around 1,300 m). Then you keep climbing to Pos 2 Tengengean (around 1,500 m). This is where the views of Mt. Rinjani summit show up more clearly, which helps you connect the effort to a destination.
You then push further to Pos 3 Pada Balong (around 1,800 m). The itinerary notes a next stage after that, and regardless of exact campsite placement, you should expect the day to become more tiring as elevation rises. Day two is about getting your legs ready for the night push, not just checking boxes.
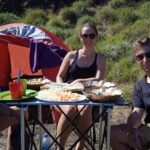
Food is included during the hike (meals and drinks along the trek), and the trip also includes cooking equipment. That’s a big quality-of-life factor. On tough hikes, the difference between “we ate something warm” and “we grabbed a snack” can shape how you feel at night.
Day 3: The 02:00 Wake-up, Sunrise at Summit, Then Crater Rim Work
Day three starts when most of Lombok is still asleep. You wake around 02:00, under darkness, and your guide and porter serve you hot drinks and toast with coffee or tea. Light breakfast at that hour is important. It helps you start the final ascent without feeling empty.
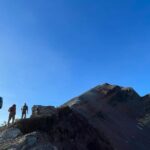
You begin heading toward the summit at about 03:00. The itinerary calls the early portion a moderate trek, followed by a longer but fairly easy section. Then comes the final approach: climbing steep volcanic screens (the trail can involve loose, rocky, gritty footing).
This is the segment where you’ll be glad you didn’t overpack your attitude. Slow steps, firm footing, and listening to your guide’s pace advice are your real strategy. In volcano country, speed is not the goal. Survival and steadiness are.
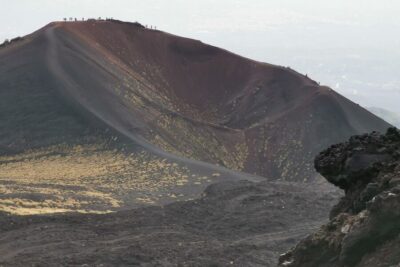
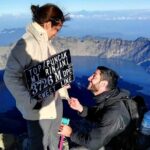
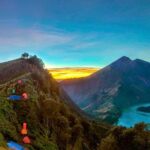
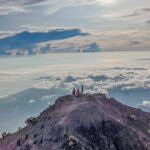
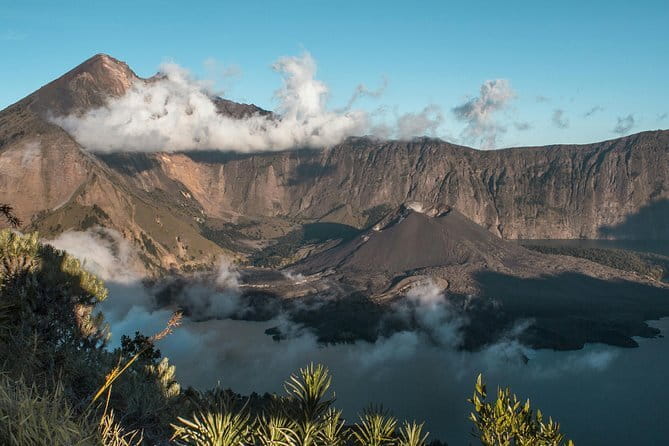
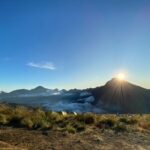
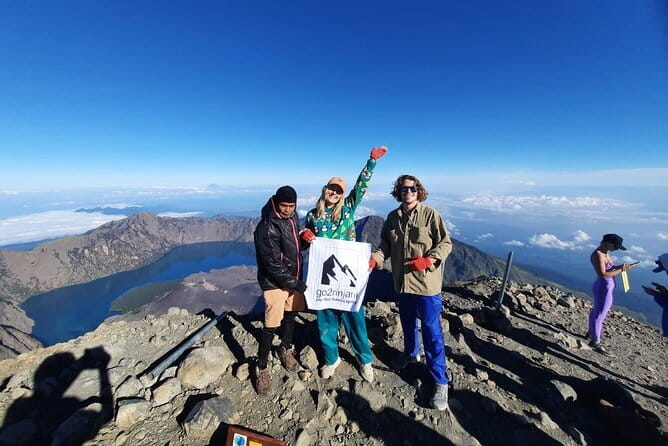
At around 06:00 a.m., you can reach the summit (3,726 m). If you catch clear weather, sunrise can be stunning and panoramic. The view described includes Lombok, Bali, Sumbawa, and Segara Anak Lake in the crater area.
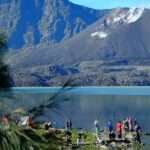
Then you shift quickly from “go up” to “go down.” You descend into the crater rim area within about two hours and have breakfast there. After that, the itinerary continues with the long descent back to Sembalun village, estimated around five hours. Car transfer takes you from Sembalun back to Senaru, then onward to your next destination.
This is a brutal day, but it has a clean logic: night ascent, sunrise goal, short crater-rim recovery, then a long descent. If you’re the type who needs recovery time after a big physical push, plan on your day three ending with sore legs and a strong need for rest.
Guides, Porters, and Food: Where the Trip Gains Real Value
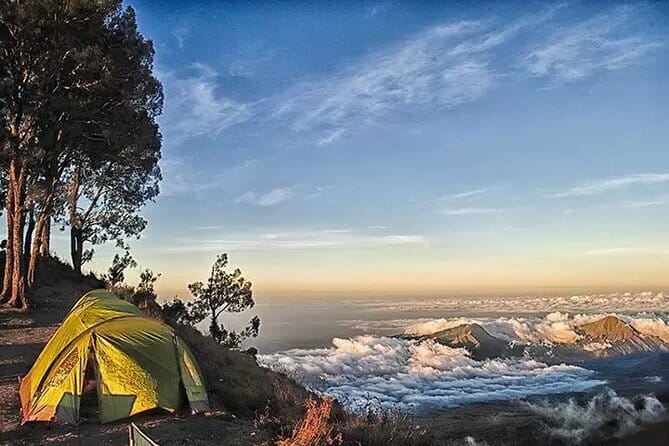
For a trek like Rinjani, you’re paying for more than a route. You’re paying for people who keep the hike moving and the group safe.
The trip includes an experience package with guide & porter, plus equipment and cooking gear. You also get insurance and check-up support, which matters when altitude, weather, and fatigue are all part of the equation.
In the experiences I read, guides like Suti and Sam are noted for speaking English well, and names such as Anton, Budi, and Yantoo come up as friendly, professional, and attentive. I treat that as a hint: ask questions during the briefing and make sure you understand the plan before you leave the start village. If your guide is actively coaching you, that usually improves your whole experience.
Food is included along the hike, with breakfast listed twice and lunch listed twice. The hot drinks and toast on summit morning are a smart touch. It’s not just comfort; it’s fuel when your body is cold and moving fast.
Porters matter too. They handle a lot of the heavy lifting, and that frees you to focus on your footing. In the stories, people specifically mention help on slippery slopes and strong effort by the team. That’s exactly what you want to hear before you spend hours on uneven volcanic ground.
Price and Logistics: Is $375 Fair for What You Get?
At $375 per person for an approximately 3-day trek, this package sits in the common range for guided Rinjani summit hikes. The value comes from the “full-service” build: transport pickup and drop-off, lodging in Senaru before day two, Rinjani national park entry, guide and porter team, meals and drinks while trekking, and cooking equipment.
Here’s how I look at it: you’re not only buying access to the mountain. You’re buying time, coordination, and reduced mental load.
A lot of the included cost is invisible until things go wrong. If weather shifts, or trail conditions change, you benefit from a team that knows how to keep the schedule realistic. The itinerary also emphasizes safety and a rubbish management briefing, which is part of responsible trekking operations.
What’s not included is personal gear: jacket, shoes, headlamp, camera, and sunblock. That means you should budget a little extra for the gear you don’t already own. If you don’t have proper hiking shoes and you arrive without a headlamp, you’ll feel it immediately, especially for the night start.
Also pay attention to the private tour format. This can be a plus if you prefer a tighter group and easier communication, rather than joining a mixed crowd.
What to Pack (and What to Expect at Night and on Volcanic Steps)
The trek asks for strong physical fitness, and you should prepare for it like a serious hike. The big practical constraints are cold darkness, steep sections, and long descent hours.
Pack these personal items since they’re not included:
- A jacket (cold night start is part of the schedule)
- Hiking shoes with good grip (volcanic rock can be slippery)
- A headlamp (the itinerary starts trek at 03:00)
- Sunblock (you’ll still be exposed during daylight walking)
Other practical advice from how this trek runs:
- Wear layers you can adjust while climbing. You’ll go from cold night to hotter sun quickly.
- Keep your bag organized. You don’t want to dig around during a pre-summit stop.
- Bring water and snacks only if your guide suggests it; meals and drinks are already included along the hike.
On day three, you’ll likely deal with loose footing on steep volcanic screens. That’s not a “toughness flex” moment. It’s a careful-footing moment. The safest hikers move slower than their ego wants.
And if you’re traveling with a service animal, the service animals are allowed. That’s useful to know if you rely on one for mobility or health needs.
Who This Trek Suits Best (and Who Should Rethink It)
This trek is ideal if you want a summit sunrise experience and you’re okay with real difficulty. The itinerary includes hard work: long days, high altitude, and a night climb with steep final sections.
You’ll likely fit this best if:
- you have strong physical fitness and endurance
- you can handle a very early start at around 02:00
- you understand that this is a guided, structured trek with stages (Pos 1, Pos 2, Pos 3, then summit, crater rim, long descent)
You might want to reconsider or ask for a tailored plan if:
- you’re a beginner with low endurance
- you’re uncomfortable with long descents (day three is mostly downhill grind after sunrise)
- you don’t have the right shoes and headlamp (the package doesn’t supply them)
One more fit check: do you want an organized experience with people carrying key logistics? If yes, this is built for you. If you’d rather self-guide with a minimal team, you’ll feel constrained by the schedule.
Should You Book This Rinjani Summit Trek?
I’d book this if your top goal is reaching the Rinjani summit for sunrise and you want a guided setup that handles park entry, transport, food, and climbing support. The value isn’t only the mountain. It’s the whole system: pickup, Senaru lodging, Sembalun start, guide briefing, meals along the way, and the crater-rim recovery break.
Don’t book it if you’re missing the basics gear-wise or if you’re not ready for a night start and a long day three. Also, double-check your comfort with altitude and steep steps. This is a serious climb, and your best outcome comes from respecting that.
If you’re ready mentally and physically, this trek can be one of those “once-in-a-lifetime” adventures because it combines early-night effort with a big panoramic payoff. The route structure from Sembalun to crater rim to summit, then straight back down, is built for people who want the real thing.
FAQ
What’s the duration of the trekking experience?
The package is listed as approximately 3 days, with day-by-day trekking time of about 8 hours on day two and about 8 hours on day three.
Where do you stay before the trek starts?
You stay in Senaru before the trek begins, and the accommodation includes hot/cold water.
Do you provide pickup and drop-off?
Yes. Pickup is offered from multiple locations around Lombok including Lombok Airport, Lembar Harbor, Mataram City, Senggigi Beach, Teluk Nare, Teluk Kodeq, Bangsal Harbor, Kayangan Harbor, and Tete Batu. The experience ends back at the meeting point.
What’s included for food during the trek?
Food and drinks are included while hiking. Breakfast is included twice, lunch is included twice, and dinner is included.
What gear should I bring since it’s not included?
The package does not include a jacket, shoes, headlamp, camera, or sunblock, so you should bring those items.
What should I do about cancellation timing?
You can cancel up to 3 days in advance for a full refund. If you cancel less than 3 days before the start time, the amount you paid is not refunded.