REVIEW · POKHARA
Pokhara: 4-Day Mardi Himal Trek with Guide & Himalayan Views
Book on GetYourGuide →Operated by Snow Peak Tours and Travels pvt.ltd. · Bookable on GetYourGuide
Clouds or clear skies, Mardi Himal delivers. This 4-day private trek near Pokhara is all about mountain walking with big payoff: rhododendron forests, sharp climbs, and Himalayan views that can change hour to hour. It’s also a good format if you want something tough-but-doable without going on for weeks.
I especially like how the route climbs in stages, so you can feel the altitude rise without guessing what comes next. I also like the human part of it: a private guide (often named Chandra or Anil) who can match your pace and keep you moving safely.
One drawback to keep in mind: weather can hide the best sunrise light, and there’s an optional meals package that can be a bad value. I’d plan to order food normally at the tea houses instead of paying extra upfront.
In This Review
- Key things that make this Mardi Himal trek work
- Why Mardi Himal Feels Different From Other Annapurna Treks
- Price and What You Really Get for This 4-Day Trek
- Getting to the Trail: Pokhara Pickup, Kande, and a Calm Start
- Day 1: Kande to Forest Camp at 2,500 m
- Day 2: Forest Camp to High Camp at 4,000 m
- Day 3: 4:00 am Viewpoint at 4,300 m, Then Low Camp at 3,000 m
- Day 4: Low Camp to Siding Village, Mardi River, and Back to Pokhara
- Tea Houses, Guides, and the Pace That Keeps You Safe
- Altitude, Fitness, and Weather Reality Checks (Read This Part)
- What to Pack: Items You Bring vs Gear Included
- Should You Book This 4-Day Private Mardi Himal Trek?
- FAQ
- What time do I depart from Pokhara for the trek?
- What’s the highest point you reach on this itinerary?
- Are trekking permits and TIMS fees included?
- Do I need to send my passport copy before the trek?
- Is a guide included, and what languages do they speak?
- What kind of accommodation do you get on the trek?
- Is a porter available, and what does it cost?
- Is travel insurance included?
- Who is this trek not suitable for?
Key things that make this Mardi Himal trek work
- Rhododendron forests early on, with a calmer feel before the steep stuff.
- A serious altitude day to High Camp (4,000 m) for wide Himalayan panoramas.
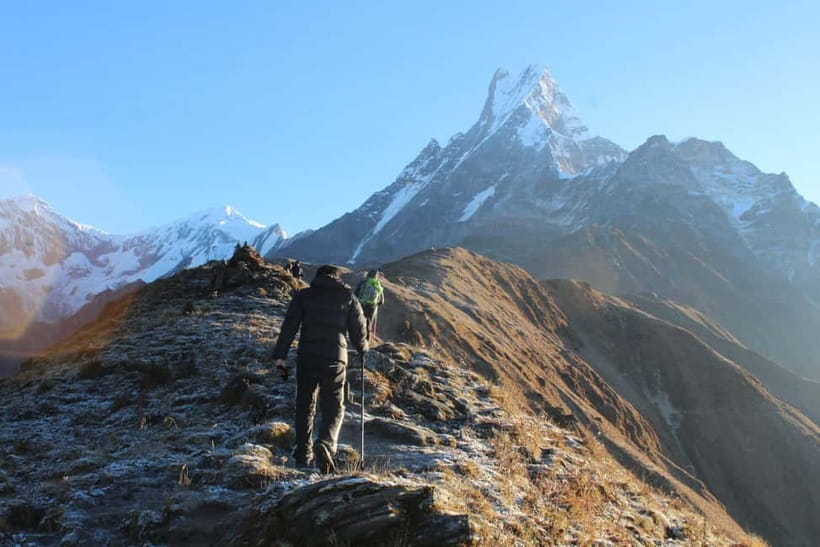
- A classic early-morning push (4:00 am) for a viewpoint at 4,300 m over Mt. Fishtail and the Annapurna range.
- Teahouse nights in simple lodges, with the chance for real local warmth (even birthday cake, if you celebrate).
- Built-in logistics: permits, TIMS fees, transport from Pokhara areas, luggage storage, and a certified guide.
Why Mardi Himal Feels Different From Other Annapurna Treks
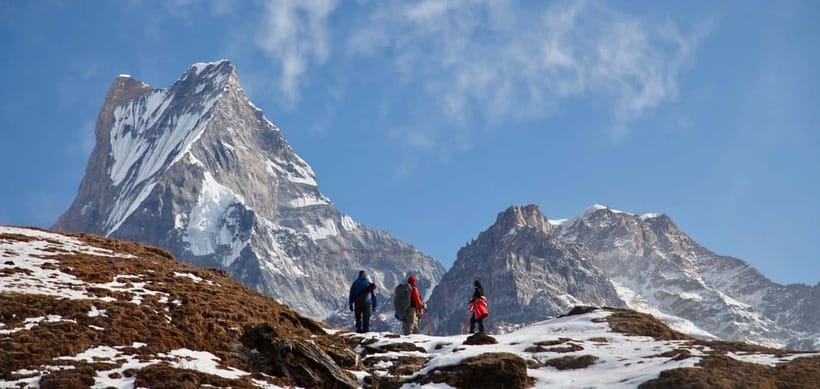
Mardi Himal has a reputation for being scenic without feeling crowded. The big reason is the mix of walking terrain: forest trails, then alpine meadows and steeper stretches as you gain altitude toward Mardi Himal Base Camp.
You start in lower, greener country—dense forest and rhododendron vibes—and that matters because it changes how the trek feels day to day. Day 1 and Day 2 are more about immersion in the trail and the textures of the forest. As you climb, you start seeing more rock, more open sky, and more of those quick “wait, that’s Mt. Fishtail?” moments.
I also like that this is a short trek. Four days means fewer travel days and less time trying to recover from long bus transfers. The tradeoff is that you’ll be working. This is not a flat stroll, and the trail is described as steep and uneven—so you’ll need good shoes and steady legs.
You can also read our reviews of more tours and experiences in Pokhara.
Price and What You Really Get for This 4-Day Trek
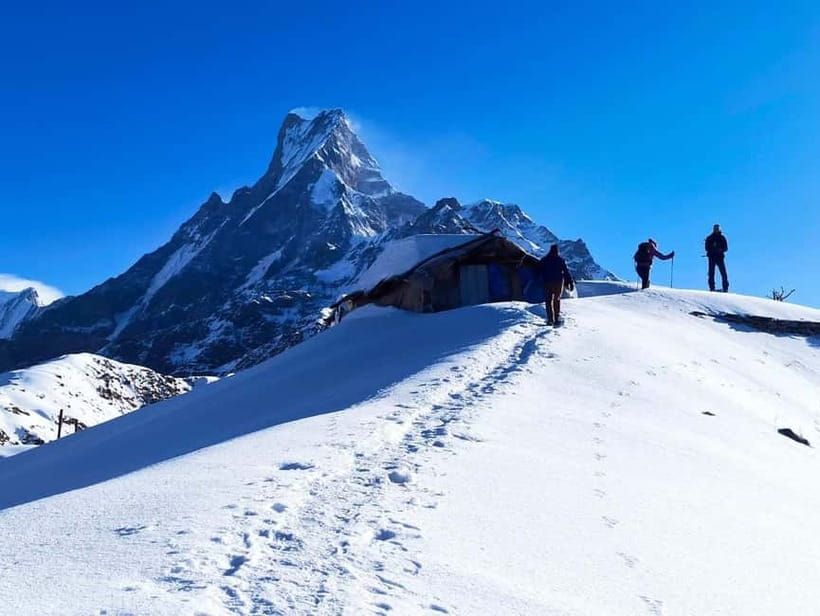
This trek is listed at $154 per person for 4 days, and the value comes from what’s included, not from fancy extras.
Here’s what you’re paying for (the useful parts):
- Permits and paperwork for the trek, including TIMS fees
- Round-trip transport between your hotel/selected Pokhara areas and the trek starting point
- A certified trekking guide, with guide meals, accommodation, insurance, salary, transport, and equipment covered
- Simple tea house/lodge accommodation along the route
- Trekking gear, including trekking sticks and sleeping bags as needed
- A first aid kit
- Luggage storage in Pokhara
What’s not included:
- Travel insurance (listed as mandatory for safety)
- Personal expenses (snacks and beverages)
- Emergency rescue services
- A porter, if you choose one ($20 per day)
So what does this mean for you? If you’re the type who wants your permits and guide handled, you’re in the right place. If you prefer controlling every small decision (food, drinks, snacks), the included setup still works, because you can just buy what you want along the way.
Getting to the Trail: Pokhara Pickup, Kande, and a Calm Start
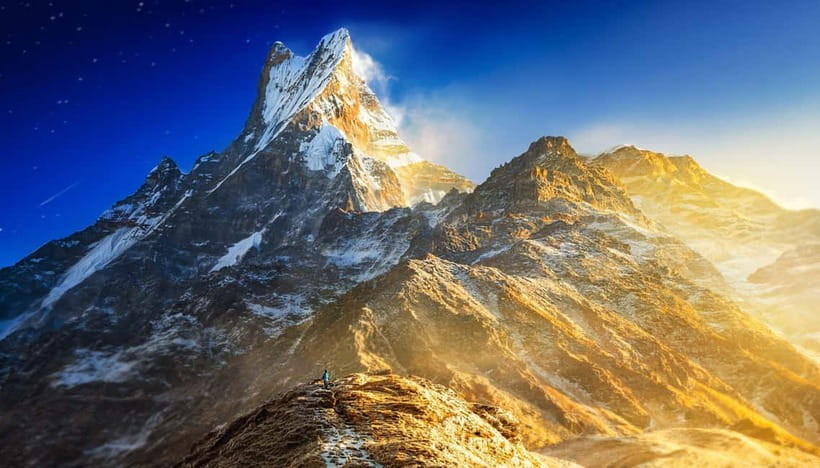
Your day begins with a drive in from Pokhara to Kande. The plan is to depart Pokhara at 8:00 am, with the drive taking about 1 hour. Along the way, you’ll pass through fields, dense forests, and the Seti River, which is a nice way to ease into the region before your first climb.
Pickup options are flexible, including Lakeside Rd 6, Lakeside and Pokhara International Airport (PIA). Drop-off includes those same areas, so you’re not stuck figuring out transport at the end of a long downhill day.
If you’re watching your energy, this matters: starting at a consistent time helps you pace the first day trek. Also, because the trek is private, you avoid the “wait around for other groups” problem that can drain momentum early.
Day 1: Kande to Forest Camp at 2,500 m
Day 1 is where the trek sets its tone. You’ll take that Kande drive, then stop for a midday meal at a tea house. That stop is more than fuel—it’s your first taste of local rhythm, and it helps you transition from city time to trail time.
Then comes the core walking stretch: about 5 hours from Kande to Forest Camp (2,500 m / 8,200 ft). This is described as a trek through enchanting forests, with the kind of shaded, step-by-step terrain that feels steady even when you’re climbing.
Why this day is valuable:
- You acclimate gradually while your surroundings shift from river-and-fields to denser forest.
- You learn how you personally handle the climb before the bigger altitude push.
One practical note: because this day can feel long, it’s worth going into it with a comfortable rhythm. If you’re newer to trekking, you’ll appreciate having a guide who can keep you moving without pushing too hard.
Day 2: Forest Camp to High Camp at 4,000 m
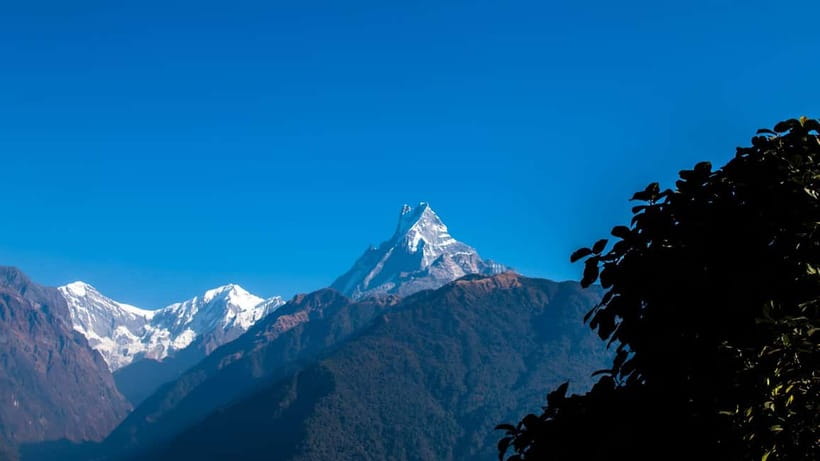
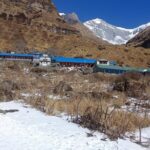
Day 2 is the real climb. After breakfast at Forest Camp, you’ll hike about 5 hours to Mardi Himal High Camp (4,000 m / 13,120 ft).
The trail is described as dense jungle in sections. That sounds romantic, but what it means for you is physical work with fewer big views. You may not get constant panorama from every step—so don’t judge the day too early. The payoff comes when you reach High Camp and settle into the night with wide scenery around you.
This is also where pacing becomes altitude-smart. Higher elevations can make even normal walking feel tougher. Your guide should encourage hydration and a steady pace so you don’t blow your energy before your body adjusts.
I like that the itinerary makes High Camp a clear “destination.” It turns Day 2 into a mission: climb, arrive, recover. For a 4-day trek, that structure helps.
Day 3: 4:00 am Viewpoint at 4,300 m, Then Low Camp at 3,000 m
If Day 2 is the climb, Day 3 is the payoff and the altitude lesson.
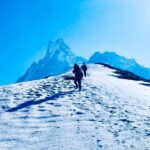
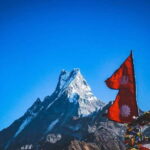
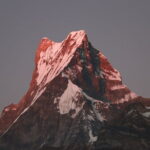
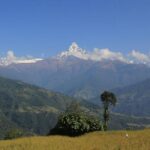
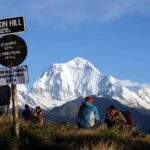
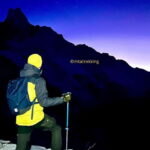
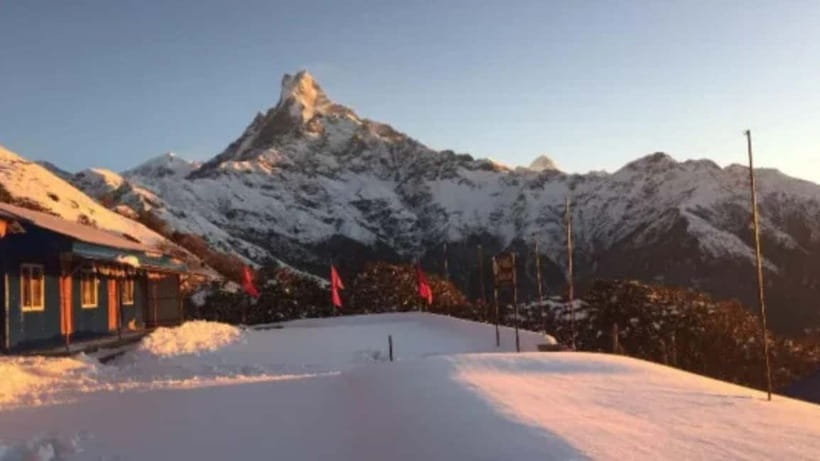
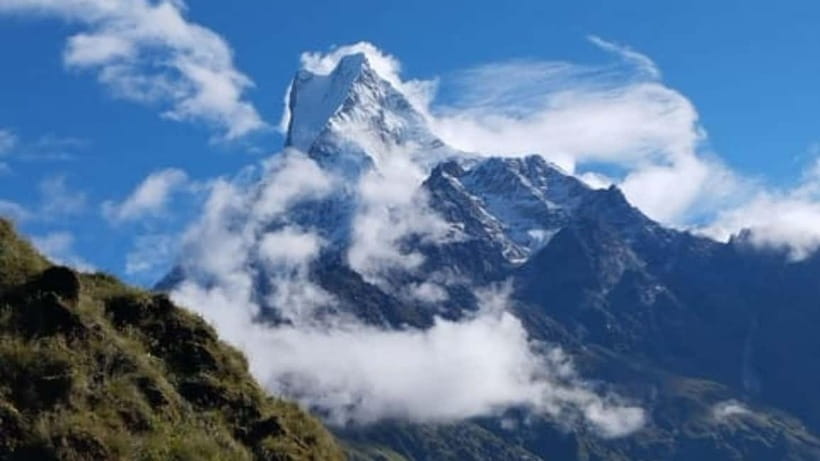
You’re up at 4:00 am for about a 2-hour hike to a viewpoint at 4,300 m. The reward is the vista over Mt. Fishtail and the Annapurna range. This is the kind of early morning effort that can feel worth it the second you see the scale of the mountains.
The catch: weather can change fast, and cloud cover can shut down sunrise light. The good news is that even when sunrise is spoiled, you still get mountain views during the trek. So I’d treat this morning push as part of the experience—not as a guaranteed photo moment.
After the viewpoint hike, the plan is:
- back to High Camp for breakfast
- then continue downhill-style trekking to Mardi Himal Low Camp (3,000 m / 9,840 ft)
You’ll likely feel this day in your legs because it mixes early elevation work with a longer descent. Still, Low Camp gives your body a bit more breathing room.
Day 4: Low Camp to Siding Village, Mardi River, and Back to Pokhara
Day 4 starts with breakfast at Low Camp. Then you descend for about 4 hours through scenic terrain to Siding Village (1,800 m / 5,905 ft).
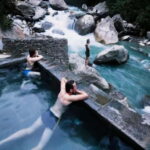
One highlight here is the Mardi River, described as flowing from the base of Mardi Mountain. When you reach this lower zone, the sound and movement of water can be a real psychological reset after days of thinner air.
There’s also a noted stop area for Lumre canyons and Lwang Ghalel. This is a nice bonus because it adds variety to the “downhill and done” feeling. Even if the timing varies with weather and pace, it gives you another reason to look around on the way out.
After lunch in Siding Village, you take a scenic jeep ride back to Pokhara—about 2.5 hours—and you finish around 800 m / 2,624 ft.
For you, this final day is about recovery and closure. It’s where you go from “tactical trekking focus” back to “walk, breathe, eat, enjoy.” I like that the itinerary gets you back to Pokhara by the end of the day so you can relax or keep exploring.
Tea Houses, Guides, and the Pace That Keeps You Safe
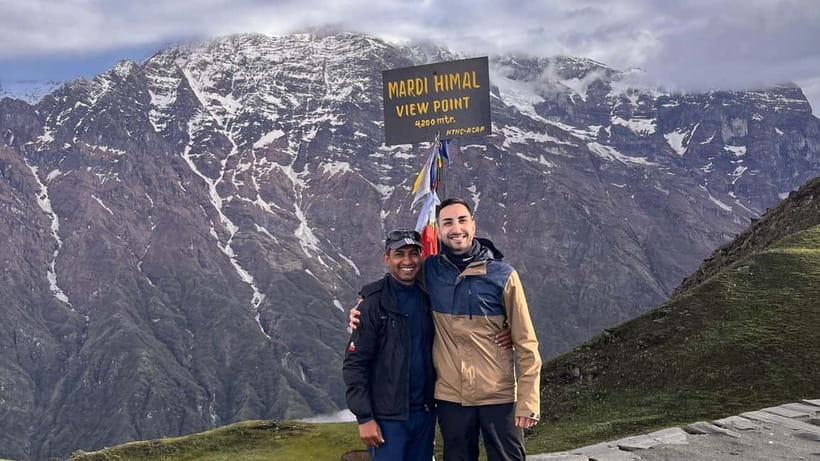
Tea houses are the heart of this trek. They’re listed as simple lodges, so don’t expect hotel comfort. Still, the human side shows up in real ways.
In the feedback I saw, guides were frequently the difference between a good hike and a memorable one. Mr Chandra is described as patient, encouraging, and considerate—especially for inexperienced trekkers. Anil and Anil Nepali are described as attentive and relaxed, with guides who adjust to your preferred walking pace and keep things friendly.
That’s not fluff. On a trek like this, a good guide helps with:
- choosing a realistic pace for your fitness level
- managing altitude risk by encouraging proper acclimatization behavior
- knowing the route and where to find people/tea houses along the way
Food value is another key point. One reviewer warned that a with-meals-included option can be insanely overpriced, because you still end up ordering at tea houses like normal. If you want drinks or extras, that can also cost extra even when you’ve paid a higher bundle price. My practical takeaway: if you’re doing this trek on a budget, it usually makes more sense to pay as you go at the tea houses.
Also, tea house staff can be thoughtful. If you’re celebrating something, there’s at least one example of tea houses making a birthday cake—so it’s worth mentioning special occasions to your guide.
Altitude, Fitness, and Weather Reality Checks (Read This Part)
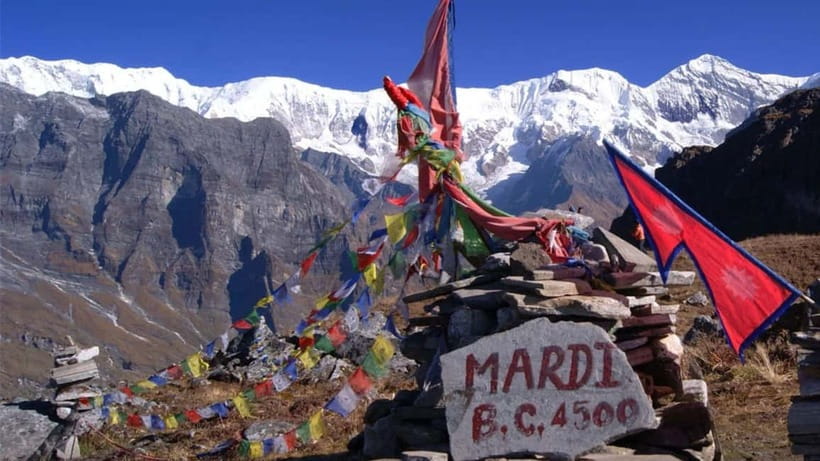
This trek goes high. High Camp sits at 4,000 m, and the viewpoint hike hits 4,300 m. Altitude sickness is explicitly listed as a risk at higher elevations. The plan depends on you acclimatizing properly and following your guide’s recommendations.
Practical altitude habits included in the info:
- acclimatize properly
- stay hydrated
- follow the guide’s recommendations
- expect the trek to be physically challenging due to steep, uneven trails
The itinerary doesn’t include medical rescue, so altitude management is on you and your guide. If you have any conditions or you’re unsure about your fitness, use the “steep and uneven trail” warning seriously.
Also note who the trek is not suited for:
- children under 8 years
- pregnant women
- people with mobility impairments
- people with low fitness
- people over 70 years
If you fall into one of those categories, it’s worth looking for a different trek style.
What to Pack: Items You Bring vs Gear Included
The trek includes trekking sticks and sleeping bags as needed, plus a first aid kit. That reduces what you have to carry.
But you still should bring:
- passport or ID card
- comfortable shoes and/or hiking shoes
- change of clothes
- comfortable clothes
- camera (and waterproof camera if you want to protect gear)
- cash
- hiking pants
- hand sanitizer or tissues
- travel insurance paperwork (since insurance is mandatory)
One logistics detail you can’t ignore: you should submit a copy of your passport a day prior to obtain permits from the Nepal government. Do that promptly, and you’ll avoid last-minute stress.
My packing advice is simple: bring layers you can manage through a cold morning (4:00 am starts are not warm) and a warmer afternoon. Keep your shoes worn-in. This is not a trail for brand-new soles.
Should You Book This 4-Day Private Mardi Himal Trek?
If your goal is classic Annapurna-region trekking with a short timeline, I think this is a strong choice. You get permits handled, a certified guide, tea house nights, and transport tied to specific Pokhara pickup/drop-off options. The route also gives you both forest walking and high-mountain viewpoint time, including Mt. Fishtail and the Annapurna range from around 4,300 m.
Book it if:
- you want a private guided experience rather than figuring everything out alone
- you’re comfortable with steep, uneven trails
- you want a 4-day trek that ends with an easy return to Pokhara by jeep
Consider another option if:
- you’re sensitive to altitude or your fitness is low
- you want guaranteed sunrise conditions (cloud cover can happen)
- you’re tempted by a meals-included add-on—this can be poor value compared to ordering at the tea houses
FAQ
What time do I depart from Pokhara for the trek?
The trek starts with departure from Pokhara at 8:00 am, and the drive to Kande is about 1 hour.
What’s the highest point you reach on this itinerary?
You go up to a viewpoint at about 4,300 m, with Mardi Himal High Camp at 4,000 m.
Are trekking permits and TIMS fees included?
Yes. The trek includes all required permits, necessary paperwork, and TIMS fees.
Do I need to send my passport copy before the trek?
Yes. You should submit a copy of your passport a day prior to obtain permits from the Nepal government.
Is a guide included, and what languages do they speak?
A certified trekking guide is included, and the live guide language options are English, Hindi, and Nepali.
What kind of accommodation do you get on the trek?
You stay in simple tea houses or lodges along the trekking route.
Is a porter available, and what does it cost?
A porter is not included by default. If you want one, it’s listed as $20 per day.
Is travel insurance included?
No. Travel insurance is not included, and it’s listed as mandatory for your safety and peace of mind.
Who is this trek not suitable for?
It’s not suitable for children under 8, pregnant women, people with mobility impairments, people with low fitness, and people over 70 years.
If you tell me your hiking background (roughly how many days you’ve trekked before, and your comfort with steep up/down), I can help you sanity-check whether this 4-day format matches your fitness.