REVIEW · KATHMANDU
Everest Three Pass Trek
Book on Viator →Operated by Base Camp Adventure Pvt. Ltd. · Bookable on Viator
Three passes. One serious week.
If you want the Everest region to feel like a real challenge, this trek delivers: you cross Kongma La, Cho La, and Renjo La, high snow-covered passes with big views of the Mahalangur Himalayan Range and Everest. I also like how the days are paced for altitude, with planned breaks and payoff moments like a sunrise trip to Kala Patthar. The one consideration: this is demanding trekking on rough, high terrain, and you’ll need solid physical and mental fitness to move safely and steadily.
What I really like is the built-in support and the cold-weather help. You’re traveling with a local government licensed English-speaking guide, plus the right mix of staff and porters to handle luggage, and you even receive a down jacket and sleeping bag for the trek. That means less gear to lug around before you ever reach the trail. Just keep in mind the borrowed gear comes back at the end, so plan to keep it in good shape.
In This Review
- Key things I’d plan around on this Everest trek
- Fly into Lukla: where the trek starts, and why it matters
- Dudh Koshi to Namche: suspension bridges and the first altitude lesson
- Tengboche to Dingboche: monastery stop, then rhododendron altitude climbing
- Chhukung and the run-up to Kongma La: shorter day, big purpose
- Gorakshep and Kala Patthar: Everest sunrise without the fake feeling
- Cho La and Gokyo Lakes: icy climb, then lakes that change your perspective
- Renjo La and the finish loop: third pass, then an easier walk home
- Price and logistics: what $1,800 buys you here
- Your best move: prep for the three-pass difficulty, not just the views
- Who this trek is really for
- Should you book the Everest Three Pass Trek?
- FAQ
- How long is the Everest Three Pass Trek?
- Where does the trek start and end?
- What time does the experience start?
- Is pickup offered in Kathmandu?
- What permits are included?
- What trekking gear is provided?
- What’s included for meals and lodging?
- What should I plan to pay for myself?
Key things I’d plan around on this Everest trek
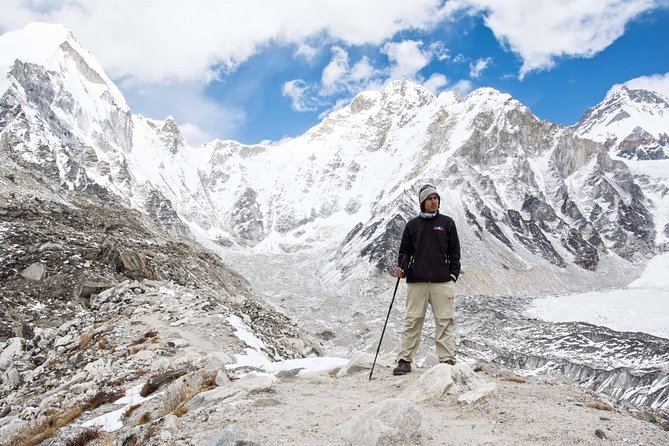
- Three major passes above 5,300m: Kongma La, Cho La, and Renjo La each bring steep climbs and serious cold.
- Altitude pacing that isn’t random: Namche includes a rest and exploration day, and there are planned high points before harder crossings.
- Everest sunrise from Kala Patthar (5550m): early starts pay off with a classic mountain-view moment.
- Gokyo is more than a detour: Cho La leads into the Gokyo area, then you get a separate hike to Gokyo Ri for panoramic views.
- Support that helps you focus on hiking: government licensed guide, porters, and included meals and guesthouse stays keep the trip from turning into logistics chaos.
Fly into Lukla: where the trek starts, and why it matters
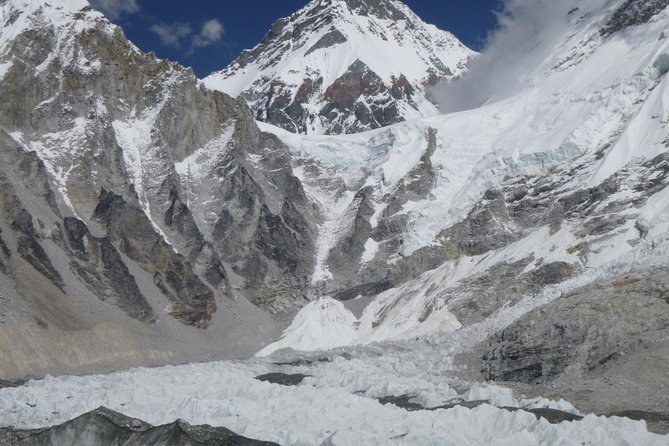
Your trip kicks off in Kathmandu with an early morning start time (6:15am) and a domestic flight to Lukla. This flight is the first taste of what the Khumbu region is like: dramatic hills and snow-capped peaks appear fast, and you land at Tenzing-Hillary Airport, Lukla.
Lukla is a small launchpad town, but it’s an important one. You’ll meet your guide and the trekking team there, then settle in before you start walking. That transition time matters because your first hike is not a stroll. Even on a “welcome” day, your legs are waking up to steep trails, frequent suspensions bridges, and thin-air effort.
At the end of the trek, you do it in reverse: Lukla back to Kathmandu early in the morning, usually with clear views if the weather is cooperative. It’s a nice full-circle feeling: you go from city-level bustle to mountain quiet, and you come back the same way.
Practical takeaway: take your first day seriously. If you go too hard on Day 2, altitude will collect the bill later.
You can also read our reviews of more tours and experiences in Kathmandu.
Dudh Koshi to Namche: suspension bridges and the first altitude lesson
After Lukla, you follow the Dudh Koshi River, crossing it multiple times on suspension bridges covered in prayer flags. It’s a signature Khumbu experience: the bridges add a little adrenaline, and the river valleys keep changing shape as you walk.
Then you enter Sagarmatha National Park, and the trail begins doing what it always does here. It goes from scenic to work mode. You’ll see the rhythm of the region: gradual ascents, short stretches that feel manageable, then sudden climbs that force you to slow down.
By the time you reach Namche, you’re not just there to sleep. Namche is your acclimatization base. One of the better parts of this trek is that you actually get a rest day here. That means you can explore Sherpa town life and get your bearings instead of immediately stacking another big ascent on top of fatigue.
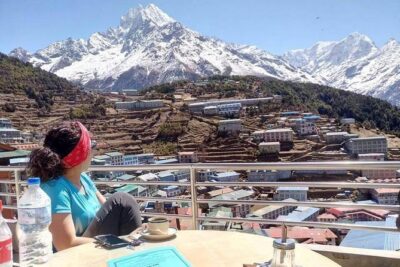
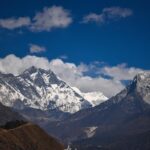
You also walk up to Everest View Hotel for views of peaks like Nuptse and Thamserku. Even if the big snowy giants feel far away, this gives your brain a reference point. You start linking today’s effort with tomorrow’s big passes.
What to love: the rest day isn’t wasted. It’s built for altitude and for getting comfortable with the setting.
How to handle it: keep your pace light during the Namche day. You’re not trying to win a race; you’re trying to make the passes later possible.
Tengboche to Dingboche: monastery stop, then rhododendron altitude climbing
From the Namche area, you continue upstream along the Dudh Koshi, then move above the Imja Khola for a stretch. Along the way, you pass the water-driven prayer wheels near Phunke Tenga. Small details like this are exactly why I like the Everest trails: you’re not just walking between postcards, you’re absorbing local religion and daily life in motion.
You reach Tengboche, and this is a key stop for atmosphere. The trek’s spiritual and cultural side becomes real here—Tengboche is known for its monastery setting, and the moment you arrive you’ll feel like the trek has shifted from “getting there” to “settling into the mountains.”
After that, the trek moves toward Dingboche. Today includes classic high-altitude scenery: the trail passes through rhododendron forest, along with Pangboche village, while your views start expanding. Dingboche is also where the altitude really starts to feel personal. You’re higher, colder, and your body is working harder for each step.
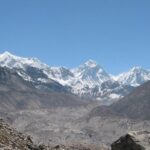
Dingboche is the spot where the surrounding peaks become part of your daily motivation. You’ll see big names in clear conditions—Ama Dablam, Lhotse, and Everest from the broader region. It’s the kind of information that makes your effort feel connected instead of random.
Why this segment matters: Tengboche and Dingboche aren’t only scenery stops. They help you transition from river valley trekking into the high pass rhythm, where you’ll be walking with a more careful, controlled pace.
Chhukung and the run-up to Kongma La: shorter day, big purpose
Instead of adding extra time in Dingboche, you’ll head to Chhukung. That choice is practical. It helps reduce pressure for the next day’s long climb and crossing.
Chhukung is a staging point for Kongma La (5535m). The walking from Dingboche to Chhukung is described as a short but interesting uphill day, and that’s exactly the role it plays. You’re moving upward and acclimating, but you’re also saving energy for the pass.
As you approach the pass phase, you should expect the trail to get rougher and more demanding. High paths can feel deceptively narrow and cold, and every small adjustment in stride becomes important. This is the point where having a cold-weather system matters, and the included down jacket and sleeping bag can be a real advantage.
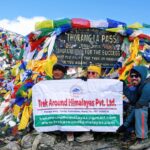
You’ll cross Kongma La on the next day (the trek’s first of the three big passes). The trail to the top is steep uphill with difficulties, and Kongma La is the highest of the three.
My advice: treat Kongma La like an earned slow burn, not a summit sprint. If you move too fast, your body will make the descent pay for it.
Gorakshep and Kala Patthar: Everest sunrise without the fake feeling
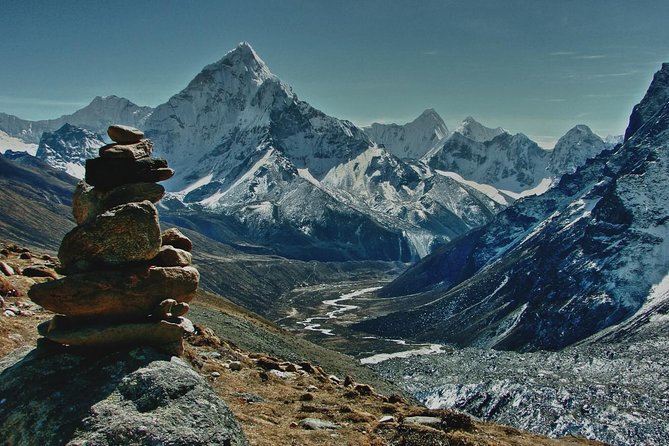
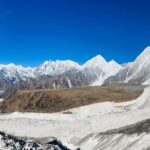
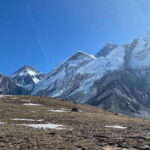
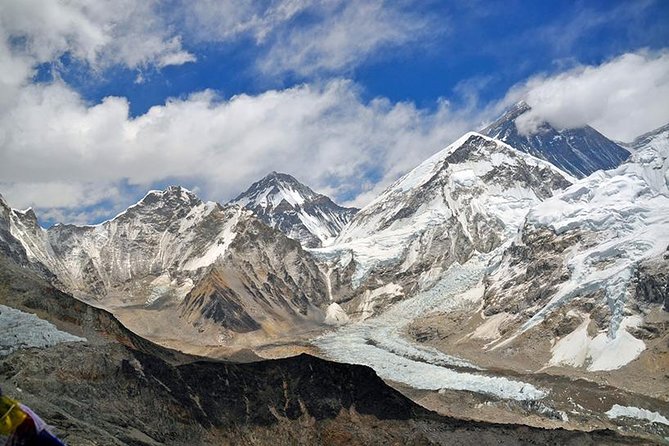
After Kongma La, you head toward Gorakshep. This part is often stony and hard on ankles, but it’s also one of the most “real Everest” stretches you’ll walk. You’ll be surrounded by snow-capped peaks and glacier scenery, and the view feels closer than before.
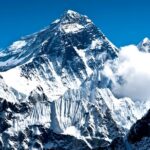
Then comes the famous early climb to Kala Patthar (5550m). This is timed for sunrise, and that matters. The early hike is tough, but the payoff is usually worth it because light changes fast at altitude. From the top, you can experience the first rays of sun hitting Everest, plus wide valley views that look different from each angle.
Kala Patthar is also a mental milestone. You’ve crossed one pass, pushed into high terrain, and now you’re standing at a high point with the mountain fully in view. It’s a classic moment to remind yourself: this trek isn’t only about getting over lines on a map. It’s about seeing how massive the Himalaya feels when your body is doing the hard work to reach it.
Watch-outs: cold is real here. Even if you feel okay at the start, temperatures can bite during early hours.
Cho La and Gokyo Lakes: icy climb, then lakes that change your perspective
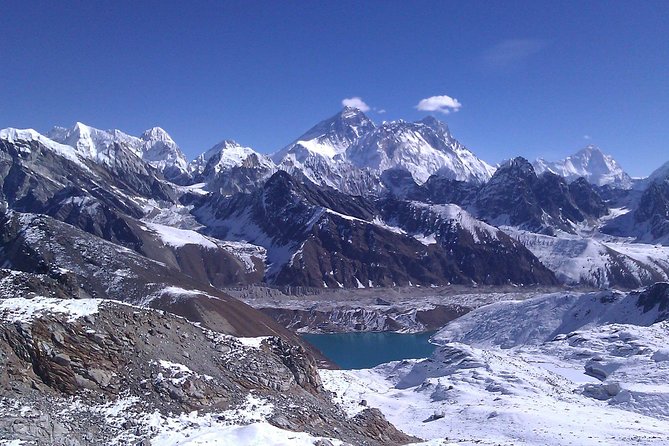
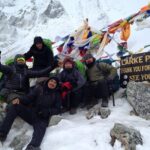
The next big challenge is Cho La (5420m), your second pass. This is another tough day: the trek includes steep uphill movement on an ice-covered trail to reach the top.
A cold, icy pass day is where you’ll appreciate good pacing and steady footing. You want to keep your breathing controlled, take time on exposed sections, and avoid rushing. This trek’s design pushes you through challenging terrain, but it also keeps you moving with a guide and support team—helpful when the trail conditions demand attention.
After Cho La, you reach the Gokyo lakes area. Then you get a rest day in Gokyo, which is a smart break after the pass. You can hike to Gokyo Ri (5360m) in the morning and enjoy views over the entire Gokyo valley and its many small lakes.
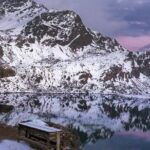
This is where the scenery changes. You’re no longer only dealing with rock and ice textures. The lakes add scale and contrast, and it’s a nice break from the constant “summit or bust” feeling.
Why it’s good value: you’re not only grinding passes. You’re also getting time to step back, breathe, and see the region as a whole.
Renjo La and the finish loop: third pass, then an easier walk home
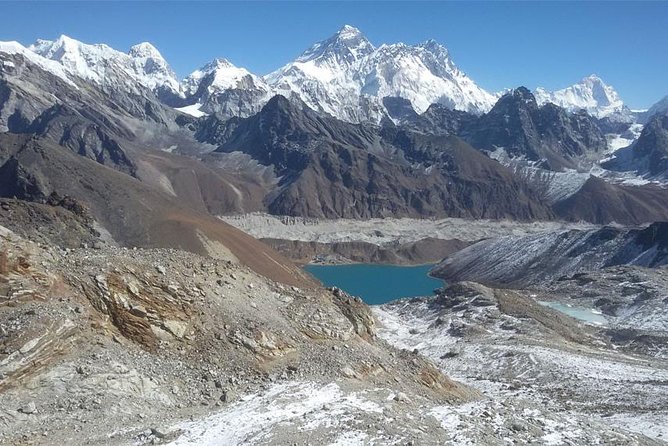
Renjo La (5360m) is the third pass, and the trek begins early to cross it. The described route includes gradual hiking on a snow-filled path to reach the top, and once you’re there, you’re rewarded with views back toward Cho La and the surrounding high country.
This is also a psychological day. By now, you know the routine: rise, climb, breathe slow, and keep moving until the pass opens up to the view. Renjo La feels different from Kongma La and Cho La, partly because you’re already mentally trained to handle the altitude.
After Renjo La, you start walking back toward Namche on a relatively easier trail. That’s a key detail. The “walk to Namche” day is more relaxed, so you can enjoy landscapes around you and get distant views of Everest and other mountains. It’s a welcome shift after steep pass days.
You finish by trekking to Lukla across villages, forests, and rivers over suspension bridges, then resting and exploring the market before flying back to Kathmandu early the next morning.
My take: the best finishing days are the ones that let you feel capable. This gives you that chance.
Price and logistics: what $1,800 buys you here
At $1,800 per person, this trek isn’t cheap. But for a 15-day Everest-region journey with multiple high passes, you’re paying for a lot of real costs.
What’s included matters. You get:
- Best available guesthouses during the trek (mainly twin sharing)
- A local government licensed English-speaking guide
- Staff and porters to carry your luggage
- National Park entry permit and TIMS permit
- Domestic airfare Kathmandu–Lukla–Kathmandu (plus airport tax)
- Meals during the trek: 14 breakfasts, 14 lunches, 14 dinners
- A down jacket, sleeping bag, and duffel/kit bag (with return required after the trek)
- First aid medical kits and land transport
That package is a big deal because it removes a lot of friction. You’re not figuring out permits, flight timing, meals, or where to sleep in small mountain towns. You can focus on the hiking, which is where your attention needs to be.
What’s not included is also clear:
- International flights to Nepal
- Alcoholic and other drinks, laundry, and hot shower type add-ons
- Personal trekking equipment
- Tips for trekking staff
- Any extra expenses not listed
So the value equation looks like this: the trek price covers the heavy logistical lifting and the permits, plus the core trekking infrastructure. Your job is to show up fit, with personal gear, and plan to budget tips.
Tip for your budget: if you hate surprises, keep some extra money aside for your own comfort items and any personal gear you may need to upgrade.
Your best move: prep for the three-pass difficulty, not just the views
This trek is for people with strong physical fitness. You’ll be dealing with steep climbs, rough terrain, cold nights, and high-altitude effort. Even with a solid plan, the passes demand calm execution.
Here’s how I’d prepare using only what you can control:
- Train for steady uphill effort and long walking days, not just short workouts.
- Practice hiking with a pace that feels slow but sustainable.
- Plan for cold. Even with a provided down jacket and sleeping bag, you still need to protect yourself against wind and chilly mornings.
- Pack personal basics for comfort and safety. The trek provides down gear and sleeping equipment, but it doesn’t cover personal trekking equipment.
One more thing: weather matters. This is an experience that requires good weather, and if poor conditions force changes, you’ll be offered a different date or a full refund.
I’ve also seen evidence of this operator handling tight schedules on Everest routes. For example, in past experiences connected to Base Camp Adventures, trekkers mentioned avoiding late monsoon rain by taking off early. On the Everest trails, timing is everything, and this trek’s early starts and sunrise hike fit that reality.
Who this trek is really for
This is best for hikers who want a true high-pass Everest trek and are comfortable with hard days at altitude. If you’re the kind of person who likes structure—guides, porters, and permits already handled—this trip will feel smooth.
It’s also a good fit if you want a private group. The tour is private, meaning it’s just your group, not a mixed crowd.
And if you’ve been dreaming of Everest views but you want more than a single route, the three-pass format is the point. It’s bigger, harder, and more varied than a one-pass highlight.
Should you book the Everest Three Pass Trek?
If you’re physically ready and you want the Everest region to feel like a serious adventure—with Kongma La, Cho La, and Renjo La plus sunrise at Kala Patthar—this is a strong choice. The value looks solid on paper because permits, domestic flights, guide support, meals, and even key cold-weather gear are included.
Skip it if you’re not confident about high-altitude walking and steep, rough trail conditions. This is not a trip where you can coast. You need to earn the passes with steady effort.
If you’re deciding right now, my practical recommendation is simple: be honest about your fitness, and plan to keep your expectations aligned with high-country trekking—cold starts, careful footwork, and big rewards when the light hits Everest.
FAQ
How long is the Everest Three Pass Trek?
It’s listed as about 15 days.
Where does the trek start and end?
It starts and ends back at the meeting point in Kathmandu, Nepal.
What time does the experience start?
The start time is 6:15am.
Is pickup offered in Kathmandu?
Yes, pickup is offered.
What permits are included?
The trek includes the National Park entry permit and a TIMS permit.
What trekking gear is provided?
You’re provided a down jacket, a sleeping bag, and a duffel/kit bag that needs to be returned after the trek.
What’s included for meals and lodging?
You get guesthouse accommodations during the trek (mainly twin sharing), plus 14 breakfasts, 14 lunches, and 14 dinners.
What should I plan to pay for myself?
International airfare, personal trekking equipment, alcoholic and other drinks, laundry, hot shower add-ons, and tips for trekking staff are not included.