REVIEW · KATHMANDU
Gokyo-Ranjo Pass Trek On 16 Days (Cheapest Trip On Nepal)
Book on Viator →Operated by Dream Himalaya Adventures Pvt Ltd · Bookable on Viator
Lukla days change your whole attitude. This classic Khumbu trek strings together a mountain flight to Lukla and days along the Dudh Kosi, then breaks away from the busiest Everest trail toward Khumjung and the Gokyo Valley. I especially like how the route builds in acclimatization before the higher push to Gokyo Peak and the Renjo La Pass views. The one drawback to weigh is the altitude and long hiking days, so you’ll want solid fitness and a plan to move slowly on purpose.
What makes this trip feel manageable is the way the itinerary rhythm is set up: you climb, you stop, you rest, then you climb again. You start with acclimation basics in the Namche area, then you settle into the quieter Gokyo side where the scenery is just as serious but the trail feels calmer. Past trekkers also highlighted a kind, attentive Sherpa team, including guides named Pema and Kami, which matters a lot when weather and schedules in the Everest region can get unpredictable.
Finally, there’s real value in how logistics are handled for you. You’re not just “given a route”—you get hotel time, permits, meals on trek, hot drinks and treated water, and even rental gear like a sleeping bag and down jacket. If you prefer a low-stress trip where you can focus on walking and enjoying the views, this setup is a good match.
In This Review
- Key highlights you’ll care about
- Lukla flight, Dudh Kosi trail, and how the trek starts strong
- Namche, Khumjung, and the Everest side quest that changes the view
- Dole, Machhermo, and acclimatization that avoids the panic scramble
- Into Gokyo Valley: lake, viewpoints, and the big altitude goals
- The long way home: Lungden to Namche to Lukla
- What’s included (and what that means for your stress level)
- Price and value: $2,100 that’s easier to justify than it sounds
- Guides, guesthouses, and the pace that keeps you feeling human
- Trekking reality check: altitude, weather, and how to handle it smartly
- Who this tour fits best (and who might want another plan)
- Should you book this Gokyo–Renjo Pass trek?
- FAQ
- Where does the trek start and what time?
- How long is the trek?
- What’s included for meals and drinking water?
- Do you provide trekking permits and park fees?
- Is this a private group tour?
- Are airport and hotel transfers included?
- Do I get trekking gear like a sleeping bag or down jacket?
- Is there an acclimatization or rest day?
- What happens if the Lukla flight is delayed?
- What do I need to arrange on my own?
Key highlights you’ll care about
- Flight to Lukla gets you into the Khumbu fast, without wasting days crossing slow routes
- Detours to Khumjung and an Everest view stop add variety beyond the main Everest trail
- Machhermo and rest day timing help your body handle the higher altitudes later
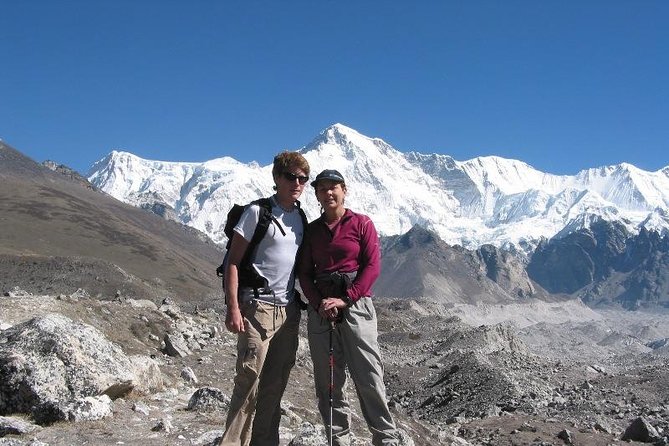
- Gokyo Lake + GokyoRi + Gokyo Peak means multiple viewpoints, not just one big push
- Renjo La to Lungden gives you dramatic panoramas while still providing a steady descent rhythm
- Pema and Kami-style guiding (noted by prior guests) keeps the trek calm, caring, and dependable
Lukla flight, Dudh Kosi trail, and how the trek starts strong
The adventure begins in Kathmandu with a transfer to your hotel and a briefing. Then you’re up early for the big jump: you fly to Lukla at about 2,840m, which instantly places you in the mountains without the multi-day slog most people dread. This is a huge part of why people feel the trip is worth the time—your legs start training for the real climbs almost immediately.
From Lukla you walk to Phakding (around 2,610m) in roughly 3 hours. This first day’s job is simple: get your breathing steady, learn how your pack feels, and let the altitude settle in. The next day takes you to Namche Bazar (about 3,440m) over roughly 5 hours. Namche is where the Everest region starts to feel like a real hub—shops, lodges, and the busy energy you expect, even if your later days turn quieter.
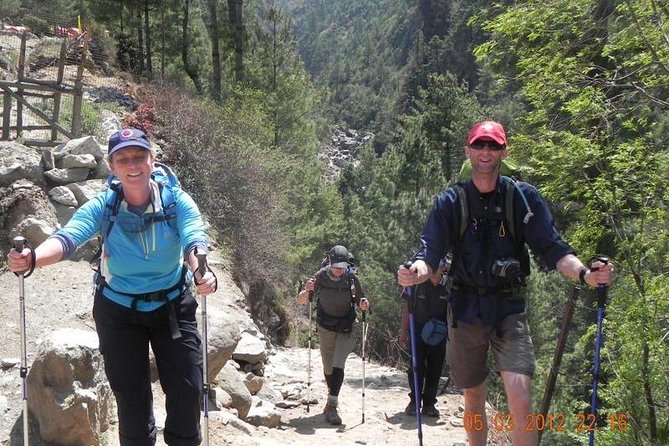
A big practical plus here: you’re trekking along the Dudh Kosi route. That river corridor is a classic for a reason. It gives you a repeated rhythm—up, pause, up again—with lots of teahouse options. You’ll also appreciate the structure: meals and hot drinks are included on trek, so you’re not constantly deciding where to eat in the middle of a long day.
You can also read our reviews of more tours and experiences in Kathmandu.
Namche, Khumjung, and the Everest side quest that changes the view
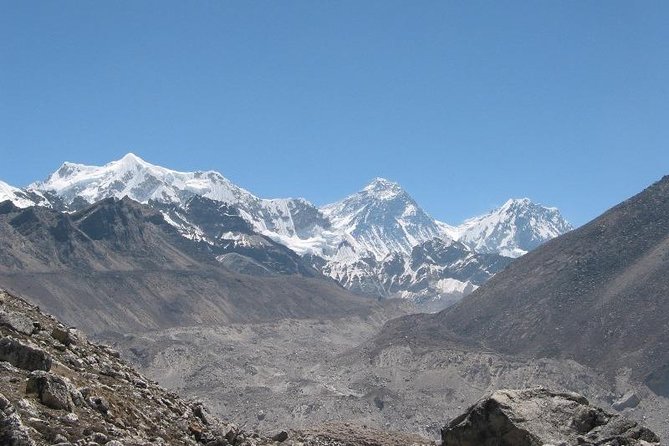
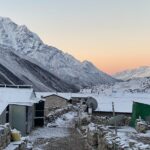
Instead of staying locked to the main Everest trail the whole way, you take a detour toward Khumjung. After arriving in Namche (Day 4), you head to Khumjung (about 3,840m) on Day 5 in roughly 3 hours. Khumjung sits at a higher elevation than Namche and adds a different flavor to the route—Sherpa village life, stone-and-wood guesthouses, and a calmer trail feel than the main corridor.
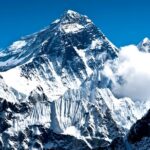
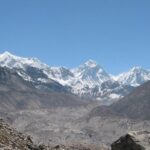
One detail worth noticing: the plan includes stopping by an Everest view hotel area on the way. Even if you don’t get perfect visibility every day (that’s mountain life), the itinerary is set up so you’re moving through places designed for views. That’s also a mental trick: you’re not only chasing altitude; you’re building excitement for what you’ll see when you finally step into the big Gokyo angles.
Then you stay the night in Khumjung. That overnight matters because it turns the detour from a quick detour into an acclimation step with real value. You’re not just passing through; you’re giving your body a chance to adjust while you enjoy the village pace.
Dole, Machhermo, and acclimatization that avoids the panic scramble
On Day 6 you trek from Khumjung to Dole (about 4,200m) for roughly 6 hours. This is a longer day by design, and it’s here that you learn the most important trekking habit: keep your effort steady, not heroic. At these elevations, slow movement often feels easier than pushing.
Day 7 brings you to Machhermo (about 4,470m) in around 4 hours. This is where the itinerary becomes smarter about altitude management. On Day 8 you get a rest day plus day hikes at Machhermo (same altitude level). That pattern—go up a bit, then come back, then rest—is one of the best ways to reduce the odds of feeling wrecked later.
You also get a chance to understand your own body. Some people feel fine at 4,500m and others don’t. A planned rest day gives you room to adjust without losing the whole schedule. If you’re someone who needs time to warm up to altitude, this is the kind of itinerary detail that protects your whole trip.
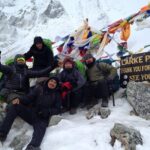
Past guests praised the way the team guided the pace, which is exactly what you want on a trek like this. A caring guide can be the difference between arriving tired and arriving ready.
Into Gokyo Valley: lake, viewpoints, and the big altitude goals
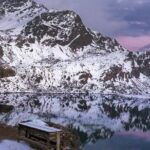
Day 9 takes you to Gokyo (about 4,790m) in roughly 4 hours. You’ll feel the shift when you enter the Gokyo side of the region. It’s often less crowded than the main Everest route, and that’s not just a comfort perk—it makes a huge difference when the wind and weather start playing games. You’ll have quieter moments to take in the mountain views.
Day 10 includes a day trip to GokyoRi (about 5,483m). This is a serious altitude day, but it’s also one of the best ways to turn your time in the Gokyo area into multiple viewpoint experiences. Instead of one summit-like push, you get a structured chance to gain confidence as you go higher.
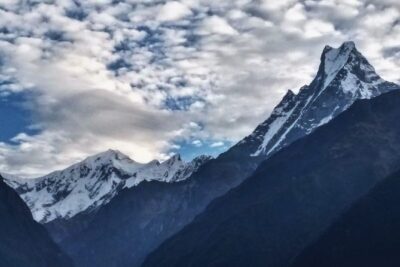
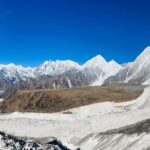
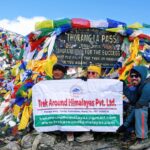
Day 11 crosses Renjo La Pass at about 5,340m, then continues trekking to Lungden (about 4,400m) over roughly 6 hours. The key thing here is that the pass is both a physical milestone and a panoramic reward. Renjo La is known for big views of the highest peaks. You’ll want to treat the crossing like a careful, steady process—short steps, extra patience, and plenty of time for photos.
And then you settle back into walking mode, descending toward Lungden. Descents can feel easier on paper but still require attention at these elevations, especially on tired legs. The itinerary doesn’t throw you into chaos; it gives you a workable, day-long stretch that ends at a lower elevation.
The long way home: Lungden to Namche to Lukla
After you reach Lungden, Day 12 is back to Namche (around 3,440m) in roughly 5 hours. This is a transition day. Your altitude pressure eases, and you shift from concentrating on survival to enjoying the small things again—breathing steadier, taking longer breaks, noticing how your muscles recover between stops.
Day 13 continues the return to Lukla (back near 2,840m) in about 6 hours. Now you’re closing the loop. It’s also the point where you’ll likely feel how well the earlier acclimatization paid off—if you managed the pace, your legs usually handle the final days with more control.
Day 14 brings the flight back to Kathmandu, with an evening farewell celebration meal included. This is a nice touch because your brain needs a transition from trekking focus to city life. Food, warmth, and a normal shower can feel like major milestones.
Day 15 is a free day / emergency day for the Lukla flight to Kathmandu. That’s not just a blank day—it’s a realistic buffer for mountain schedules. If weather delays your flight, you aren’t left scrambling for solutions.
Day 16 is your transfer to the airport for your onward flight or an optional extension. The trek ends, but the routine of mountain time sticks with you for a bit.
What’s included (and what that means for your stress level)
This trip includes a lot of the stuff that usually eats time and causes friction.
On trek, you get all meals (breakfast, lunch, dinner), plus hot drinks and treated drinking water. That matters because it reduces decision fatigue. When you’re climbing, you don’t want to be negotiating meals or hunting for refill points at the worst moment.
You also get required trekking permits, conservation/national park fees, and government taxes handled. Those are real costs, and it’s a relief when you don’t have to track them yourself.
Guiding and support are structured too: you have an Experience Sherpa Trek Guide, porters, and a first aid kit for the trek. You also receive a trek duffle bag and rental sleeping bag and down jacket. If you don’t own cold-weather sleeping gear yet, this is a big value saver.
A half-day world heritage sites tour in Kathmandu with guide and private transport rounds out the first and last days. It’s not meant to replace your whole Kathmandu plan, but it helps you get oriented and see something meaningful without turning the trip into a city sprint.
Price and value: $2,100 that’s easier to justify than it sounds
At $2,100 per person, you’re paying for a full, structured Everest-region operation, not just a guiding fee. What makes the price more reasonable is the bundle:
- Mountain flights to and from Lukla are part of the experience plan
- Your hot drinks and meals on trek are included
- Permits, park fees, and taxes are included
- You get private transfers between airport and hotel
- A guide and porters are included
- You receive rental gear (sleeping bag and down jacket)
What’s not included is also clear, and you can budget it without surprises: bottle water/boiled water, soft drinks, beers, and major meals in Kathmandu aren’t part of the package. You’ll also need your own personal trek gear, and you’ll want medical/personal high risk insurance that covers emergency evacuation cost. Those points aren’t glamorous, but they matter in a place where weather can affect flights.
If you’re comparing costs, don’t just look at the trekking days. In the Everest region, the real price drivers are flights, permits, and the human network that keeps the trek running.
Guides, guesthouses, and the pace that keeps you feeling human
This trek is physically demanding, but it can still feel calm. The route is designed with acclimatization and rest built in, and the guide support makes a big difference in how you experience those days.
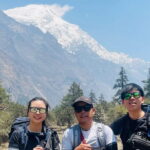
In prior trip notes, people specifically called out guide kindness and care, including guides named Pema and Kami. That kind of support typically shows up in small ways: pacing you when you’re tempted to speed up, helping you plan rest stops, and keeping the day organized when you’re tired.
Lodge stays also come with expectations. Past trekkers mentioned guesthouses that were warm and clean, with delicious food. You can use that as a good sign that the lodge selection is handled well, even though you shouldn’t assume every day will feel like the same level of comfort.
If you want an itinerary that won’t constantly demand last-minute decisions, this is a strong match.
Trekking reality check: altitude, weather, and how to handle it smartly
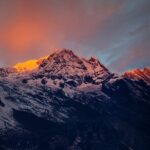
The highest point on this route is the Gokyo Peak at 5,360m, plus GokyoRi at 5,483m and Renjo La at 5,340m. That’s a lot of high-altitude exposure for one trip, so treat the acclimatization days seriously, not as optional extras.
Your schedule already includes key checks:
- early mountain days through Namche and Khumjung
- a longer climb to Dole
- Machhermo as the acclimatization anchor
- rest day with day hikes at Machhermo
On days with higher elevations, you’ll want to keep your pack light enough to avoid fighting uphill. Rental gear helps with bulk, but you still need your personal layers and trekking essentials.
Weather in the Everest region can change quickly, and that’s why the trek includes an emergency day for the Lukla flight. You’ll be calmer if you accept that mountain flights don’t always run like clockwork.
Who this tour fits best (and who might want another plan)
You’ll like this trek if you:
- want the Everest region without staying stuck on the busiest main trail all the time
- enjoy viewpoint-focused days like GokyoRi and the Renjo La pass
- value a guided, organized trip with permits, meals, and support handled
- prefer a loop feel that returns you to Lukla via Namche
You might think twice if:
- you’re not comfortable with long, higher-altitude days and the need for slow pacing
- you’re hoping for a more casual walk with minimal elevation pressure (this itinerary has several demanding days)
If you’re fit, flexible, and okay with mountains calling the shots, this plan is a strong way to see a big chunk of Khumbu.
Should you book this Gokyo–Renjo Pass trek?
I’d book it if you want a well-structured Everest-region trek that gets you into the big views (Gokyo and Renjo La) while also giving you time to acclimatize. The value is strongest when you want most of the hard logistics handled: meals on trek, hot drinks and treated water, permits, private transfers, a Sherpa guide, porters, and even rental sleeping and cold-weather gear.
I wouldn’t book it if you need maximum predictability from day to day, because Lukla flights can be weather-dependent—and this itinerary already builds in an emergency day for that reason. If you’re honest about your fitness and you’re ready to move at trekking speed instead of vacation speed, this is the kind of trip that pays off in real mountain moments.
FAQ
Where does the trek start and what time?
The meeting point is Tribhuvan Airport in Kathmandu, Nepal, with a start time of 5:00 am.
How long is the trek?
The itinerary runs for about 16 days.
What’s included for meals and drinking water?
All meals of high quality and hygienic are included on trek (breakfast, lunch, dinner). Hot drinks are included too, along with treated drinking water. Bottle water, soft drinks, and beer are not included.
Do you provide trekking permits and park fees?
Yes. The trek includes all required trekking permits, conservation/national park fees, and government taxes.
Is this a private group tour?
Yes. It is a private tour/activity, and only your group will participate.
Are airport and hotel transfers included?
Yes. You get all airport/hotel/airport transfers by private vehicles.
Do I get trekking gear like a sleeping bag or down jacket?
You can rent a sleeping bag and a down jacket as part of the trek support (rental basis).
Is there an acclimatization or rest day?
Yes. There’s a day at Machhermo (4,470m) for day hikes and rest.
What happens if the Lukla flight is delayed?
Day 15 is listed as an emergency/free day for the Lukla-to-Kathmandu flight.
What do I need to arrange on my own?
You need personal trek gear, tips for local staff, and medical/personal high risk insurance that covers emergency evacuation costs. Major meals in Kathmandu are not included either.