REVIEW · KATHMANDU
14 Days Everest Base Camp Trek
Book on Viator →Operated by Eco Nepal Trekkers · Bookable on Viator
Cold air, big views, real effort.
This 14-day Everest Base Camp trek is built around the rhythm of the Khumbu: drive and fly into the Everest region, then hike day by day with acclimatization stops that make the big moments safer and more enjoyable. You’ll move through Sherpa villages, cross alpine trails, and land at Everest Base Camp and Kala Patthar for sweeping high-mountain panoramas.
Two things I really liked are the solid support structure (airport transfers, a licensed guide, and a porter—1 porter for two clients), and how the route threads culture and scenery together. You don’t just chase altitude; you also get time around Namche Bazaar and Tengboche monastery.
One consideration: this is serious hiking in high country. If you don’t have moderate physical fitness, the steep days (especially on and around the acclimatization blocks) can feel like a grind.
In This Review
- Key things that make this trek work
- The Kathmandu start: Thamel, permits, and getting your legs under you
- Day 2 to Lukla and Phakding: the jump-off day that sets the tone
- Namche Bazaar on Day 3: steep, hard, and worth it
- Acclimatization Day in Namche (Day 4): Everest View Hotel and a 360-degree check
- Tengboche (Day 5): monastery vibes and picture-perfect light
- Dingboche and Nagarjun Hill (Days 6–7): rest day that stays productive
- Heading toward higher camps: Lobuche (Day 8) and the glacial feeling
- Gorakshep and Everest Base Camp (Day 9): the moraine edge moment
- Kala Patthar on Day 10: the pre-dawn push for the top payoff
- Back toward Namche (Day 11) and Lukla (Day 12): the legs get tired, the views still win
- The return to Kathmandu (Days 13–14): weather and flight timing matter
- Guides, porters, and why support changes the whole experience
- Meals and day-to-day comfort you should expect
- Price and value: what $2,200 actually covers
- Who this trek suits best (and who should think twice)
- Should you book this Everest Base Camp trek?
- FAQ
- Do I need a permit for the Everest region on this trek?
- What’s included in the trek meals?
- Is there a guide and porter?
- How does the flight part work for getting to Lukla?
- What’s the highest point on the trek?
- Are airport transfers included?
- Is it a private tour?
- What happens at the end if flights are affected?
Key things that make this trek work
- Acclimatization built into the schedule with Namche Bazaar and Dingboche rest days (plus an extra hike to Nagarjun Hill).
- Lukla flying segment included (Kathmandu area routing to Lukla, then back again near the end).
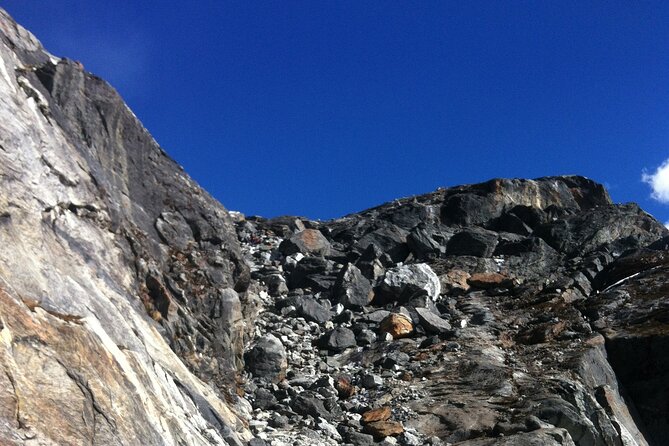
- Kala Patthar timing starts before dawn for the top-of-trek 360-degree views at 5,545 meters.
- Support that reduces friction: licensed guide, porter shared between two clients, and all permits handled.
- Comfort wins in Kathmandu: 2 nights in a 3-star hotel in Thamel with breakfast.
The Kathmandu start: Thamel, permits, and getting your legs under you
Day 1 is all about setup. You’re picked up at the airport in Kathmandu and taken to a hotel in Thamel, where you have time to stretch out and get your bearings. Thamel is tourist-focused, so you’ll find plenty of places to grab last-minute supplies and snacks.
What I like about starting here is that it gives you a buffer before hiking begins. You can sort your bags, check your gear, and handle any small surprises—like realizing you forgot something basic before you’re a full week away from the city.
If you’re the type who does best with quiet planning, use Day 1 to do two things: confirm your trek day routines (early starts, meal times) and get your cash ready for small purchases. The trek itself covers meals during the hiking days, but personal extras still pop up.
You can also read our reviews of more tours and experiences in Kathmandu.
Day 2 to Lukla and Phakding: the jump-off day that sets the tone
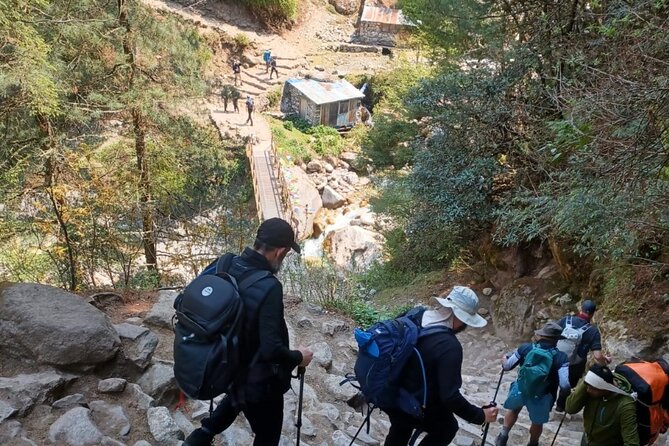
On Day 2, the day starts with a drive from Kathmandu to Manthali/Ramechhap, followed by a short flight to Lukla. Then you begin hiking, ending in Phakding.
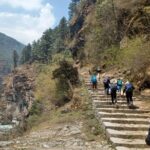
This is a good day to treat like a warm-up, not a victory lap. The key is pacing. After the city and travel, you want your body to find rhythm instead of forcing speed. The route also keeps you moving through classic Khumbu scenery early, so you start seeing what the trek is really about right away: steep valleys, prayer flags, and that unmistakable Himalayan “up close” feeling.
If you’re prone to overdoing it, keep your plan simple: steady steps, frequent water breaks, and let the altitude wait its turn.
Namche Bazaar on Day 3: steep, hard, and worth it
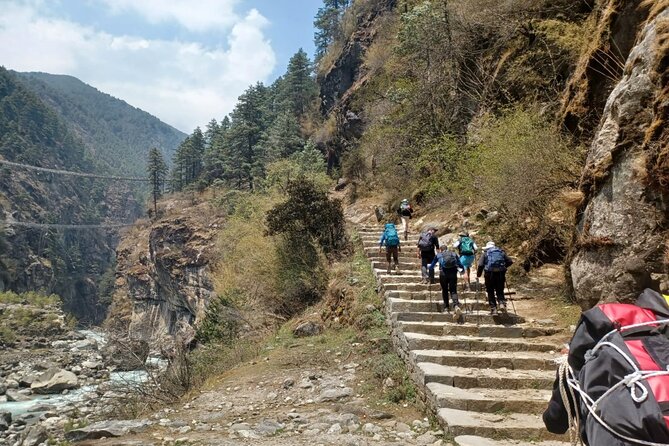
Day 3 is the first big checkpoint. You trek from the lower entry area toward Monjo (the Sagarmatha National Park entrance) and then up to Namche Bazaar. The day is described as difficult but rewarding, and that matches what you’ll feel on the trail—uphill, some steep sections, and a noticeable shift in air as you gain elevation.
The value of reaching Namche is practical and emotional. Practically, it’s your acclimatization hub. Emotionally, it’s where the Everest region starts feeling real, with Sherpa communities along the way and a sense of the region’s purpose as you climb.
A small note that matters: Namche is not just scenery. It’s where you’ll likely catch your first “routine” in the mountains—what to eat, how to manage your energy, and how your body responds.
Acclimatization Day in Namche (Day 4): Everest View Hotel and a 360-degree check
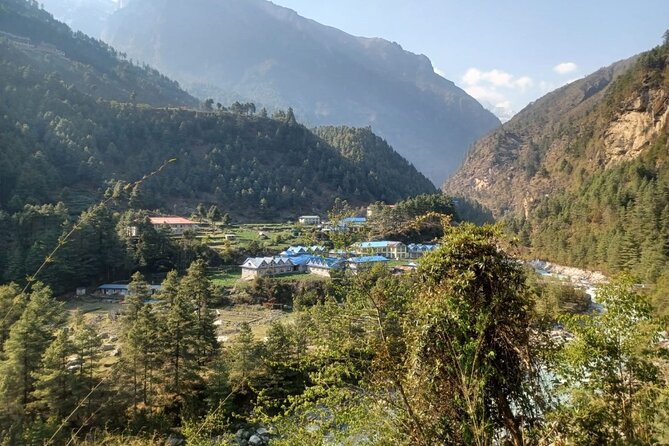
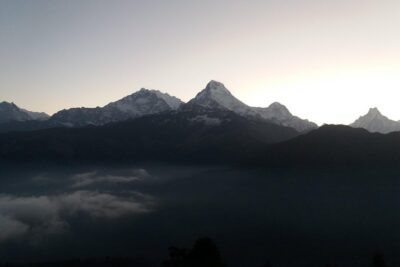
Day 4 is intentionally slower. You walk to the famous Everest View Hotel area for panoramic, 360-degree views. From there you can look toward Ama Dablam, Thamserku, Everest, Nuptse, and more.
This is a smart day because it gives you a controlled taste of altitude while still working with your body, not against it. I also like that the route builds in a “proof moment”—you can see the peaks clearly enough to understand the geography you’ve been hiking toward.
If you tend to get anxious about heights, this day can calm you. You’ll learn what the scale actually looks like from a reachable elevation—and you’ll still be in a village setting, not alone on a high ridge.
Tengboche (Day 5): monastery vibes and picture-perfect light
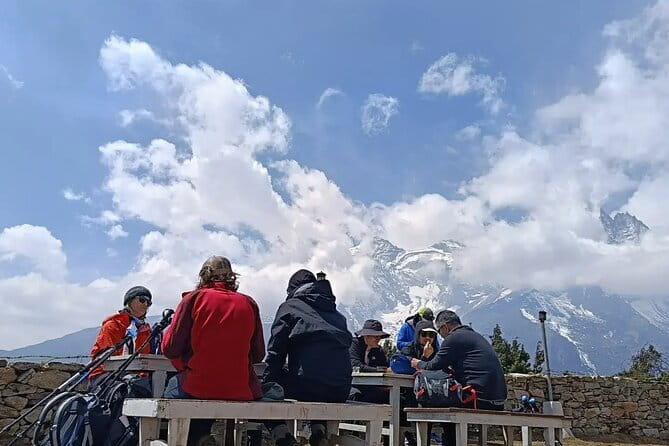
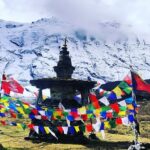
Day 5 heads to Tengboche. The day is framed as a more relaxed walk with fewer steep sections, which makes it photographer-friendly. On the way, you’ll want to watch for views of Ama Dablam, plus prayer flags and stupas.
Tengboche itself is one of those places where the trek turns spiritual without getting preachy. The monastery is described as revered, and the setting gives you that moment where you stop rushing and just absorb the scene: the ridgelines, the religious landmarks, and the feeling that this route has mattered for a long time.
Practical tip: if you’re carrying a camera or phone, Tengboche is where you’ll use it the most. But don’t turn it into a full-time job. The best photos often come after you’ve taken a few quiet minutes first—so you know what you’re trying to capture.
Dingboche and Nagarjun Hill (Days 6–7): rest day that stays productive
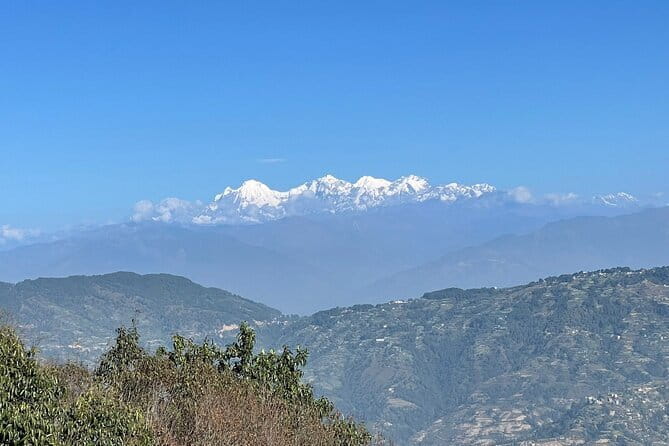
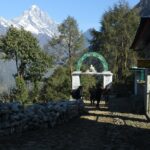
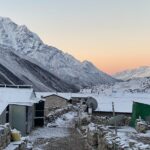
Day 6 takes you to Dingboche, passing through settlements like Pangboche with views of Mt. Ama Dablam, chortens, and mani walls. It’s the kind of walk where you get both mountain power and human detail—stone, symbols, and villages shaped by the terrain.
Day 7 is your acclimatization rest in Dingboche. Even though it’s described as rest-and-easy, you stay active with a quick walk to Nagarjun Hill at 5,100 meters. You get rewarded for the effort with stunning views.
This is the sweet spot of the itinerary. You’re not just sitting; you’re giving your body gentle work at a higher point, then bringing it back down. That pattern—light exertion, then recovery—is one of the reasons people feel better later, especially when the trek gets more dramatic.
If you want to do this well, treat Day 7 like a lesson in discipline. Go steady, don’t chase the group’s pace, and don’t treat the hill walk like a race. It’s training, not a test.
Heading toward higher camps: Lobuche (Day 8) and the glacial feeling
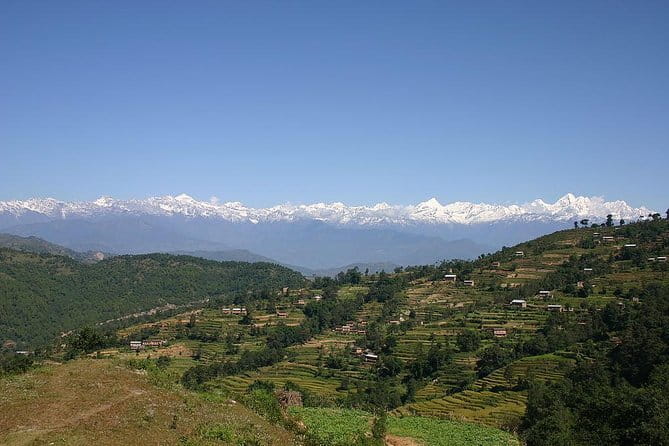
Day 8 is a gradual ascent toward the Pheriche Valley and on to Lobuche. The route goes through alpine brush and yak pastures, with big views toward Ama Dablam, Tawoch, and Cholotse from the valley floor.
This is also where the trail starts to feel more like “high country trekking” and less like village hiking. The air gets sharper. The scenery gets more stripped down. And even if you can’t see the glacier up close yet, you’ll feel the environment changing.
I like this day because it’s a transition day. If you prepare for it mentally—no heroics, just steady hiking—you’ll arrive with energy for what comes next.
Gorakshep and Everest Base Camp (Day 9): the moraine edge moment
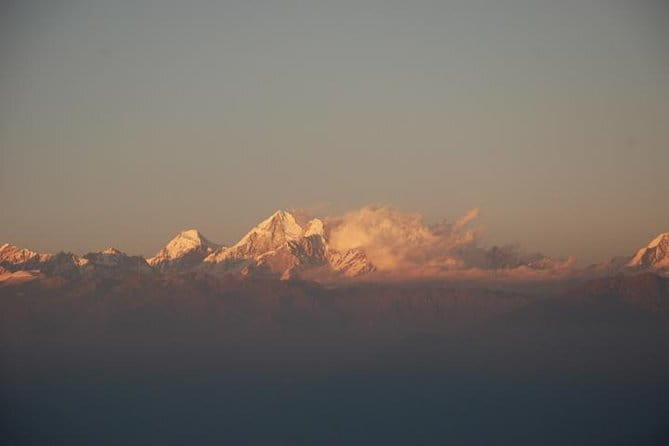
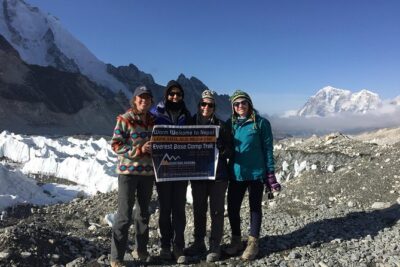
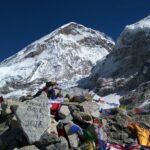
On Day 9, you trek to Gorak Shep Village, which sits encircled by snow-capped mountains along the lateral moraine of the Khumbu Glacier. Then you move to Everest Base Camp.
This is the day you’ll remember even when the photos start fading. You’re crossing into the kind of terrain where the ground feels shaped by ice and time. The glacier presence isn’t just a background detail—it’s part of what you’re walking through.
I’d also plan your day like this: go out with patience, take the photo you came for, then spend time just looking. Everest Base Camp is often chaotic in its own way during busier seasons, but your job is to focus on your experience—weather, light, and how your body feels at that altitude.
Kala Patthar on Day 10: the pre-dawn push for the top payoff
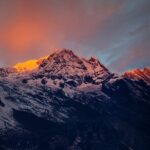
Day 10 starts before dawn and is built around a strenuous walk to Kala Patthar, the trek’s highest point at 5,545 meters. The reward is a stunning 360-degree panorama that includes Everest, Nuptse, Lhotse, Ama Dablam, and more.
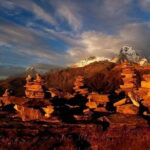
This is the hike that turns a good trip into a story you tell for years. The sky at this altitude can change fast, but when conditions cooperate, you get a real sense of scale—peaks stacked like walls, ridges stretching outward, and that feeling that you’ve reached the boundary between earth and sky.
Practical advice: keep your layers on hand and don’t wait until you feel cold to fix it. Cold sneaks up on you when you’re moving slowly in the dark. And when you stop for photos, breathe steadily—don’t rush your body’s recovery.
Back toward Namche (Day 11) and Lukla (Day 12): the legs get tired, the views still win
Day 11 moves you toward Namche Bazaar, with the trail declining but still including uphill stretches. Forest and flora return to the scenery, which can be a relief after the more barren high stretches. Still, it’s a long and difficult day of walking, especially following earlier tougher days.
Day 12 ends the main hiking portion: you follow the route back to Lukla. Once you arrive in Lukla, you get to relax and sleep well.
This is where most people underestimate the trek. Even if downhill feels easier, your body pays for the earlier altitude days. Your best tool is consistency: slow down, take breaks before you’re totally cooked, and keep your hydration up. You’ll arrive in Lukla with more energy than you expect if you manage the late-trek fatigue.
The return to Kathmandu (Days 13–14): weather and flight timing matter
On Day 13, you head back to Kathmandu depending on flight availability and weather. The plan is either a flight to Kathmandu or to Manthali Airport, then onward to Kathmandu. You also get time to shop, which is a nice way to turn your effort into something tangible.
Day 14 is the airport transfer. A staff member takes you to the airport about three hours before your scheduled departure, which helps you avoid stress when travel timing gets tight.
I like how the schedule is explicit about the two flight options. It tells you to expect that the final part of the trip isn’t fully “linear”—you’re working within real-world travel constraints.
Guides, porters, and why support changes the whole experience
This trek includes an experienced trekking guide licensed by the government, plus a porter available during the trek. The porter arrangement is set as 1 porter for two clients, which is a big deal for comfort. You’re not stuck hauling everything while also dealing with altitude.
From the reviews associated with this operator, the human touch comes through. People praise their organization and customer care, and names show up like Pemba Tamang (owner) and Prayash (guide). While not every team member will be the same on every trip, it’s a good sign that real leadership and real guides are part of the package—not just paperwork.
The biggest value of support is mental. When your gear and route details are handled, you can focus on walking and acclimatizing, not logistics.
Meals and day-to-day comfort you should expect
Meals during the trek are included: breakfast, lunch, and dinner. You also get breakfast with your Kathmandu hotel stay, plus a farewell dinner in a typical Nepali restaurant. That matters because food is fuel, and in high altitude trekking, skipping meals or guessing portions can throw off your rhythm.
Not included are hot shower, WiFi, and most drinks during the trek. Alcohol and mineral water costs are also not included, and neither are hot water, coffee, and other beverages. So if you like comfort, plan to buy drinks as extras.
What I’d do: treat the included meals as your anchor, then bring a small allowance for personal extras. This keeps you from feeling annoyed when the bill appears later.
Price and value: what $2,200 actually covers
At $2,200 per person for about 14 days, the value comes from what’s bundled:
- airport pickup and drop-off by private vehicle
- domestic flight ticket (LUK–RMH–LUK) and domestic airport tax
- 2 nights in a 3-star hotel in Kathmandu (twin sharing) with breakfast
- permits and paperwork handling (Sagarmatha/Everest National Park and TIMS)
- licensed guide and porter support
- meals during the trek plus a farewell dinner
- an achievement certificate
That’s not cheap, but it’s not vague either. You’re paying for infrastructure: flights, permits, guide time, porter time, and meals. For many trekkers, the biggest cost savings is removing the headache of assembling all those pieces separately.
Where you’ll still spend extra:
- Nepal entry visa fee
- travel insurance (high-altitude emergency evacuation coverage is specifically not included)
- your personal trekking gear
- Kathmandu meals not covered
- drinks during the trek
- tips for guide/porter/driver
If you already have gear and insurance, the price feels more straightforward. If you don’t, budget time to get those set up before you go.
Who this trek suits best (and who should think twice)
This tour is best for you if you have moderate physical fitness and you want a guided, structured path with acclimatization built in. The itinerary includes a mix of steep days and rest/acclimatization days, so you’ll get both challenge and recovery.
You might want to think twice if:
- you’re not comfortable with strenuous, high-elevation walking (Kala Patthar is the standout example)
- you dislike early starts and long hiking days with tiring descents
- you need lots of downtime in the middle of the trek (the “rest” days still include activity)
The minimum of 2 travelers is also a factor, since the trek requires at least two participants.
Should you book this Everest Base Camp trek?
I’d book it if you want a well-structured Everest Base Camp trek with included permits, real human support (licensed guide plus shared porter), and enough acclimatization to make the big days feel more manageable.
Ask yourself two questions before you commit. First: Can you handle a strenuous day to a high point like Kala Patthar after a week of altitude trekking? Second: Are you okay with paying extra for drinks, insurance, and tips since they’re not included?
If your answers are yes, this is the kind of trip that gives you the peak views you came for, plus the Sherpa culture stops that make the whole journey feel human—not just high and hard.
FAQ
Do I need a permit for the Everest region on this trek?
Yes. The trek includes all necessary permits, including Sagarmatha/Everest National Park and TIMS.
What’s included in the trek meals?
Breakfast, lunch, and dinner are included during the trek, plus breakfast at your Kathmandu hotel and a farewell dinner in a typical Nepali restaurant.
Is there a guide and porter?
Yes. You’ll have an experienced, government-licensed trekking guide. A porter is also provided during the trek, with 1 porter assigned to two clients.
How does the flight part work for getting to Lukla?
After driving from Kathmandu to Manthali/Ramechhap, you fly to Lukla for about a 20-minute flight. The included domestic flights also cover LUK–RMH–LUK.
What’s the highest point on the trek?
Kala Patthar at 5,545 meters is the highest point, and you start early in the morning for it to catch the panoramic views.
Are airport transfers included?
Yes. You get airport pickup and drop-off via private vehicle in Kathmandu.
Is it a private tour?
Yes. It’s private, and only your group will participate.
What happens at the end if flights are affected?
On Day 13, return to Kathmandu depends on flight availability and weather. You’ll either fly to Kathmandu or to Manthali Airport. On Day 14, you’re taken to the airport about three hours before departure.