REVIEW · KATHMANDU
Goisankunda, Trek of the Holy Lakes
Book on Viator →Operated by Flyeast Nepal · Bookable on Viator
Goisankunda hits hard in the best way. This 7-day trek combines daily village-to-village walking, steady altitude gains, and a main goal at the Gosainkunda lake area around 4,390m. What I like most is the clear, day-by-day pacing and how the trip handles the big logistics for you with a private jeep from Dhunche and back from Sundarijal.
I also like the practical package: an experienced guide, the trek permit, and meals plus tea-house/lodge accommodation are included for the trekking days. One drawback to plan for: you’re trekking five straight days, so this is best for people with moderate fitness who are comfortable walking day after day, not for those who want lots of downtime.
In This Review
- Key things to know before you set off
- How the 7 days are paced (and where you’ll feel the effort)
- Price and value: what $555 covers on the Goisankunda trek
- Day 1: Kathmandu to Dhunche (1,900m) and getting set up
- Day 2: Chandanbari (3,330m) and your first real climb
- Day 3: The Gosainkunda lake area at 4,390m
- Day 4: Ghopte (3,530m) and a turning point
- Day 5: Kutumsang (2,470m) and the bigger drop
- Day 6: Chisapani (2,215m) and the last trekking night
- Day 7: Sundarijal (1,460m) and drive back to Kathmandu
- Food, tea houses, and the vegetarian option that actually helps
- Flyeast Nepal logistics: guide quality and real-world support
- Who this trek is for (and who should pass)
- A practical checklist to make the trek easier
- Should you book Goisankunda with Flyeast Nepal?
Key things to know before you set off
- Private jeep to Dhunche and back to Sundarijal saves you time and hassle on travel days
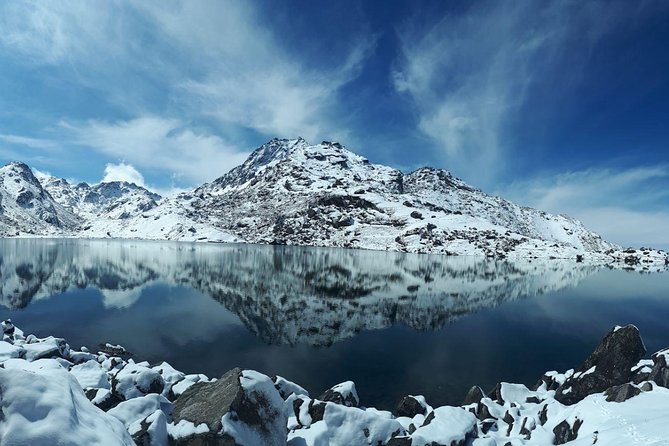
- Gosainkunda at 4,390m is the high point, so pacing and altitude awareness matter
- Tea house / lodge stays keep you moving without hunting for rooms each night
- Meals are included (3 per day on trek, with one menu item), but beverages are on you
- Small groups (max 14) and a private tour means your schedule won’t be driven by strangers
- Dietary options available including vegetarian, if you flag it early
How the 7 days are paced (and where you’ll feel the effort)
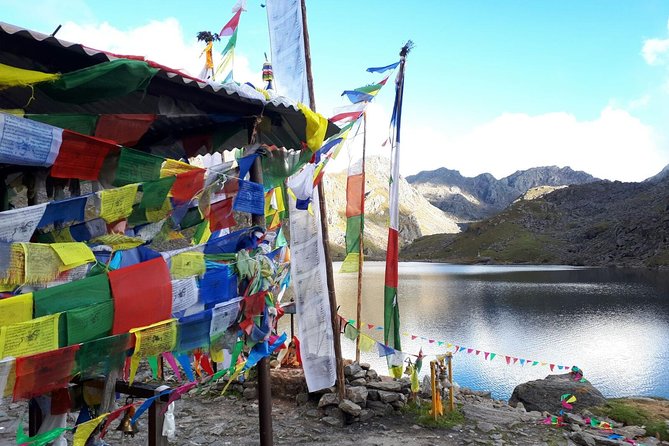
This is a trek that’s built around walking every day for five days, with driving on day 1 and day 7. The tour starts at 7:15am, and then you spend day 1 getting from Kathmandu into the trekking zone. After that, it’s simple rhythm: one village to another, night in a tea house or lodge, repeat.
If you like routes with structure, you’ll appreciate how the altitude changes day to day. Day 1 moves you to Dhunche at 1,900m. Day 2 climbs up to Chandanbari at 3,330m, and day 3 is your big push to Gosainkunda at 4,390m. Then the route turns into a gradual descent pattern: Ghopte at 3,530m, Kutumsang at 2,470m, Chisapani at 2,215m, and finally Sundarijal at 1,460m before the drive back to Kathmandu.
What this pacing means for you: you’ll be active most days, but you’re not constantly bouncing up and down. The trek concentrates effort around reaching the lake area, then you spend the later days working your way back down.
You can also read our reviews of more tours and experiences in Kathmandu.
Price and value: what $555 covers on the Goisankunda trek
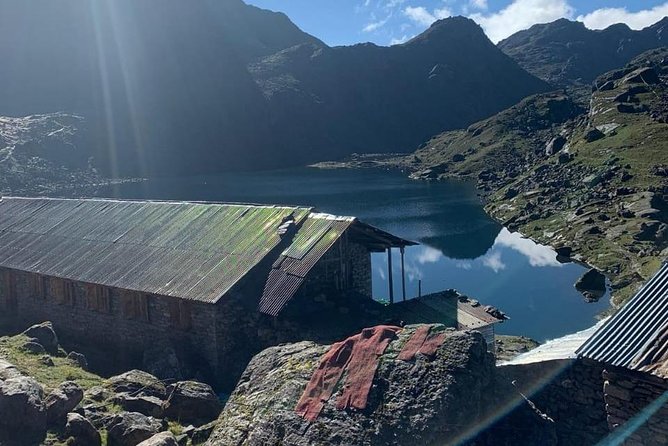
At $555 per person, this trek isn’t the cheapest option in Nepal, but it also doesn’t feel padded. You’re paying for a pretty complete package on the trek itself.
Here’s what’s included:
- Private jeep from Kathmandu to Dhunche, plus the drive back from Sundarijal
- 1 experienced guide
- Trek permit
- Accommodation in tea house/lodges during the trek
- Food: 3 meals a day while trekking, with one item from the menu
- Fuel surcharge
- Breakfast (included as part of the overall package)
What’s not included:
- Hotels or other activities in Kathmandu
- Personal insurance
- Beverages of any sort
- Tips & gratitude for staff
This matters because many “low price” tours skimp on one or two of the costly pieces like permits, food structure, or reliable transport. Here, you get the spine of the trip handled, so you can focus on walking and not on arranging meals, beds, or paperwork at the last minute. Also, you get a mobile ticket, which can simplify entry to the booked experience.
One small planning note: since tips aren’t included, you’ll want to budget for that decision before the trip ends. And because beverages aren’t included, you’ll likely spend a bit more day to day than you expect if you’re used to buying drinks as part of your meals.
Day 1: Kathmandu to Dhunche (1,900m) and getting set up
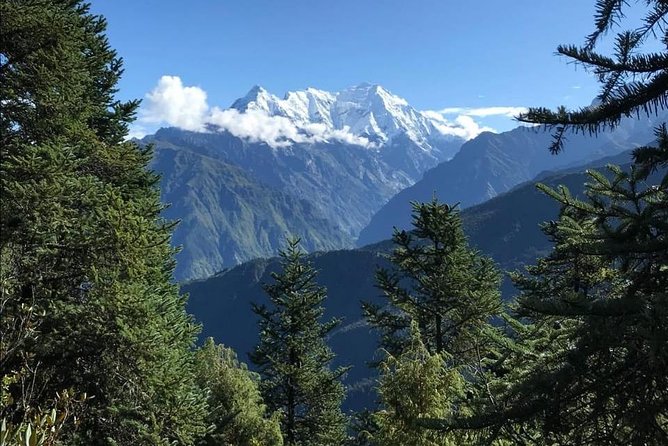
Day 1 is a drive to Dhunche at 1,900m. This is the kind of start that makes the whole trek feel more manageable. Instead of scrambling logistics on a tight schedule, you’re transferred to your first trekking base, then you’re ready to start the walking portion the next day.
Even if you’re an early starter, a travel-day buffer helps. Dhunche is your staging point, and you’ll be thinking about the next day more than anything. Expect a slower day where you can settle in, eat something solid, and rest up for the first uphill work.
If you’re worried about feeling rushed, this is one reason I like this route structure: you don’t begin with the biggest climbs right away.
Day 2: Chandanbari (3,330m) and your first real climb
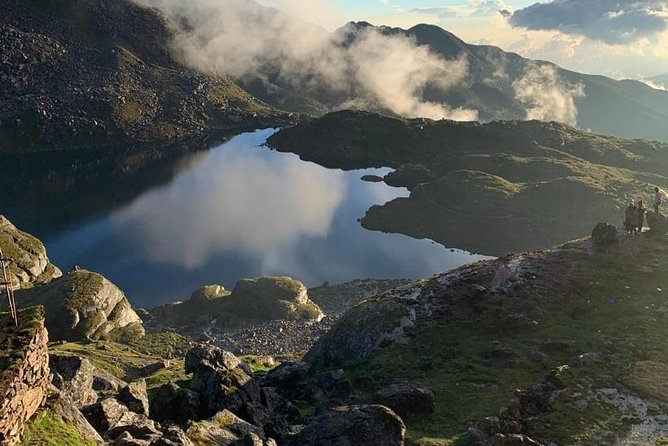
On day 2, you trek to Chandanbari at 3,330m. The big win here is that you’re climbing to a higher village without trying to jump straight to the lake area on day 2. This sets a rhythm: climb, eat, sleep, repeat.
Chandanbari also acts like a transition stop. You’ll feel the altitude difference compared with Dhunche, but you’re still in a zone where the trek feels like it’s building rather than attacking. You’ll likely have your first tea house or lodge night on this trek too, which means you get used to the basic living pattern of the trail.
Practical tip: since meals are included, you don’t have to negotiate every breakfast/lunch/dinner on the trail. You’ll just show up hungry, order your included meal item as guided, and keep moving.
Day 3: The Gosainkunda lake area at 4,390m
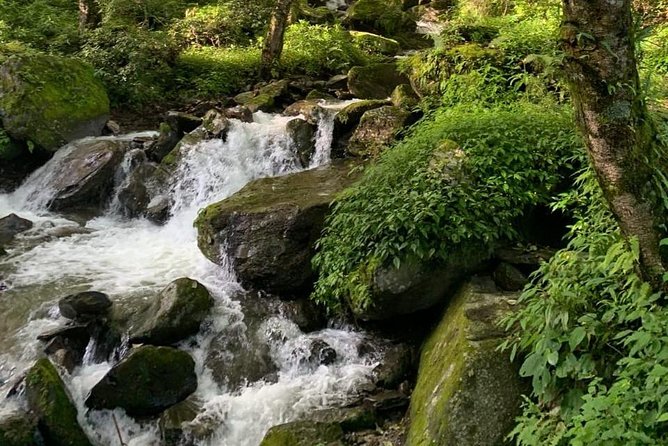
Day 3 brings you to Gosainkunda at 4,390m, the highest point on the itinerary and the main lake area destination. This is the day where the trek’s identity becomes clear. Up to this point, you’ve been moving through villages and adjusting to altitude. Now you’re aiming at the “holy lakes” focus of the route.
What I like about having the highest altitude on day 3: it avoids dragging that hardest effort over multiple days. Reaching the lake area early in the trip lets the later part feel like a return and recovery phase rather than another peak push.
The main consideration is altitude itself. The route climbs to 4,390m, then you come down over the next days. If you know altitude hits you hard, you’ll want to take the trek pacing seriously and listen to your guide’s advice. Since you’re traveling with an experienced guide, you’re not figuring it out alone.
Also, meals and lodging are included here too, so once you arrive, you can focus on rest. No wandering around at night looking for a bed after a high point day.
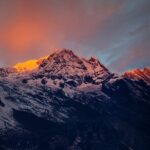
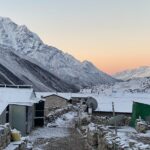
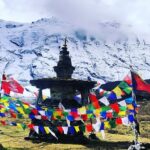
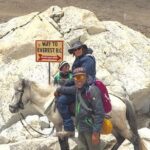
Day 4: Ghopte (3,530m) and a turning point
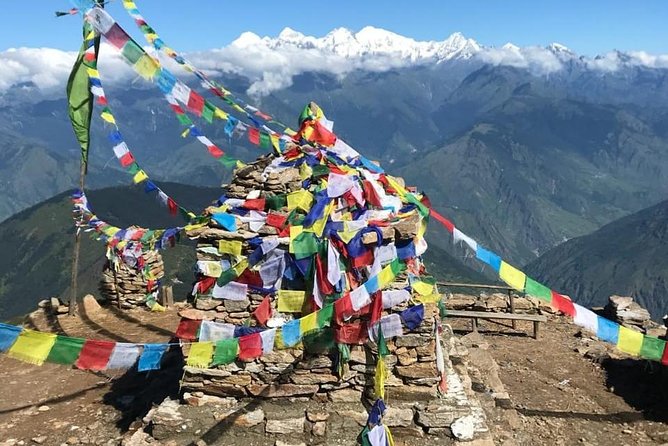
Day 4 takes you to Ghopte at 3,530m. Notice how this day is slightly lower than the peak at Gosainkunda. That matters because the trail is now working as a controlled descent.
Ghopte sits in a middle altitude zone. It’s high enough that you’ll still feel like you’re in the mountains, but low enough that your body gets a chance to settle after the lake area push. It’s a good day for steady walking rather than frantic climbing.
This is also a point where you can feel how the tour handles the “every day trekking” structure. With guided support and included tea house/lodge accommodation, you avoid the common trek problem of uncertainty—no one’s asking you to solve transport, lodging, or permits mid-route.
Day 5: Kutumsang (2,470m) and the bigger drop
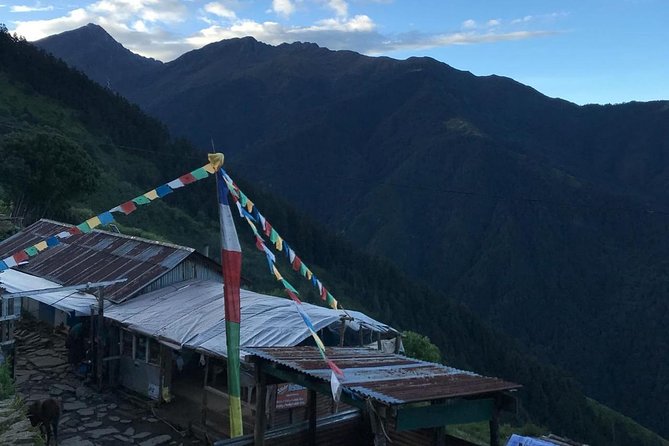
Day 5 moves you to Kutumsang at 2,470m. This is one of the more noticeable altitude changes after the peak, so it often feels like the trek shifts from hard work into longer legs.
Kutumsang at 2,470m also tends to feel more manageable if you’re thinking ahead about the final trek days. The route is still active, but you’re no longer chasing the high altitude. You’re returning.
If you’re the type who likes to measure progress, this day gives you a clear sense of momentum: you’re climbing less, descending more.
Day 6: Chisapani (2,215m) and the last trekking night
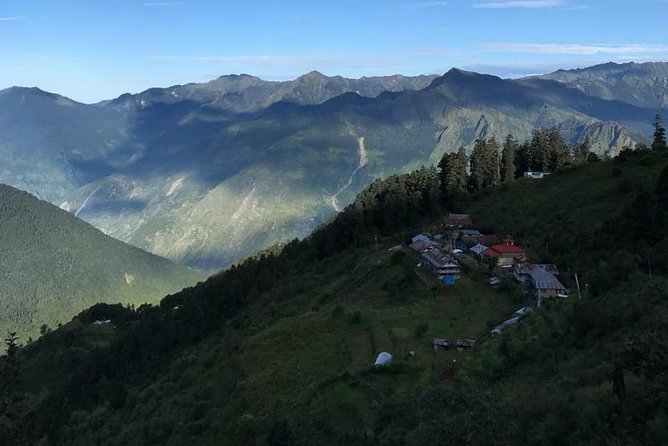
Day 6 ends at Chisapani at 2,215m. This is a “near the end” night, which can make the walking feel lighter even if the distance is still real. By now, you know the flow of the day: walking from village to village, tea house dinner, then sleep and reset.
Chisapani also sets you up for the final day. You’re heading toward Sundarijal at 1,460m, where the tour transitions into the drive back to Kathmandu.
One of the underrated parts of a trek like this is how your mind changes by day 6. Earlier days are about adjusting and reaching the next stop. Later days are about staying comfortable and keeping your energy steady so you enjoy the finish.
Day 7: Sundarijal (1,460m) and drive back to Kathmandu
On day 7, you trek to Sundarijal at 1,460m, then drive back to Kathmandu. The key here is the end-of-trek relief: you’re dropping to a much lower altitude and moving from walking mode into transport mode.
This is a good setup for people who want to return to the city without an extra overnight travel layer. It also means the trek ends with a clear marker: Sundarijal is your handoff point, then the jeep handles the rest.
If you’re planning your Kathmandu time, remember that the tour does not include Kathmandu hotels or activities. So if you want a buffer day for rest, food, and city strolling, you’ll need to arrange that separately.
Food, tea houses, and the vegetarian option that actually helps
Food is one of the simplest reasons to choose a structured trek package. You get 3 meals a day on the trek, plus one item from the menu. That means you won’t be constantly deciding what to eat or worrying about whether the place is open.
Beverages are not included, so if you like tea, coffee, or bottled drinks, budget for that. It’s a small line item that can add up over several days, especially once you’re tired and want something comforting after walking.
Vegetarian meals are available—just tell the operator at booking time. That’s more important than it sounds. On multi-day treks, last-minute dietary requests can be hit-or-miss, but flagging it early keeps meals smoother for everyone.
You’ll also be staying in tea houses or lodges. This isn’t a luxury-style trek setup, but it fits the purpose: you’re paying for reliable trail logistics and simple mountain hospitality, not spa-level comfort.
Flyeast Nepal logistics: guide quality and real-world support
The people running your trek can make or break the experience, and this one clearly leans strong on service. One set of names came up repeatedly: Abhi and Roshan are associated with fast, responsive trek coordination and helping with trek planning details like risks and gear expectations. Another name that stands out is Ram, a porter guide who was praised for taking care of what people needed.
There’s also Nani and the wider Flyeast crew, described as kind and patient when answering questions. One review point that matters in real life: traveling alone felt safe, and the communication/support helped people feel settled rather than tossed onto a trail and told good luck.
Now, your experience will depend on your own pace and how you communicate with your guide. But the overall pattern here is good support, not just transportation and a checklist.
Who this trek is for (and who should pass)
This is a good fit if:
- You have moderate physical fitness
- You’re okay trekking five days in a row
- You want a guided, permit-covered route instead of self-organizing each step
- You like small group touring (private group, max 14)
It may be a poor fit if:
- You want frequent long breaks or a slower schedule
- You’re not comfortable with trekking that reaches 4,390m
- You prefer planning your own lodging and meals independently (since those are handled for you)
One more thought: this is a private tour/activity, meaning it’s just your group, not a public departure with strangers adding chaos. If you like calmer group dynamics, that’s a real benefit.
A practical checklist to make the trek easier
You’re already getting a lot included, so your job is mostly the planning choices:
- Tell the operator your dietary requirements when booking, especially if you want vegetarian meals
- Plan on buying beverages during the trek since they’re not included
- Budget for tips for staff (not included)
- Make sure you have personal travel insurance, since it’s not part of the package
- Have your day 1 start ready by being at the pickup/meeting point for the 7:15am start
- Since hotels in Kathmandu aren’t included, line up your own city lodging before or after the trek
If you like flexibility, note that the experience offers free cancellation up to 24 hours before the start time, which can reduce stress if plans change.
Should you book Goisankunda with Flyeast Nepal?
I’d book this trek if you want a clear, guided route that handles permits, food structure, and transport cleanly. The value is strongest for people who’d rather pay for certainty than spend days coordinating basics on their own. The package works especially well if you appreciate small group service and strong guide/porter support—names like Abhi, Roshan, Ram, and Nani aren’t just random credits; they point to an operation that answers questions and helps you feel looked after.
I’d hesitate if you’re not comfortable with daily trekking or if you’re cautious about reaching 4,390m. In that case, look for a gentler alternative or talk to a guide before committing.
If you match the fitness level and you want a classic Goisankunda Holy Lakes experience without turning it into a logistics project, this is a smart way to go.