REVIEW · KATHMANDU
Gokyo Lakes and Gokyo Ri Trek
Book on Viator →Operated by Nepal Mountain Trekkers - Day Tours · Bookable on Viator
Ever thought your Everest view could be this close?
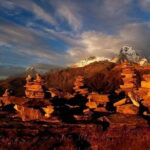
This Gokyo Lakes and Gokyo Ri Trek is built around the stunning glacial valley and those startling turquoise lakes, with the bonus of a high viewpoint day that shows Everest’s region like a giant relief map. I really love the Gokyo Lakes for how the colors shift as the light changes, and I love the Gokyo Ri day because the summit gives you wide views of the top giants, including Everest and Cho Oyu.
The catch: the high point is still a climb. The Gokyo Ri summit day is a continuous, strenuous uphill push, and altitude can make it feel harder than it looks on paper.
The upside is that the route feels thoughtfully paced for people who want the Everest region without turning it into a hardcore endurance contest. You’ll start in Kathmandu with cultural highlights (including UNESCO sites), then move into the Dudh Koshi valley with a support system and a small group size (up to 10).
In This Review
- Key highlights you’ll actually feel on this trek
- The big idea: Gokyo Ri instead of the usual Everest Base Camp route
- Kathmandu warm-up: Thamel plus UNESCO temples
- Lukla and the Dudh Koshi valley: your first taste of big altitude
- Namche acclimatization: the day that saves your energy later
- From Namche toward Ama Dablam views and Machhermo
- Entering the Gokyo Lakes valley: terminal moraines and iron bridges
- Gokyo Ri summit day: the panoramic reward (and the slog)
- The return through Luza and Dole: views keep coming back
- The long descent to Lukla: Dudh Koshi makes things feel easier
- Back to Kathmandu: rest day, then a proper send-off
- Price and value: what $1,706.67 buys you in reality
- Guides and safety mindset: what the operator seems good at
- Who should book this trek (and who should reconsider)
- Should you book Gokyo Lakes and Gokyo Ri?
- FAQ
- How long is the Gokyo Lakes and Gokyo Ri Trek?
- Where does the trek start and where does it end?
- Is pickup offered?
- What group size should I expect?
- What meals are included?
- What’s the main highlight day during the trek?
- Is there a dedicated acclimatization day?
- What physical fitness level do you need?
- Are admission tickets included?
- What happens if weather is bad or I cancel?
Key highlights you’ll actually feel on this trek
- Gokyo Lakes color and setting: turquoise water framed by moraines and glacier walls.
- Gokyo Ri summit day: broad panoramic views of multiple 8000m peaks.
- Smart acclimatization in Namche: built-in day to adapt before you push higher.
- Everest-region views without the same Base Camp grind: the route is an alternative, not a carbon copy.
- Smaller group on the trail: maximum 10 travelers, which often means less chaos than you’d expect in the area.
The big idea: Gokyo Ri instead of the usual Everest Base Camp route
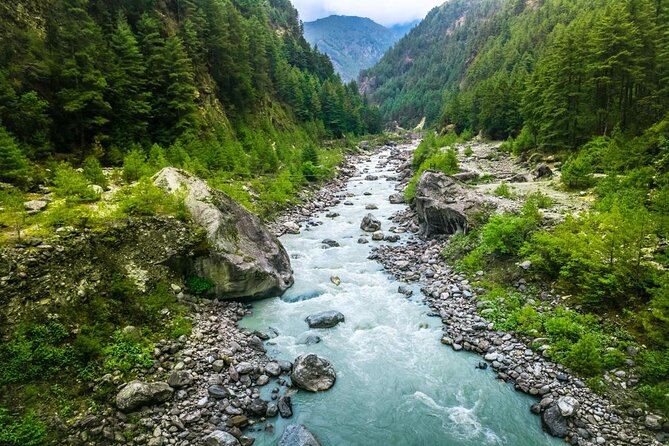
If Everest is your goal, you’ve got choices. This trek goes for a different kind of Everest-region payoff: glacial lakes, glacier scenery, and ridgeline panoramas that feel very “high Himalaya” without demanding the exact same itinerary as the Base Camp routes.
I like the way the plan balances beauty with a workable pace. You’re not just hiking to one photo spot and calling it a day. The sequence moves you from lush river valleys into higher, harsher terrain, so the scenery changes in a way that feels earned, not random.
Still, don’t confuse alternative route with easy. The day for Gokyo Ri is described as continuous and strenuous. It’s not a stroll, and you’ll want to go slow, drink water, and let your body catch up to the altitude.
You can also read our reviews of more tours and experiences in Kathmandu.
Kathmandu warm-up: Thamel plus UNESCO temples
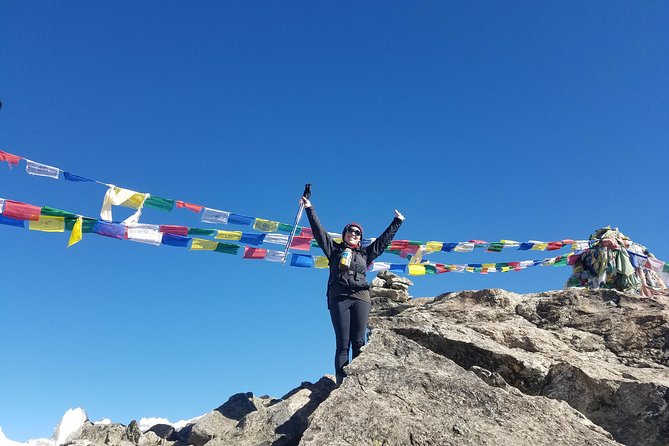
You don’t start trekking in the middle of nowhere. You start in Kathmandu, and that matters.
Day 1 lands you in the Thamel area, with time to rest, pick up any missing gear, and wander toward Durbar Square. Thamel is handy because it’s set up for trekkers—easy to find snacks, bottled water, and the little things you always think you don’t need until you do.
Day 2 is your culture and context day, with stops at Pashupatinath Temple (UNESCO) and Boudhanath Stupa (UNESCO), plus Swoyambhu Mahachaitya (the Monkey Temple, also UNESCO). These aren’t random add-ons. They help you slow down before altitude work starts, and they give you a real sense of Nepal as a living place—not just a backdrop for mountains.
Practical note: these are busy spiritual sites. Go earlier rather than later when you can, and expect that the experience is more about observing and respecting than photographing everything.
Lukla and the Dudh Koshi valley: your first taste of big altitude
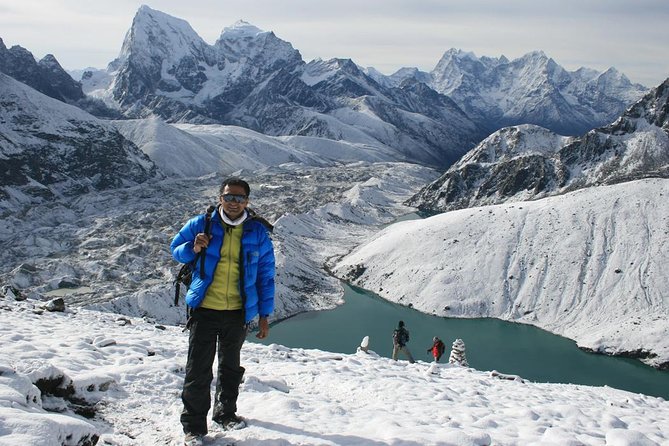
On Day 3, the plan includes a short flight to Lukla (about 35 minutes). Then you roll into the Dudh Koshi River trail rhythm.
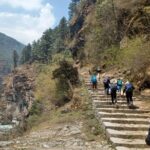
Day 3 is a short acclimatization trek from Lukla toward Phakding. You’ll follow the river through Lukla village, then descend to Chaurikharka and climb gradually through the Dudh Koshi valley. This matters because it lets your lungs start adjusting without demanding a summit-level effort right away.
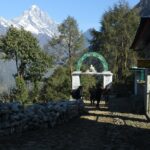
The next day (Day 4) pushes you higher toward Namche. You’ll pass through Sagarmatha National Park entry at Monjo, trek along the Dudh Koshi corridor, cross the river a couple times, and go over suspension bridges. You also get glimpses of peaks like Thamserku from villages such as Benkar.
I like the structure here: you’re moving, but you’re not breaking people immediately. You’re also seeing how quickly the environment changes—forests, gorges, then higher settlements.
Namche acclimatization: the day that saves your energy later
Namche Bazaar is your adjustment hub. The plan sets aside Day 5 for acclimatization, and that’s not just a timetable box. It’s one of the most important parts of the trek.
The day includes:
- Exploring Namche Bazaar
- A side trip to Everest View Hotel for big views (Everest, Ama Dablam, Nuptse, Lhotse, and more)
- A hike toward Khumjung village and the Khunde Hospital and school, known as the Schoolhouse in the Clouds
That viewpoint time is useful even if you’re anxious about later summit effort. Namche lets you check how you personally handle altitude, and it helps you learn the difference between being tired and being out of breath in the wrong way.
On this kind of itinerary, the goal isn’t to “win the day.” It’s to return to camp feeling steady enough for the next climb.
From Namche toward Ama Dablam views and Machhermo
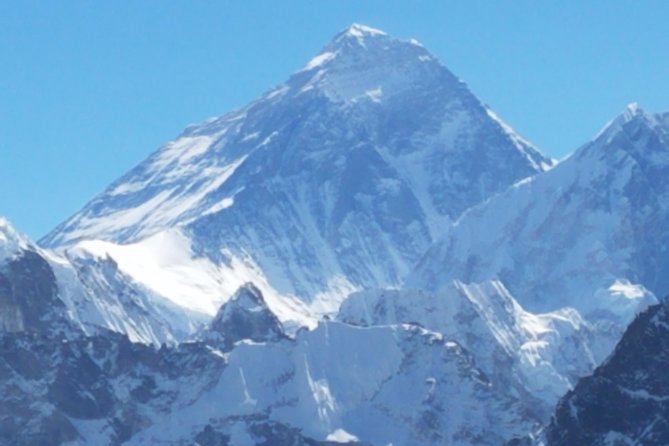
Day 6 is lighter than what comes later, focusing on a climb up toward Kyangjuma for views of Ama Dablam, Thamserku, and Katenga. Day 7 continues the movement toward Machhermo, via Lhabarma and Luza.
Day 7 also has a nice scenic payoff: you pass through ridge country above Dole, then head to Machhermo where the confluence of streams from Kyajo Ri and Pari Lapche mountains is a highlight. The plan also calls out the views of multiple mountains from this stretch.
This portion of the trek is where I’d encourage you to keep your pace conservative. If you feel tempted to speed up because the scenery looks friendly, fight that urge. The higher days will be more demanding, and altitude doesn’t care about good intentions.
Entering the Gokyo Lakes valley: terminal moraines and iron bridges
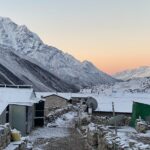
Day 8 is the first day that really shifts into “Gokyo mode.” You head from Machhermo up toward Phangka, then the valley opens as you climb down toward the river and up again toward the terminal moraine formed by the Ngozamba Glacier.
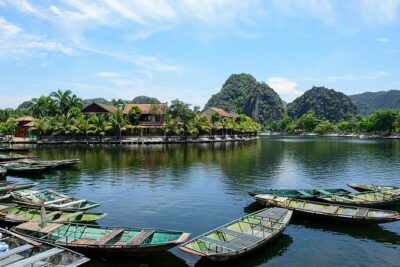
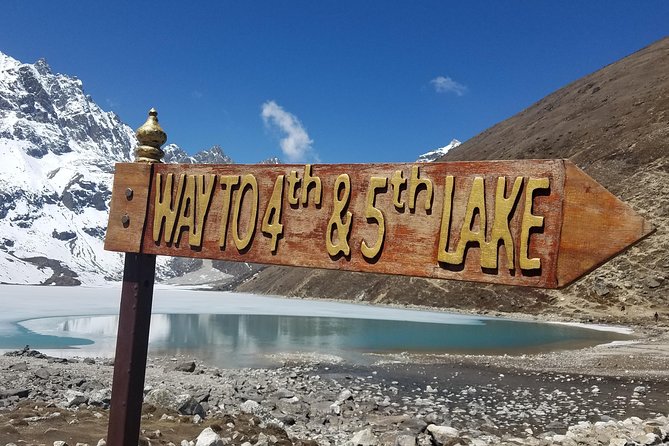
Crossing that moraine leads you into the lake valley area, where you’ll reach an iron bridge that signals the start of the Gokyo Lakes setting. From there, you follow a gentle trail to Longpongo Lake, then connect onward to Taboche Tso.
This is the part that makes people fall hard for this trek. It’s not just that the water looks bright. It’s that the whole area feels sculpted by glacial forces—moraines, ice, and ridges acting like stage scenery for the lakes.
One thing to keep in mind: cold mornings can make lake colors look dramatically different. If the weather is clear, mornings can be crisp and stunning. If it’s cloudier, the valley still works, but the light may soften.
Gokyo Ri summit day: the panoramic reward (and the slog)
Day 9 is the big one: the ascent to Gokyo Ri.
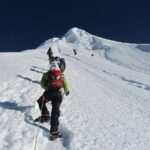
The route is described as a continuous and strenuous climb, so treat it as your main effort day. The plan emphasizes a slow and steady approach to the summit, and I agree with that logic. On high-altitude treks, “slow” usually means “fewer problems later.”
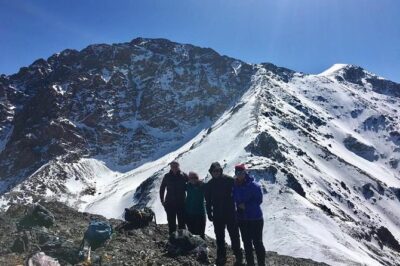
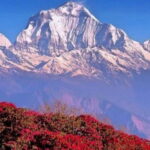
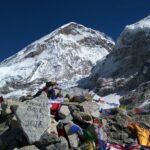
From the top, you’ll get views of several 8000m peaks, including:
- Cho Oyu (8153m)
- Lhotse (8501m)
- Makalu (8475m)
- Thamserku (6808m)
- Louche (6145m)
- Everest (8848m)
Also, below you are the Ngozumba glacier and the Gokyo lakes. After the summit, you can also hike to the fourth lake, Thonak Tsho.
Timing matters here. If you start late or move too fast, fatigue can hit hard. Plan to follow your guide’s pacing and let the scenery be the reward, not the excuse to power up.
The return through Luza and Dole: views keep coming back
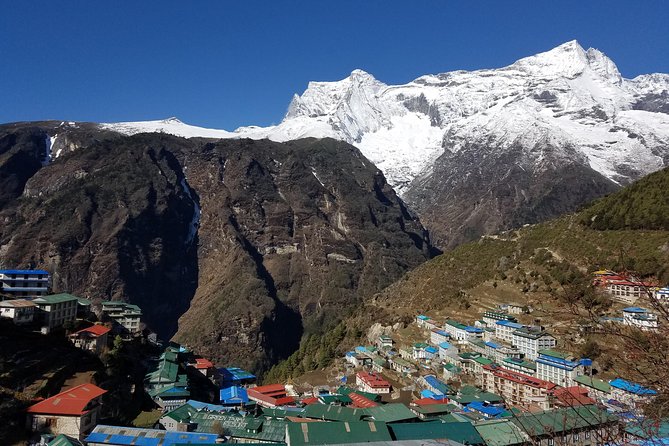
After the summit, Day 10 starts the return. You’ll descend more slowly from Gokyo village, passing Machhermo and Luza, plus Lhabarma, then reaching Dole.
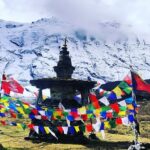
Along the way you’ll get views of Thamserku, Cho Oyu, and Kangtega, and you’ll pass by chortens, iron bridge sections, and terrace-like terrain.
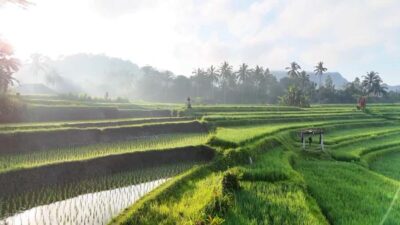
Day 11 continues with another trekking segment that includes a sharp slope to Phortse Tenga and other sections, plus a stretch that’s praised for biodiversity—wildflowers and rhododendron, with mention of pheasants, mountain goats, and musk deer.
There’s also a stop at an Irish Pub along the route (Day 11 notes it). In high places, even small things like a named stop can break up the monotony of trekking days. If you see it, take a breath, take your time, and enjoy the normal human comforts—hot drinks, slower pacing, and a moment off the trail.
The long descent to Lukla: Dudh Koshi makes things feel easier
Day 12 is the longer trekking day on the way back. You’ll descend toward Lukla after the higher Gokyo region trekking.
You’ll follow the Dudh Koshi River again, moving through forest sections as the trail becomes easier. It’s familiar country, but you’ll be seeing it with a different body and a different headspace—coming down feels good, but you’re also tired from the high days.
Along the route you’ll pass Buddhist prayer stones and prayer flags, monasteries and chortens, plus quieter villages that still feel alive.
This is a day to focus on steady steps, not speed. The goal is a safe, calm finish.
Back to Kathmandu: rest day, then a proper send-off
Day 13 ends the trekking portion with a flight back to Kathmandu, and you keep the rest of the day flexible. The plan mentions either a full rest at the hotel or shopping for gifts and souvenirs, then a farewell dinner to mark the end of the expedition.
Day 14 wraps up with a transfer to Tribhuvan International Airport with at least a three-hour buffer before your flight.
Price and value: what $1,706.67 buys you in reality
At $1,706.67 per person for an approximately 14-day trek, you’re paying for a guided, structured Nepal mountain experience—not just walking from point A to point B.
Here’s what the package clearly supports on paper:
- Meals included: 12 breakfasts, 11 lunches, 11 dinners
- Admission tickets included for the Kathmandu UNESCO sites in the plan (Pashupatinath, Boudhanath, Swoyambhu Mahachaitya)
- A route that includes pickup (and it’s noted as offered)
- A small max group size: up to 10 travelers
You’re also paying for the kind of planning that keeps you from guessing in altitude terrain: acclimatization timing, planned transitions between villages, and permits being checked at the national park entry point (Monjo is where the plan says permits are checked).
What you should weigh: the itinerary includes a high summit day, so you’ll get value if you’re ready to work for the views. If you’re more interested in a gentle hike with minimal altitude stress, this may feel intense.
Guides and safety mindset: what the operator seems good at
One reason people trust a trekking operator is not the pretty photos. It’s what happens when the body doesn’t cooperate.
In one provided story connected to this trekking company, a traveler faced acute altitude sickness mid-trek, and the guide immediately coordinated with the company owner. They organized and prepaid a helicopter for rescue. That doesn’t guarantee anything will happen on your trek—but it does suggest the team has a serious plan for emergencies, and that they respond fast rather than waiting to see if things improve.
Another practical strength shows up in the way guides support comfort. In a past experience with guide Krishna, the guide repeatedly checked in on how people felt and made sure the group stayed comfortable in the tea houses along the route.
That kind of “hands-on” approach matters, especially on long days and in cold, high villages where comfort can affect your energy the next morning.
Who should book this trek (and who should reconsider)
This trek is a strong fit if:
- You want the Everest region’s highest-mountain views, but you prefer a lakes-and-ridges focus instead of only Base Camp.
- You’re okay with trekking days that ramp up, and you’ll respect acclimatization days.
- You have moderate physical fitness and you’re willing to handle a continuous summit climb on Gokyo Ri.
You may reconsider if:
- You’re looking for a mostly easy hike. The Ri ascent is strenuous by description.
- You’re very sensitive to altitude and haven’t had success on similar climbs.
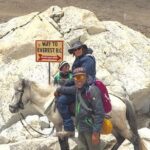
- You want total solitude. On the trail toward Namche, the area can have lots of trekking traffic, and mules/dzopke support are also part of the ecosystem.
Should you book Gokyo Lakes and Gokyo Ri?
If your dream is “Everest region, but with glacial lakes and a big panorama,” then yes—this is one of the most satisfying ways to do it.
Book it if you’re the kind of traveler who likes a plan, respects altitude, and gets genuinely excited by changing light on turquoise water. Pass on it if you want an easy walk or if a steep summit day sounds like a deal-breaker.
The best decision comes down to one question: can you handle a slow, steady push on a high viewpoint day? If you can, the reward looks like a lot more than a postcard.
FAQ
How long is the Gokyo Lakes and Gokyo Ri Trek?
The duration is listed as 14 days (approx.).
Where does the trek start and where does it end?
It starts in Kathmandu, Nepal. You end by flying back to Kathmandu and then transferring to Tribhuvan International Airport.
Is pickup offered?
Yes, pickup is offered.
What group size should I expect?
The maximum number of travelers is 10.
What meals are included?
Breakfast is included 12 times, and lunch and dinner are included 11 times each.
What’s the main highlight day during the trek?
The plan’s big highlight is the ascent to Gokyo Ri, with panoramic views of many 8000m peaks and the lakes and glacier below.
Is there a dedicated acclimatization day?
Yes. Day 5 is set aside for acclimatization in Namche Bazaar, with options like the Everest View Hotel and a hike toward Khumjung.
What physical fitness level do you need?
The tour notes that travelers should have a moderate physical fitness level.
Are admission tickets included?
Admission tickets are listed as included for the Kathmandu sights in the itinerary, including Pashupatinath Temple, Boudhanath Stupa, and Swoyambhu Mahachaitya.
What happens if weather is bad or I cancel?
The experience requires good weather. If it’s canceled due to poor weather, you’ll be offered a different date or a full refund. You can cancel up to 24 hours in advance for a full refund; within 24 hours, the amount paid is not refunded.