REVIEW · KATHMANDU
Kathmandu: 6 Days Langtang Valley Trek
Book on GetYourGuide →Operated by MTA Trekking · Bookable on GetYourGuide
Six days, and the mountains do the talking. I love the Langtang Valley views and the way the trail mixes hiking with real village life in the Tamang communities. I also love the Kyanjin stop, especially the chance to visit Kyanjin Gompa and try local cheese. The main drawback to plan for is altitude: the trek reaches high points fast enough that you should take acclimatization seriously and watch for AMS symptoms.
The route is built for balance: long-enough days to feel like a real trek, but not so long that you’re crushed every day. You’ll hike from Kathmandu toward Syabrubesi, follow the Langtang River for stretches, then work your way up to Kyanjin Gompa (3,870m) before returning the same way. It’s a private group setup, and in real-life terms that often means better pacing and fewer headaches than crowded departures.
One more thing I appreciate: the human side. The English/Hindi guide experience is a big part of why this trip feels smooth, and reviews specifically highlight guide Ghanshyam for being patient with first-time trekkers and attentive to health. Still, this isn’t a walk-in-the-park trek if you choose the optional Kyanjin Ri hike, so be honest about your fitness.
In This Review
- Key things to know before you go
- Why Langtang Valley feels different (and worth the effort)
- The route, day by day: from Syabrubesi to Kyanjin Ri and back
- Day 1: Kathmandu to Syabrubesi, then to Pahiro (1,550m)
- Day 2: Pahiro to Ghoda Tabela (2,900m)
- Day 3: Ghoda Tabela to Kyanjin Gompa (3,870m)
- Day 4: Kyanjin Gompa to Thangsyap (3,200m) with optional Kyanjin Ri (4,770m)
- Day 5: Thangsyap to Syabrubesi (back to 1,550m)
- Day 6: Syabrubesi to Kathmandu
- What Kyanjin Gompa day really gives you
- Optional Kyanjin Ri: who should do it, and how to decide
- Meals, supplies, and what to pack for real
- Transportation and the private-group feel (with shared rides)
- Guide quality: why Ghanshyam is a standout part of this trek
- Price and value: what $206 usually buys you
- Best season for clearer views in Langtang
- Who this trek suits best (and who should be cautious)
- Should you book this Langtang Valley trek?
- FAQ
- What’s the duration of the Kathmandu: 6 Days Langtang Valley Trek?
- Where does the trek start and end?
- What are the main overnight stops and altitudes?
- Is the Kyanjin Ri hike included?
- What’s included in the price?
- Is a guide included?
- What should I bring for this trek?
- Is alcohol allowed during the trek?
- Can I cancel and get a refund?
Key things to know before you go
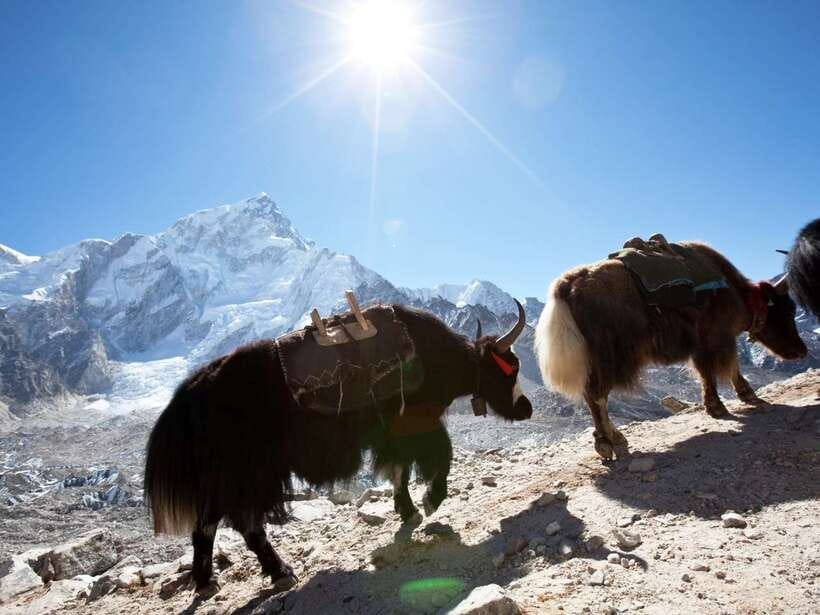
- Tamang culture on the trail with village days, not just a pass-through
- Kyanjin Gompa visit plus time for monasteries and a local cheese factory
- Optional Kyanjin Ri for panoramic views if you’re feeling strong
- Altitude you can’t ignore as you move between 1,550m and 4,770m
- A real guide-led feel with English/Hindi support and strong safety habits
- Straightforward pacing with overnight stops at Pahiro, Ghoda Tabela, Kyanjin Gompa, and Thangsyap
Why Langtang Valley feels different (and worth the effort)
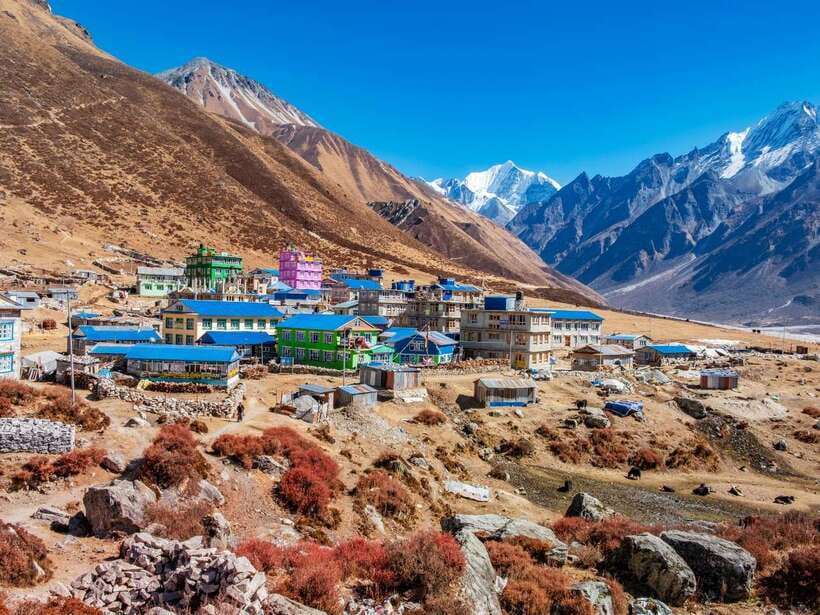
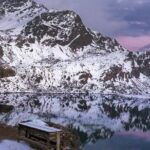
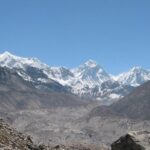
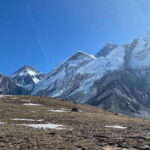
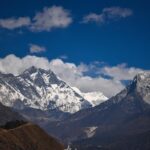
Langtang Valley is popular for a reason: you get high mountain scenery without needing weeks on the trail. What makes this 6-day version especially appealing is the blend of views and culture. You’re not just chasing peaks; you’re walking through Tamang settlements and stopping for monastery time and local food moments.
I also like that the trek includes a real “destination day” at Kyanjin Gompa. Reaching a traditional village surrounded by big peaks changes the tone of the hike. Instead of feeling like you’re always moving, you get time to slow down, explore monasteries, and talk with locals.
The biggest consideration is altitude timing. Even if you feel fine early on, the climb up toward Kyanjin Gompa—and especially the push toward Kyanjin Ri—can trigger headaches, nausea, fatigue, or loss of appetite. You don’t need to panic, but you do need to listen to your body and let your guide adjust pacing if needed.
You can also read our reviews of more tours and experiences in Kathmandu.
The route, day by day: from Syabrubesi to Kyanjin Ri and back
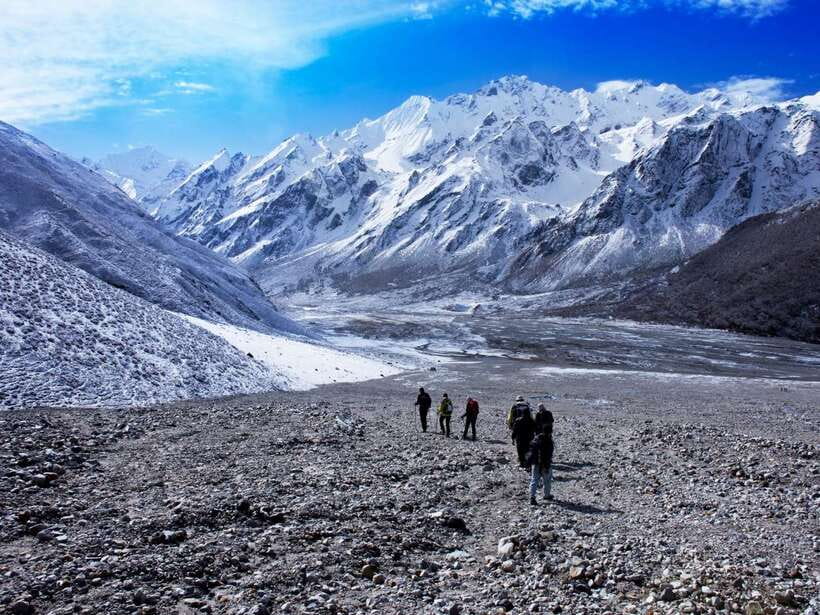
This trek runs like a classic in-and-out valley walk. You start with a drive from Kathmandu to the trailhead at Syabrubesi, then follow the Langtang River corridor and gradually climb toward the high village zone.
Day 1: Kathmandu to Syabrubesi, then to Pahiro (1,550m)
Day one starts with a scenic drive from Kathmandu to Syabrubesi. Mountain roads can be winding, but that first “Nepal transition” is part of the fun because you’re watching the scenery change before you even start hiking.
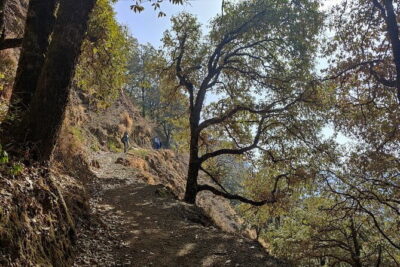
From Syabrubesi, you begin walking along the Langtang River. This is a good first trekking day because you build rhythm on forest paths and get used to the gear and pace. You overnight in Pahiro at 1,550m, which is a comfortable start point for acclimatization.
Day 2: Pahiro to Ghoda Tabela (2,900m)
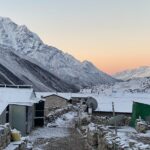
Today’s trail climbs and becomes more “valley trek” in feel. You’ll hike from Pahiro toward Ghoda Tabela at 2,900m, passing green forest segments and crossing through villages.
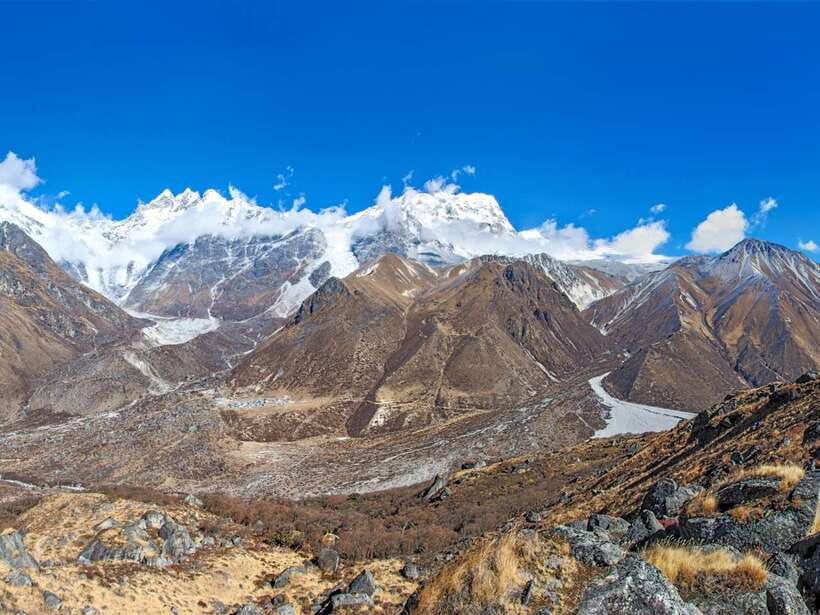
This day is also where the route starts rewarding you with glimpses of the snow-capped peaks. You might even catch waterfalls along the way, depending on the season and conditions. Overnight in Ghoda Tabela, so you’re setting up for the higher, monastery-focused day ahead.
Day 3: Ghoda Tabela to Kyanjin Gompa (3,870m)
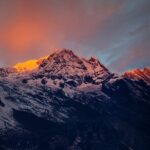
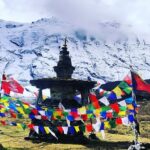
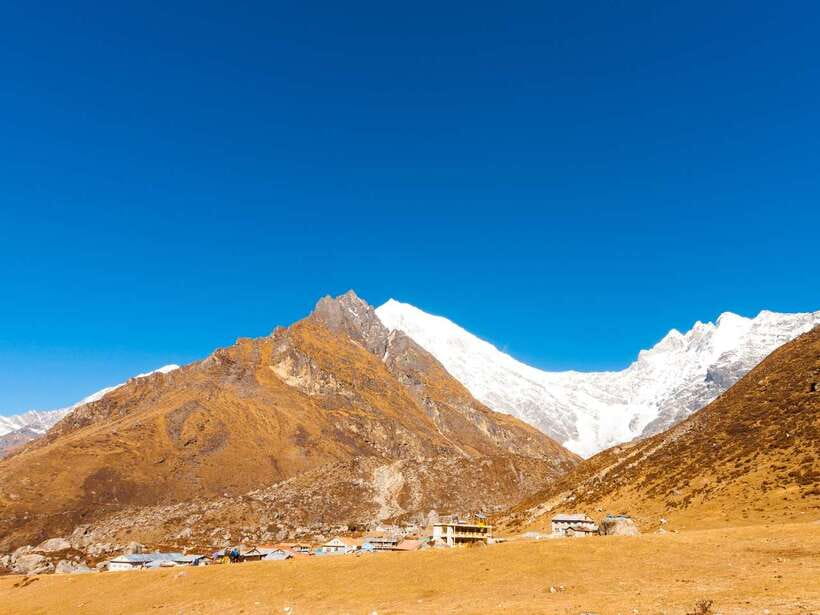
This is the day when Langtang Valley turns into something you’ll remember long after you’re back in Kathmandu. You trek up to Kyanjin Gompa at 3,870m, with the route passing through areas tied to Tamang culture and sweeping mountain views.
Once you arrive, you don’t just sleep—you explore. You’ll visit ancient monasteries and spend time at a local cheese factory. It’s a small stop, but it’s exactly the kind of detail that makes a mountain trek feel human rather than mechanical.
You overnight in Kyanjin Gompa, which matters because sleeping at altitude helps you stabilize before any optional hike the next day.
Day 4: Kyanjin Gompa to Thangsyap (3,200m) with optional Kyanjin Ri (4,770m)
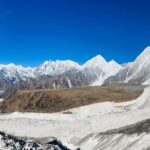
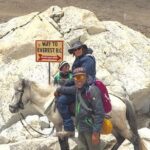
If you choose the optional Kyanjin Ri hike, this is your big payoff day. You’ll start early, and the climb to 4,770m is described as challenging. The reward is the panoramic mountain viewpoint over snowy peaks and glacial valleys.
Then you retrace your steps and descend to Thangsyap for the overnight at 3,200m. That “up and back, then down” rhythm is smart because it gets you the viewpoint without stretching the whole itinerary.
Even if you don’t do Kyanjin Ri, Day 4 still matters because you’ll be moving from the high monastery village down toward a slightly lower sleeping altitude, which can be a comfort if you’re sensitive to altitude.
Day 5: Thangsyap to Syabrubesi (back to 1,550m)
Today is a return day, and it feels different after you’ve reached Kyanjin Gompa. You trek back through scenic forest sections and alongside the Langtang River again.
The big advantage: you’re trending downhill to Syabrubesi at 1,550m. Your legs still work, but your breathing usually gets easier. Overnight in Syabrubesi gives you enough time to regroup before the final transfer.
Day 6: Syabrubesi to Kathmandu
In the morning, you leave Syabrubesi and drive back to Kathmandu. This final transfer is when you start thinking about what changed during the week: you came for mountain scenery, but you leave with village interactions, monastery moments, and a clearer sense of how Tamang communities live in the shadow of these peaks.
What Kyanjin Gompa day really gives you
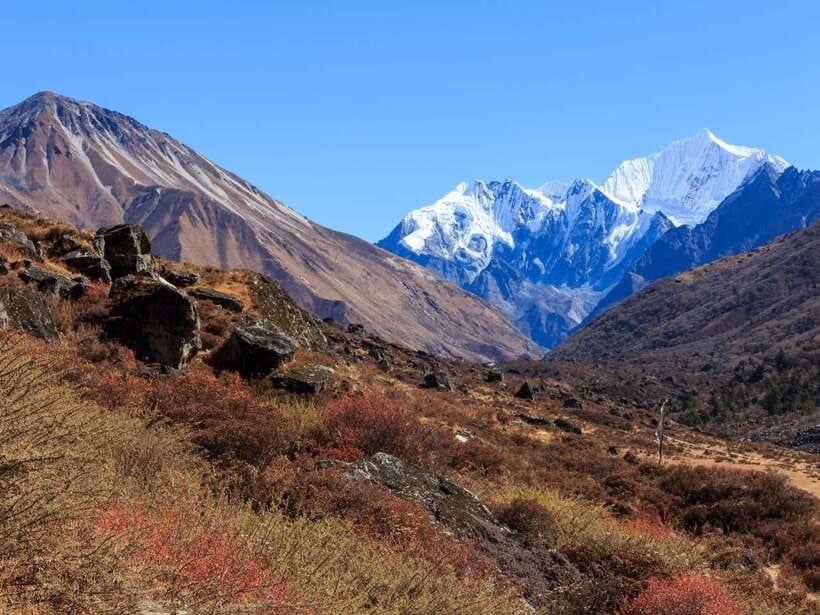
Kyanjin Gompa is more than a dot on a trekking map. It’s a cultural stop that breaks up the usual hiking routine. You’ll explore ancient monasteries, and there’s also that cheese factory experience—plus time to meet friendly locals.
This is the kind of day that helps you understand the valley beyond the “view from the top.” You get to connect what you see on the trail (villages, local daily rhythms) with what you experience inside the monastery spaces.
It also helps that you’re not rushing through. Overnight at Kyanjin Gompa means you have time on the ground rather than just a photo-and-go sprint.
Optional Kyanjin Ri: who should do it, and how to decide
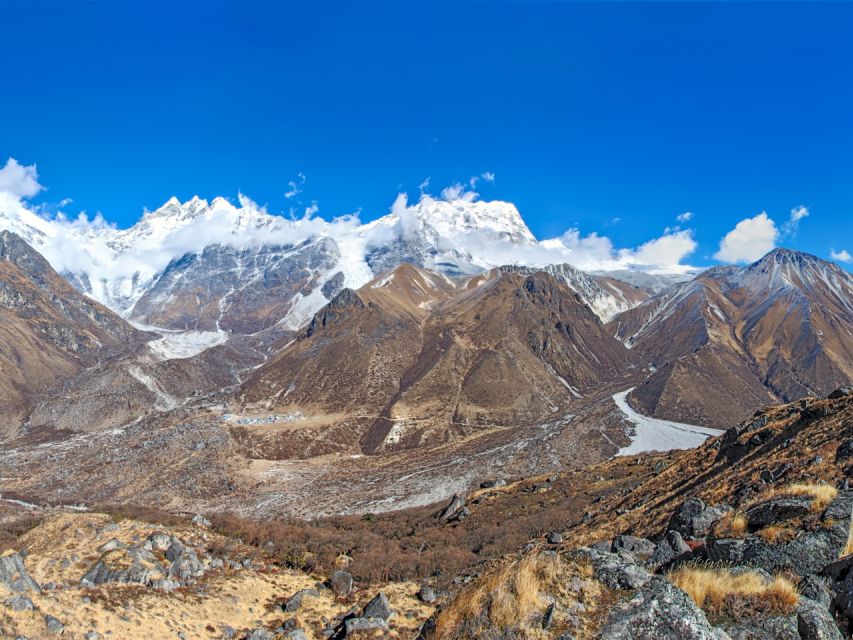
Kyanjin Ri is the trek’s optional crown jewel: a climb to 4,770m for wide panoramic mountain views over snowy peaks and glacial valleys.
So the decision comes down to two things:
- Your altitude tolerance after reaching Kyanjin Gompa.
- Your energy for a steep push on Day 4.
The itinerary calls the climb challenging, and altitude affects everyone differently. If you have symptoms of AMS—headache, nausea, fatigue, or loss of appetite—don’t treat it as a stubbornness test. Your guide’s job is to keep you safe and moving at the right pace.
In practical terms: if you’re feeling strong after breakfast and your breathing is calm, Kyanjin Ri can be a great choice. If you’re even slightly off, I’d rather you take the easier route to protect the rest of the trek.
Meals, supplies, and what to pack for real
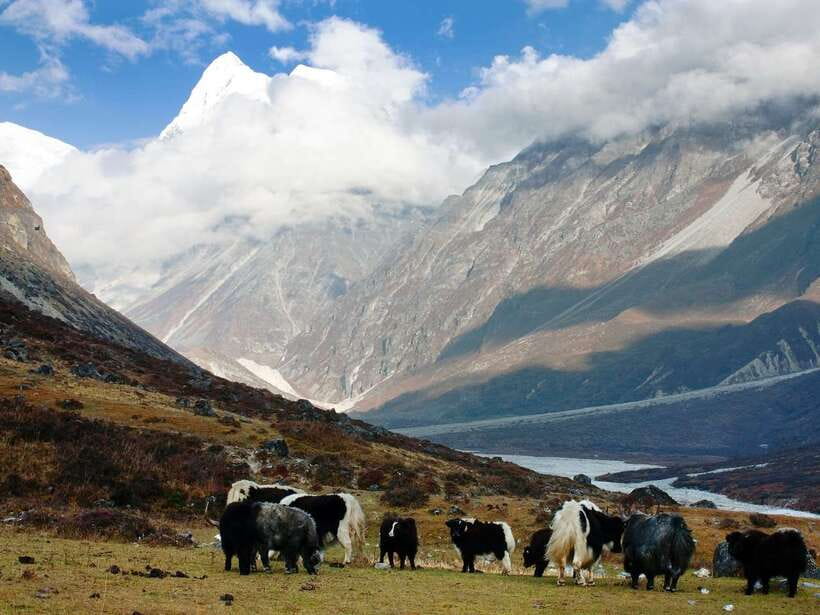
This package is clear about food: all meals (breakfast, lunch, dinner) are included for the full package. That takes one big logistics question off your plate—especially when you’re walking through remote areas.
And you should plan your gear like a trek, not like a city walk. Here’s what you’re told to bring:
- Passport or ID card
- Sleeping bag
- Flashlight
- Sunscreen
- Hiking shoes
- Gloves
- Water
- Jacket
- Trekking gear
- Sunglasses
Two small tips that matter on trail:
- Bring clothes that handle wind and temperature swings, especially as altitude rises.
- Pack a flashlight even if you think you won’t need it. Early mornings and dim nights happen fast.
Also: alcohol and drugs aren’t allowed. You’ll still find good moments for tea breaks, but keep it clean and focused.
Transportation and the private-group feel (with shared rides)
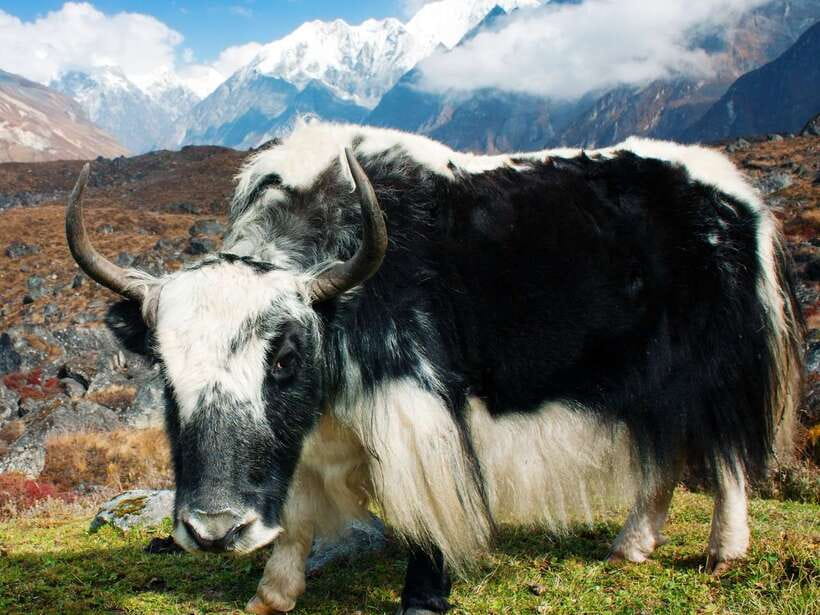
You’ll get hotel pickup and drop-off, plus sharing transportation to and from the trail start. This is a practical setup: you’re not stuck doing everything solo, but you’re still traveling with a group structure built around your trek.
The trip is listed as a private group, which matters for pacing and attention. In a real example, one review noted there was no one else in the group at the time—so the pace stayed comfortable and not crowded. You can’t count on being alone every time, but the private-group format usually keeps things flexible.
There’s also mention of English-speaking guidance with English and Hindi support during the trek. Reviews highlight that your guide can explain things on the way—facts about the trail and culture, plus a lighter tone that helps when you’re working.
Guide quality: why Ghanshyam is a standout part of this trek
If you care about the day-to-day experience, the guide is huge. Reviews consistently credit Ghanshyam for being kind, friendly, organized, and attentive to health.
A few details that help you picture what that means in practice:
- He made a first-time trek feel almost easy by adjusting to needs.
- He explained things along the trail and shared trail knowledge.
- He stayed caring and considerate about health at all times.
- Safety felt strong, with confidence building that you’d get back to Kathmandu reliably.
That doesn’t mean you won’t work. It means the hard parts are handled better when someone is tracking how you’re doing and keeping the plan realistic.
One more name to remember: Bijay was mentioned as answering questions before the trek. That matters because a good pre-trip chat reduces anxiety and helps you arrive prepared.
Price and value: what $206 usually buys you
The listed price is $206 per person for this 6-day program. That includes trekking permits/paperwork and TIMS fee, government taxes, accommodation during the trek, and the all-meals structure for the full package.
It also includes hotel pickup and drop-off, trekking support staff expenses (meals, accommodation, salary, equipment, insurance, transportation), and an English-speaking guide. Porter charges are extra, which is the only “not included” feel in the support setup.
So where’s the value? You’re paying for:
- Permission paperwork (often a hassle on your own)
- Logistics and overnight arrangement in the trek zone
- Guide time in the field
- Meals coverage for multiple days
If you’ve done solo trekking before, you know how quickly that combination adds up. If you want a shorter trek without turning planning into a second job, this kind of package tends to be a good match.
Best season for clearer views in Langtang
If weather matters to you, the trek data suggests:
- Mid-March to April
- October to mid-November
Autumn (Oct to mid-Nov) usually brings less wind and higher temperatures. Late March and April can give you rhododendron blooms at lower elevations, which adds color to the early portions of the walk.
Weather in the mountains is always changeable, and the itinerary may slightly change due to weather conditions or seasonal factors. The right mindset is to plan for adjustments rather than expecting a perfectly fixed schedule.
Who this trek suits best (and who should be cautious)
This trek fits best if you:
- Want a short Langtang experience without giving up the Kyanjin Gompa highlight.
- Enjoy cultural stops as much as views.
- Are okay with altitude moving upward fairly quickly.
- Prefer a supported plan with an English/Hindi guide.
Be cautious if you:
- Have health concerns related to altitude and aren’t sure how you respond.
- Hate steep, challenging climbs, since Kyanjin Ri (optional) is described as challenging.
- Expect a relaxed, flat walk. This is still a trek with real elevation gains.
If you’re a first-time trekker, that’s actually where a strong guide helps the most. The reviews specifically show Ghanshyam supporting first-time hikers with pacing and guidance.
Should you book this Langtang Valley trek?
I’d book this if you want an efficient 6-day plan that hits the big Langtang Valley moments: river walking, Tamang villages, Kyanjin Gompa monasteries, and the option to go higher with Kyanjin Ri.
I’d think twice if altitude makes you nervous and you’re unsure you can handle the climb to 4,770m. In that case, you can still enjoy the core trek and skip the optional hike, but you still need to take acclimatization seriously.
Finally, if you care about who’s leading you, this package has a clear advantage: guide Ghanshyam has a strong track record of making the trek feel organized, safe, and manageable—especially for people new to trekking.
FAQ
What’s the duration of the Kathmandu: 6 Days Langtang Valley Trek?
The trek runs for 6 days, with start times depending on availability.
Where does the trek start and end?
You start from Kathmandu, drive to Syabrubesi, trek to the Langtang Valley stops, then return to Syabrubesi and drive back to Kathmandu.
What are the main overnight stops and altitudes?
You overnight in Pahiro (1,550m), Ghoda Tabela (2,900m), Kyanjin Gompa (3,870m), Thangsyap (3,200m), and then return to Syabrubesi (1,550m).
Is the Kyanjin Ri hike included?
Kyanjin Ri is optional. If you choose it, you hike up to 4,770m for panoramic views, then descend back and continue to Thangsyap.
What’s included in the price?
Included are hotel pickup and drop-off, sharing transportation, trekking permits/paperwork and TIMS fee, government taxes, accommodation during the trek, and all meals (breakfast, lunch, dinner) for the full package.
Is a guide included?
Yes. An English-speaking live tour guide is included with English and Hindi support. Porter charges are extra.
What should I bring for this trek?
Bring passport or ID card, sleeping bag, flashlight, sunscreen, hiking shoes, gloves, water, a jacket, trekking gear, and sunglasses.
Is alcohol allowed during the trek?
No. Alcohol and drugs are not allowed.
Can I cancel and get a refund?
Yes. Free cancellation is available up to 24 hours in advance for a full refund.