REVIEW · MOSHI
7 Days Kilimanjaro Trekking Machame Route
Book on Viator →Operated by Kiwoito Africa Safaris · Bookable on Viator
If you want a Kilimanjaro route that feels like a real hike, Machame is it. This 7 Days Kilimanjaro Trekking Machame Route tour takes you from rainforest trails up through moorlands and alpine desert, ending with a night summit push toward Uhuru Peak. You’ll sleep in tents, not huts, and you’ll cover about 62 km gate to gate, with steeper walking and longer efforts than the more gradual options.
What I like most is the way the itinerary builds for you physically and mentally, especially the acclimatization choices and the “get ready for summit” rhythm. I also like the human side: several past climbers specifically praised guides and support staff, including Sebastiaan Shirima, for being professional, motivating, and hands-on when it counts.
The main drawback is also the Machame point: this is not a gentle stroll. You’re dealing with steep trail sections and a very early midnight-to-2:00 am summit start, so you’ll want solid hiking fitness before you go.
In This Review
- Key things to know before you pick the Machame route
- Machame from Moshi: what kind of Kilimanjaro trip is this?
- Why tent camping on Machame feels different than the hut routes
- Day-by-day: what you’ll do (and what to watch for)
- Day 1: Machame Gate to Machame Campsite through montane forest
- Day 2: Shira Plateau and the shift from rainforest to moorland
- Day 3: Lava Tower (Shark’s Tooth), Arrow Glacier area, then Barranco
- Day 4: Barranco Wall scrambling to Karanga Camp
- Day 5: Karanga to Barafu, a short reset before summit day
- Day 6: Midnight summit push to Stella Point and Uhuru Peak, then down
- Day 7: Mweka Gate certificates, then the drive back to Arusha
- Support on summit day: why guides matter more than slogans
- Price and value: what you’re really paying for at $2,500
- Packing and gear choices that match this exact itinerary
- Who this Machame trek is best for
- Should you book this 7-day Machame climb with Kiwoito Africa Safaris?
- FAQ
- FAQ
- What route is this, and where does it start?
- How long is the trek?
- What time does the experience start?
- Is pickup included?
- Do I get a ticket on my phone?
- Is this a private group?
- Are park admission tickets included?
- What fitness level do I need?
- Are service animals allowed?
- What’s the cancellation policy?
Key things to know before you pick the Machame route
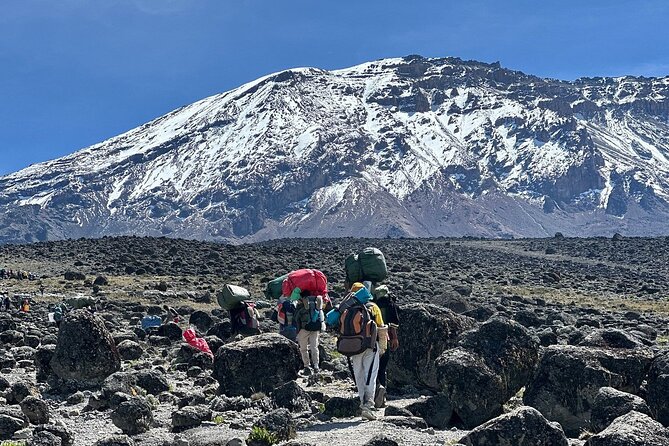
- Real altitude-building with varied habitats: rainforest → moorland → semi-desert → alpine and alpine desert zones.
- Tent nights instead of hut dorm life: you’ll be camping each night, which changes comfort and packing needs.
- A meaningful acclimatization day layout: Day 3 is designed to help your body adjust before the summit push.
- Barranco Wall requires basic scrambling: the 257-meter wall is part of the personality of this route.
- Sunrise at Stella Point is a highlight target: weather permitting, you stop at 18,600 ft before the final climb.
- Downhill days matter as much as uphill: loose gravel and muddy lower trails can slow you down.
Machame from Moshi: what kind of Kilimanjaro trip is this?
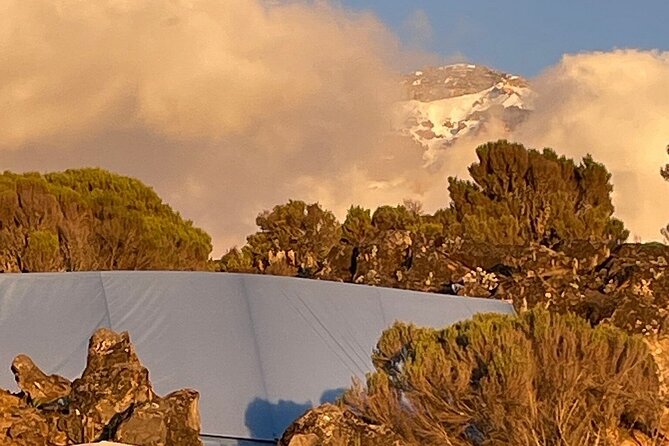
This trek starts from the Kilimanjaro area near Moshi, and it’s laid out for hikers who want a classic Kilimanjaro challenge. The Machame Route is popular for a reason: it mixes scenery and habitat changes while keeping the climb active and demanding. Expect more steep hiking for longer distances than routes that feel more gradual.
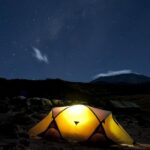
Your days also have a different feel because you sleep in tents. That can be great because it makes the rhythm feel more like a true mountain expedition. It also means you’ll rely more on proper layers, rain protection, and sleep setup, because you’re not waking up in a hut with walls.
One more practical note: this is a private tour, so only your group participates. If you like a calmer pace, fewer distractions, or more flexibility with your guide and team, this format tends to fit.
You can also read our reviews of more tours and experiences in Moshi.
Why tent camping on Machame feels different than the hut routes
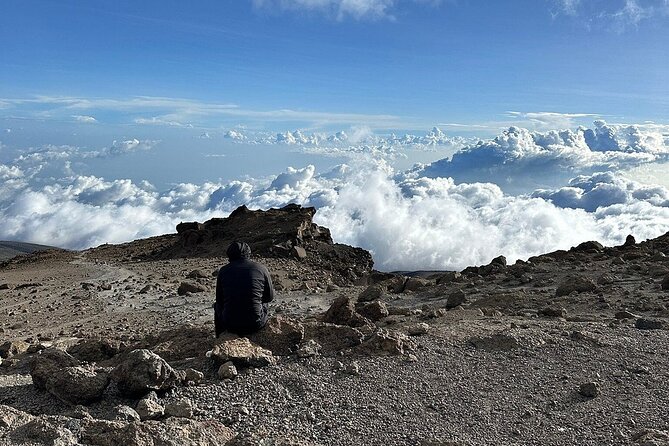
On Kilimanjaro, comfort is mostly about tradeoffs. Hut-based routes can reduce some cold-weather discomfort, but they don’t change the core challenge: altitude. Machame instead leans into expedition style by using camping throughout.
That matters on your body. Tent nights encourage you to manage your own warmth and recovery, from drying out gear (as much as possible) to keeping layers accessible. It also means your team’s camp setup becomes part of your experience, including dinner and overnight rest at campsites like Machame, Shira 2, Shira, Barranco, and Karanga.
You’ll also get a sharper sense of where you are on the mountain because the terrain shifts more noticeably. One day you’re in forest; another you’re walking through heather and open moorlands; later you’re in semi-desert and alpine desert conditions. That variety can make the hours feel less repetitive.
Day-by-day: what you’ll do (and what to watch for)
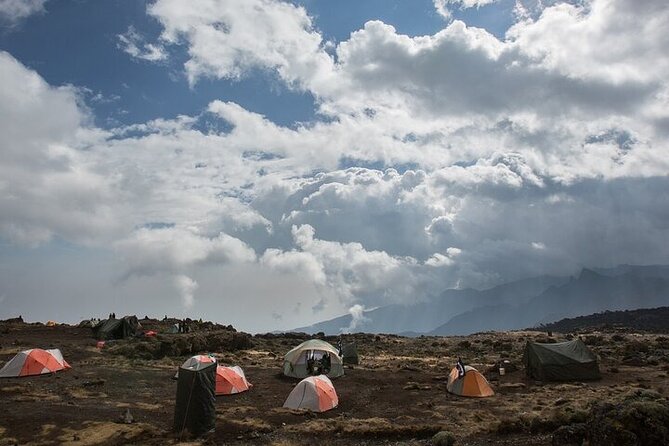
Day 1: Machame Gate to Machame Campsite through montane forest
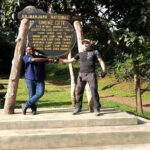
After breakfast, you’ll be transferred to Machame Gate to sign up. Then you walk into montane forest, working your way to Machame Campsite, where you set up camp for dinner and sleep.
This day starts your altitude journey at around 3,000 m, with about 11 km and 5–7 hours of hiking. It’s not the hardest day of the trek, but it’s a good warm-up for what’s coming next. Forest walking can be mentally easier, but it can also be slower if the trail is wet and the vegetation is thick.
Day 2: Shira Plateau and the shift from rainforest to moorland
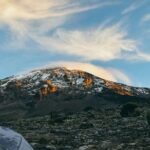
Day 2 is where Machame begins to feel like Machame. You leave the rainforest behind and climb through a mix of valley walking and a rocky ridge that’s steep and covered in heath. You’ll then reach the Shira Plateau, where the scenery opens into heather and open moorlands.
You also have an important landmark moment: crossing a large river gorge to reach Shira 2 Camp, then continuing on to Shira Campsite. This day climbs from about 3,000 m to 3,850 m (roughly +850 m), with 9 km and 4–6 hours.
The main consideration here is pacing. That steep-to-open transition can feel like a jump in effort, even when you think you’re moving steadily. You’ll want to keep breathing controlled and avoid the urge to “race” the moorland.
Day 3: Lava Tower (Shark’s Tooth), Arrow Glacier area, then Barranco
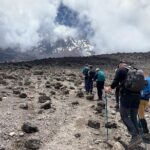
Day 3 is a longer day with a strong purpose. Starting from the Shira area, you hike up a ridge, pass a junction toward the Kibo area, then head southeast toward the Lava Tower, often called the Shark’s Tooth. Shortly after, you reach a second junction that leads you toward the Arrow Glacier area.
Then you do something that can feel counterintuitive: you continue on to Barranco at a lower altitude than where you’ve been near the glacier zone. You’ll end the day at Barranco Hut, around 13,000 ft, after moving from higher ground.
The trek notes this is a key acclimatization day: you end the day at roughly the same general elevation you started that day, even though you climb higher in between. It’s a smart way to help your body adjust before you tackle the steeper climbing segments ahead.
Day 4: Barranco Wall scrambling to Karanga Camp
If Day 3 is the “big views and navigation” day, Day 4 is where the trail asks for hands. You climb a steep traverse up the Barranco Wall, described as a 257-meter rock face. The route calls for basic scrambling skills, so you should be comfortable using your hands for balance.
After reaching the top of that rock face, you follow a series of inclines and declines toward Karanga Camp at about 3,960 meters. This day is about 7 km and roughly 7 hours.
The drawback here is technical fatigue. Even when the distance isn’t enormous, scrambling and steep rock can wear you out. Plan to move carefully, not quickly. On Kilimanjaro, smooth foot placement is often faster than forcing speed.
Day 5: Karanga to Barafu, a short reset before summit day
Day 5 is described as a short and easy day. You start at Karanga Camp, then join the Mweka trail up toward Barafu at around 4,680 m. You’re looking at about 6 km and 3 hours of hiking, with an alpine desert feel.
This day is your recovery card. The trek recommends easy hiking so you can relax and prepare for the summit push. In real terms, that means you’ll want to protect energy, keep snack timing steady, and avoid overexerting yourself because you feel “better than yesterday.”
This is also a good day to check your gear and layers again. Summit day starts in the dark, and you’ll be thankful if you know exactly where everything is.
Day 6: Midnight summit push to Stella Point and Uhuru Peak, then down
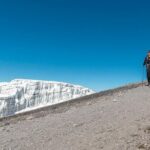
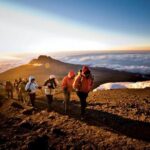
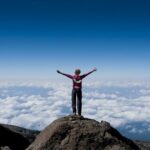
Day 6 starts early: you’ll begin the push between midnight and 2:00 am. The climb goes between the Rebmann and Ratzel Glaciers, and you’ll reach Stella Point (18,600 ft) for a short rest.
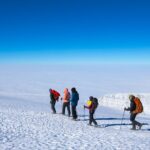
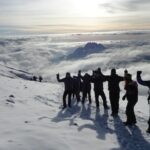
This is the sunrise moment, described as possibly the most magnificent sunrise you’re likely to see, weather permitting. From Stella Point, you’ll face about a 1-hour ascent to the summit area, and you may encounter snow depending on conditions.
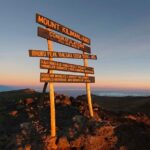
Then you reach Uhuru Peak, the highest point on Mount Kilimanjaro and the continent of Africa. The route’s description notes that faster hikers may see sunrise from the summit.
After the summit, you descend straight down toward the Mweka Hut Campsite, stopping at Barafu for lunch. This downhill is often where people feel the sting in their knees and ankles. Loose gravel can be challenging, so the trek specifically points you toward using gaiters (and implies poles are helpful).
Day 7: Mweka Gate certificates, then the drive back to Arusha
Your final day starts with descent to Mweka Park Gate to receive your summit certificates. Lower down, it can be wet and muddy, so this is another day where foot protection matters.
The route recommends gaiters and trekking poles to handle mud and sloppy footing. For clothing, it suggests shorts and T-shirts at lower elevations, while keeping rain gear and warmer clothing handy.
After you reach the gate, you continue to Mweka Village for about another hour. Then a vehicle meets you and drives you back to your hotel in Arusha.
The emotional payoff is real on Day 7. You’ll still be hiking, but it’s less about “can I do this” and more about finishing strong and staying safe on slippery ground.
Support on summit day: why guides matter more than slogans
One of the most consistent praise points in past experiences is support and professionalism. Multiple climbers highlighted Sebastiaan Shirima and his team, crediting them with motivation and real help during tough moments. Other named support staff mentioned include Charles (as an agency contact on site) and guides such as Henry, Gift, and Amani.
Why does this matter to you? On Kilimanjaro, the summit push is not just legs. It’s pacing, hydration, temperature management, and decision-making when the air is thin and fatigue is loud. A strong guide can help you keep an even effort, notice when you need to slow down, and keep the group moving safely in the dark and on loose terrain.
Also, because this is a private tour, you’re not stuck with random strangers who match your pace poorly. You can often get more direct guidance and reassurance, which helps on summit night.
Price and value: what you’re really paying for at $2,500
At $2,500 per person, you’re paying for a full mountain operation: multi-day logistics, camping structure, and mountain support across several camps. The trek also indicates admission tickets are included, which matters because Kilimanjaro has entry requirements beyond just “guide time.”
Here’s the value angle I’d think about before booking:
- You’re getting a structured 7-day route that includes acclimatization and a summit-day plan.
- You’re paying for manpower in the form of guides and the team that manages camps and your walking support.
- You’re also paying for the risk-management side of a high-altitude climb, where preparation and experience reduce chaos.
Could you find cheaper options? Possibly. But if you’re paying less, it often means less support quality, fewer included elements, or a less thoughtful itinerary. If you want the Machame experience with organized camps and a named guide team, this price can make sense.
Packing and gear choices that match this exact itinerary
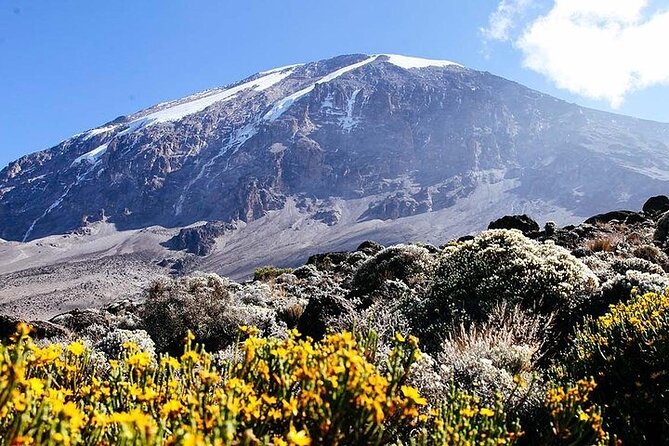
The trek explicitly calls out a few gear needs, and they’re the ones you should take seriously.
- Gaiters and trekking poles: mentioned for descending loose gravel (summit descent) and for wet, muddy lower trails on Day 7.
- Rain gear: recommended because lower elevations can get wet and because weather changes are part of the mountain.
- Layers: you’ll want warmer clothing available for colder conditions, even though shorts and T-shirts may work at lower elevations near the finish.
Also remember the “tent reality.” Even if nights vary in temperature, you’ll be in open-air camp settings. Keeping your clothing easy to access and your sleeping layers organized will make the days feel more manageable.
Who this Machame trek is best for
This climb is designed for people who are physically fit and have some hiking experience. It’s also described as having a moderate physical fitness level requirement, but don’t let that wording fool you. The summit-day schedule and the steep trail segments (especially Day 4’s Barranco Wall and the early summit start) demand real stamina.
You’ll likely be happiest if you:
- enjoy long hiking days and steep trails
- are comfortable with basic scrambling
- want a route with major habitat changes and a strong expedition feel
- want the peace of a private tour and a guide team that gets praised by name
Should you book this 7-day Machame climb with Kiwoito Africa Safaris?
I’d consider booking if you want the Machame Route specifically, and you like the idea of tent camping, steeper hiking, and a well-shaped acclimatization rhythm. The named-guide praise—especially around Sebastiaan Shirima—signals that support and motivation are part of what you’ll buy, not just the itinerary on paper.
I’d think twice if you hate early mornings, fear scrambling, or you’re not confident managing your effort on steep, loose, and possibly muddy terrain. This is a serious mountain week, even though it’s presented as a 7-day adventure.
If you’re ready to work for the views and earn that summit sunrise moment at Stella Point, this Machame plan is a strong fit.
FAQ
FAQ
What route is this, and where does it start?
This is a 7-day Kilimanjaro Machame Route trek, starting from the Kilimanjaro area near Moshi, with transfers to Machame Gate and later to Mweka Park Gate for certificates.
How long is the trek?
The duration is listed as about 7 days.
What time does the experience start?
The meeting/start time is 7:00 am.
Is pickup included?
Yes, pickup is offered.
Do I get a ticket on my phone?
Yes, you receive a mobile ticket.
Is this a private group?
Yes. It’s listed as a private tour/activity, with only your group participating.
Are park admission tickets included?
The itinerary indicates admission ticket included for the days listed.
What fitness level do I need?
You should have moderate physical fitness, and the route is designed for people who are physically fit with some hiking experience.
Are service animals allowed?
Yes. The tour allows service animals.
What’s the cancellation policy?
Cancellation is free if you cancel up to 24 hours in advance for a full refund. If you cancel within 24 hours of the start time, the amount paid is not refunded.