REVIEW · MOSHI
Best Kilimanjaro Adventure 7 days Machame route Trekking
Book on Viator →Operated by Kilinge Adventures · Bookable on Viator
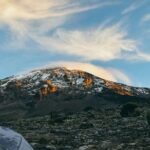
Kilimanjaro is a long dream in one breath. This 7-day Machame route focuses on smart pacing with acclimatization stops like Lava Tower before your summit night, plus classic camp-to-camp days through rainforest, rocky ridges, and the Great Barranco Wall. I especially like how the itinerary keeps building toward the big effort without feeling like a constant sprint.
Two other things I really value here: the team setup (guide/porters/chef) and the camp rhythm that gives you time to recover between tough sections. The main consideration is the obvious one: the summit push is brutal—Day 6 starts around midnight and can take 10–14+ hours, so you need stamina and patience for the slow climb.
In This Review
- Key Points You’ll Actually Care About
- Machame Route: Why This 7-Day Rhythm Works
- Day 1 from Moshi to Machame Gate: Tropical Rainforest Start
- Day 2: Machame to Shira Camp via Stream Crossing and Rocky Ridge
- Day 3: Shira to Lava Tower for Acclimatization, Then Down to Barranco
- Day 4: Great Barranco Wall Up to Karanga Camp
- Day 5: Barafu Camp and the Rest-First Summit Prep
- Day 6: Midnight Summit Climb, Sunrise Over the Great Rift Valley, Then Down to Mweka
- Day 7: Short Forest Hike Out to Moshi/Arusha
- Price and Value: What $1,200 Covers (and What It Doesn’t)
- Guides, Porters, and the Human Side of the Climb
- Logistics That Make the Trip Smoother in Moshi
- Pacing, Packing, and Survival Tactics (Without Overthinking It)
- How to pace
- How to dress (especially for summit night)
- How to eat and drink
- The one mindset shift that helps
- Who This Tour Suits Best
- Should You Book This Machame 7-Day Adventure?
- FAQ
- What route is this trek?
- Where do you start, and what time does the trekking begin?
- Is pickup included?
- What’s included in the price?
- What’s not included?
- How long are the trekking days?
- Is cancellation free if plans change?
Key Points You’ll Actually Care About
- Acclimatization with Lava Tower helps your body adjust before the descent and next camps.
- Great Barranco Wall is one of the most dramatic sections, with rewarding views once you crest it.
- A midnight summit start gives you a shot at sunrise over the Great Rift Valley.
- Meals and camping gear are included, so you’re not juggling extra rentals on arrival.
- Small-group feel with a cap of 100, which helps keep logistics manageable.
Machame Route: Why This 7-Day Rhythm Works
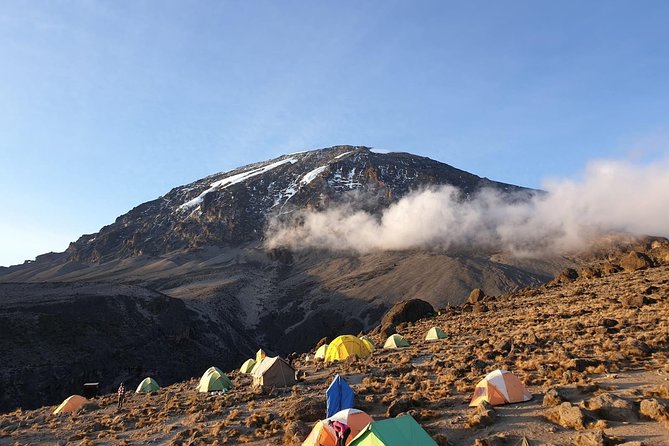
The Machame route is popular because it mixes forest walking, rocky climbing, and acclimatization days in a way that feels earned rather than random. For you, that matters: when your body is adjusting, the route’s pattern of gradual ascent and strategic stops can make the whole trip feel more survivable.
On this plan, you’re not just going straight up and hoping for the best. You build from Machame Gate into Shira, then go higher briefly at Lava Tower to acclimatize. After that, the itinerary keeps moving through Barranco and Karanga before the final push from Barafu.
You can also read our reviews of more tours and experiences in Moshi.
Day 1 from Moshi to Machame Gate: Tropical Rainforest Start
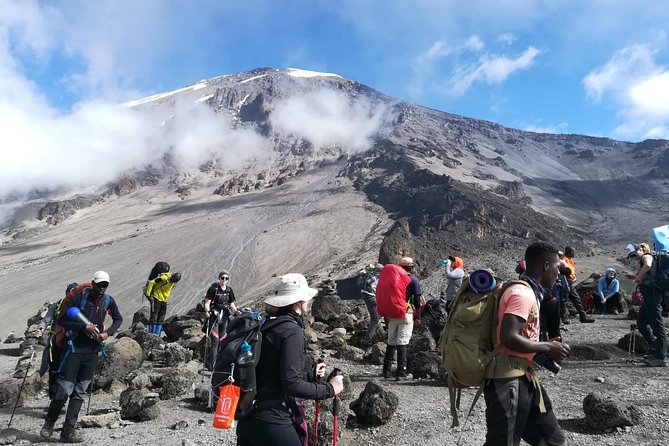
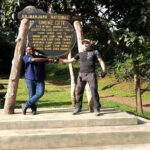
Your day begins with a drive to Machame Gate near Moshi, followed by registration. Then you start walking through rainforest—steady, not technical, and often filled with life. It’s a great first day because you get into altitude-world without yet being smashed by it.
Expect a leisurely hike and a real sense of place as the path threads through the forest. You may see colobus monkeys and wild birds along the way. You’ll sleep at Machame camp after dinner, giving you a first taste of camp life without overcomplicating it.
Possible drawback: Day 1 can still feel tiring if you’re under-sleeping or if you’re anxious about what comes next. Keep your pace easy and treat this as warm-up, not a fitness test.
Day 2: Machame to Shira Camp via Stream Crossing and Rocky Ridge
Day 2 starts after you leave Machame camp, crossing a stream to the west bank and following a path up a steep rocky ridge. This is the first day that reminds you Kilimanjaro isn’t a stroll—there are sections where your legs and breath both need attention.
The route criss-crosses before you reach Shira camp at the base of a semi-circular wall of rocks. That setting is classic Kilimanjaro: it feels rugged, open, and a little dramatic, even before the altitude really hits.
Tip for you: On ridges like this, your success comes from shorter strides and consistent breathing. Save your power for the longer days ahead.
Day 3: Shira to Lava Tower for Acclimatization, Then Down to Barranco
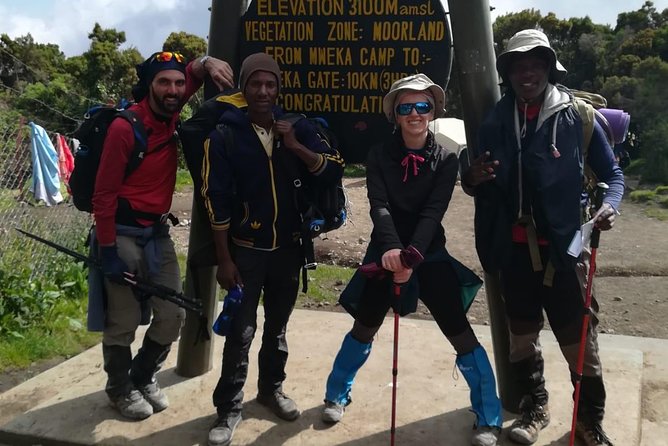
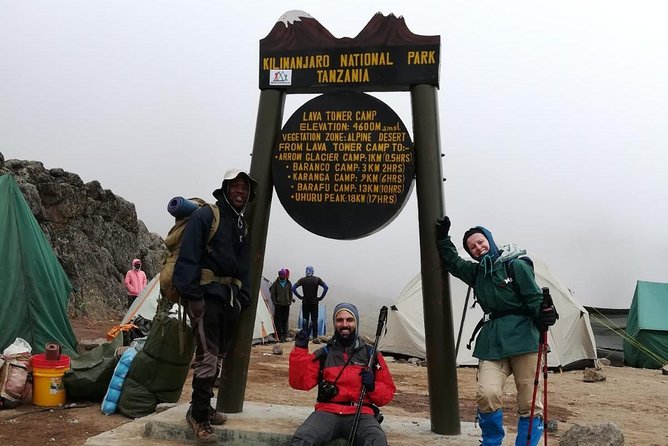
This is a key day in the whole trip because it’s built for acclimatization. From Shira camp, you hike up to Lava Tower (about 15,000 feet) to let your body adjust, then you head down to Barranco camp via the Great Barranco Wall area.
That up-then-down pattern is one of the smartest things you can do on a mountain like Kilimanjaro. Even if your legs feel like they’re working twice, the goal is to reduce how hard the altitude hits later.
When you reach Barranco camp, you get one of the best camp situations of the route—so you’ll likely feel both tired and satisfied. After dinner, it’s a chance to rest properly before tomorrow’s steeper climbing.
Possible drawback: The change from going higher to descending can still be physically demanding. Keep your focus on comfort and control, not speed.
Day 4: Great Barranco Wall Up to Karanga Camp
Day 4 is a tough morning climb along the edge of the Great Barranco Wall. You’ll follow a steep trail that asks for steady effort, especially if you’re not used to hiking with elevation in your lungs.
The upside is the trade: once you reach the top, the views are very rewarding. Then you continue to Karanga camp for dinner and overnight.
What I like for you: This day teaches the “mountain logic” you’ll need on the summit night—slow effort, calm rhythm, and trust that the climb will end. If you’ve been feeling nervous about how hard Kilimanjaro might get, Day 4 helps you understand the workload in a manageable chunk.
Day 5: Barafu Camp and the Rest-First Summit Prep
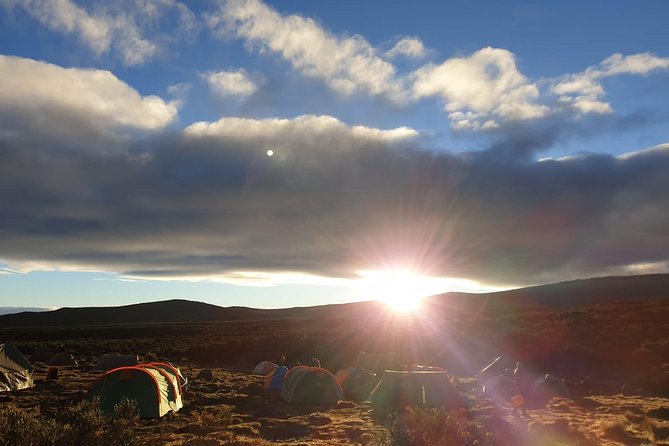
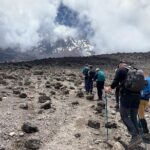
Today is shorter than the previous days, which is exactly what you want before the hardest one. You hike up to the final camp before summit night—Barafu camp—and then the real job becomes conserving energy.
This is the day where the mountain can trick you. You might feel okay while walking, then realize your real challenge is not the hike—it’s saving strength for the long ascent to the roof of Africa.
Practical note: Treat this day like your pre-flight checklist. Hydrate steadily, eat what you can, and don’t waste your energy on needless rushing.
Day 6: Midnight Summit Climb, Sunrise Over the Great Rift Valley, Then Down to Mweka
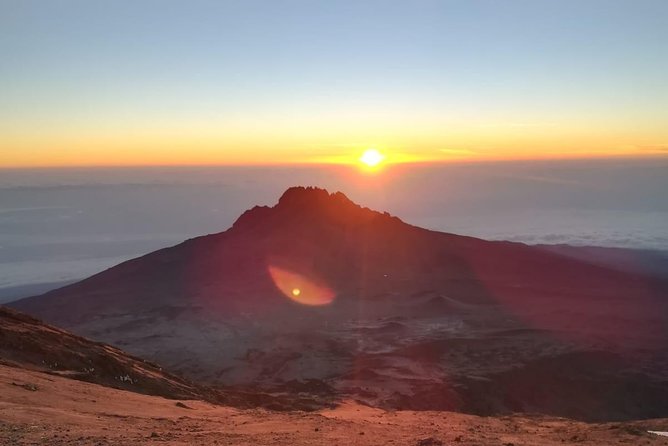
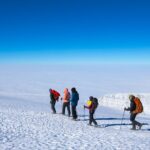
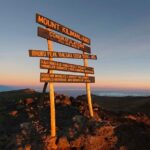
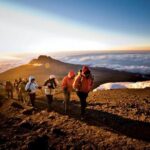
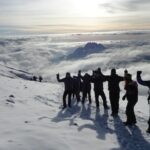
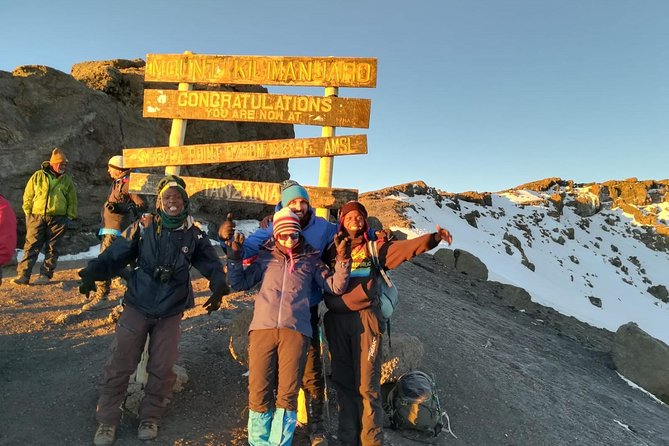
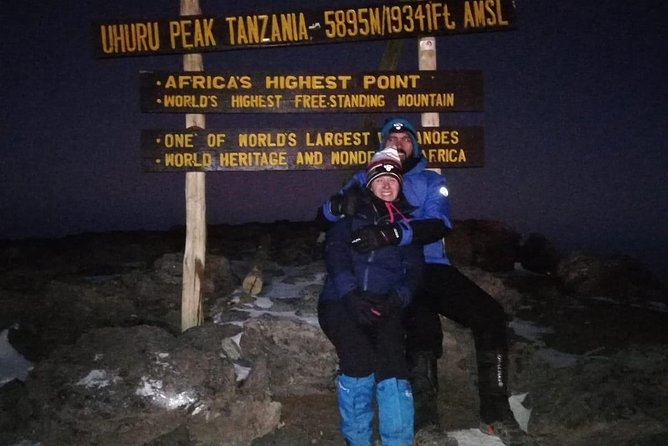
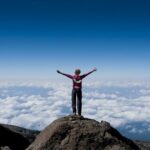
Day 6 starts early, around just after midnight. You trek for 10–14+ hours, aiming for the summit to watch the sunrise over the Great Rift Valley.
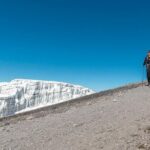
The climb includes a major ascent stretch—about 1,100 meters (3,600 feet) gained over a short distance (just over 3 km / 1.86 miles). That kind of gradient is why you feel the burn. But it’s also why the payoff can be so memorable: the summit moment plus sunrise gives you a strong reason to stick with the slow grind.
After sunrise and photos, you descend below the tree line and continue to Mweka camp for dinner and overnight.
Possible drawback: This is the day where bad decisions show up. Going out too fast, skipping layers, or ignoring fatigue can turn your night into a struggle. Your best move is to follow your guide’s pace, keep clothing organized, and stay focused on small steps.
Day 7: Short Forest Hike Out to Moshi/Arusha
Your final day is about finishing cleanly rather than suffering. You do a short hike of about 3 hours through lush forest, then you meet your driver at the Mweka park gate to drive back to your hotel in Moshi or Arusha.
It’s a good way to end because the trail feels like relief: lower effort, cooler emotions, and a chance to take in the forest details you might have missed earlier in the week.
You’ll still be tired, but it’s the satisfying kind—the kind that says you made it without leaving your whole body in the mountains.
Price and Value: What $1,200 Covers (and What It Doesn’t)
At $1,200 per person for a 7-day Machame trek, the value largely comes from what’s included. You’re getting camping equipment like a sleeping mattress and tent, plus a team of guide, porters, and chef. Meals are also covered for 6 breakfasts, 7 lunches, and 6 dinners.
That matters because Kilimanjaro logistics can get messy fast if you have to arrange gear and food yourself. Here, the package reduces the hassle and lets you focus on walking and recovering.
What’s not included is also important for budgeting. You’ll need to plan for tipping and gratuity, travel insurance, and national park fee and tax. And since this trip requires good weather, your schedule can shift if conditions force changes.
If you’re comparing costs, don’t just look at the headline price. Compare what’s already handled: camp gear, meals, and staff support can save you both money and stress.
Guides, Porters, and the Human Side of the Climb
Kilimanjaro is physical, sure. But it’s also emotional. That’s where a strong support team makes a real difference.
This operator’s crew includes a guide/manager structure, and you may meet people such as Thomas as the guide and manager, with hands-on support from Victor and Tyson. One 30th-birthday story highlighted Victor and Tyson’s encouragement during tough moments, which is a good reminder: on summit night, you don’t just need legs—you need calm direction.
Porters and chefs also matter more than most people expect. You’ll feel the benefits in simpler things: meals that arrive when you need them, tents and sleeping setup that are handled, and a smoother daily rhythm.
If you’re nervous about your fitness: this is still for you, as long as you’re honest about your pace and willing to hike slowly. The mountain rewards patience.
Logistics That Make the Trip Smoother in Moshi
The meeting time is 8:30 am, and pickup is offered. The area is listed as near public transportation, which can help if you’re staying somewhere convenient. You’ll also receive a mobile ticket, which reduces the admin hassle before you start climbing.
This matters because getting ready for Kilimanjaro isn’t just packing—it’s making sure you’re calm and on time. A clean start helps the whole week.
Also note: the experience has a maximum group size of 100 travelers. That cap can help keep things organized when multiple groups are moving through the same gate areas.
Pacing, Packing, and Survival Tactics (Without Overthinking It)
You don’t need to be a mountaineer to do Kilimanjaro, but you do need to respect it. A good Machame trek teaches you how to pace and how to recover.
How to pace
Keep your effort controlled on Days 1–4. If you go out too fast early, your legs will pay later. On Day 6, slow really is fast enough.
How to dress (especially for summit night)
The itinerary implies cold and early-morning effort, since you’re starting around midnight for the sunrise. Bring layers you can manage with gloves and hat you don’t hate wearing.
How to eat and drink
Meals are included, which is great. Still, your job is to take small bites and keep fluids consistent. Even when you don’t feel hungry, you’ll do better if you keep your routine.
The one mindset shift that helps
Think in hours, not minutes. The mountain is long. Your job is not to win a race; it’s to keep moving without breaking.
Who This Tour Suits Best
This Machame 7-day trek fits well if you have moderate physical fitness and you’re ready for long hiking days with big elevation changes. The route is also a good choice if you want a well-structured acclimatization plan rather than a brute-force push.
It’s ideal for:
- First-timers who want guidance and a clear progression
- People who prefer a route with distinct camp nights (rather than constant movement)
- Anyone planning a milestone trip and wanting a full, handled experience from Moshi onward
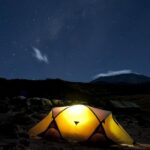
It may be less ideal if you want lots of comfort during the climb. This is camping on mountain terms—no luxury, just practical shelter, food, and daily walking.
Should You Book This Machame 7-Day Adventure?
I think this is a strong booking choice if you want a classic Kilimanjaro path with acclimatization built in, plus staff support that handles the daily basics. The inclusion of camping equipment and meals is a real value move for a first-time mountain trip, and the structure of Machame-to-Shira-to-Lava Tower-to-Barranco-to-Karanga-to-Barafu gives your body multiple chances to adjust.
Before you book, be honest with yourself about the summit day. If you can commit to slow pacing, follow your guide’s instructions, and prepare for a midnight start, you’re in the right place. If you dread long climbs and hope for an easy schedule, Kilimanjaro will humble you fast.
FAQ
What route is this trek?
This is the 7-day Machame route trek on Kilimanjaro, starting from Moshi and moving through Machame, Shira, Barranco, Karanga, Barafu, and Mweka camps.
Where do you start, and what time does the trekking begin?
The start time is 8:30 am, and the itinerary begins with a drive to Machame gate and registration.
Is pickup included?
Yes, pickup is offered. You’ll also meet a driver at the Mweka park gate on the final day to return to your hotel in Moshi or Arusha.
What’s included in the price?
Included are camping equipment (tent and sleeping mattress), a guide, porters, and chef, plus meals: 6 breakfasts, 7 lunches, and 6 dinners.
What’s not included?
Not included are tipping and gratuity, travel insurance, and the national park fee and tax.
How long are the trekking days?
The trek is about 7 days total. Day hiking times range from around 5 to 7 hours on most days, with a much longer Day 6 (about 10–14+ hours) and a shorter exit day on Day 7.
Is cancellation free if plans change?
Yes. There is free cancellation up to 24 hours in advance for a full refund. If you cancel less than 24 hours before the start time, the amount paid won’t be refunded.