REVIEW · MOSHI
8 Day Mount Kilimanjaro Trekking Lemosho Route
Book on Viator →Operated by Afrishare Trekking and Safaris · Bookable on Viator
You do not come to Kilimanjaro to stroll. The 8-day Lemosho route is a slow build that gives your body time to adjust, with big wilderness scenery and a real sense of moving through different worlds.
What makes this trek especially interesting is how it climbs: you start in the forest, ease up through Shira moorlands, then angle toward key areas like Lava Tower and Barranco before going for the summit early the next night. On the first day, there’s also a good chance of being accompanied by an armed ranger, because the Lemosho Glades are home to wildlife like buffalo and elephants.
I love the pacing here. With the extra time built in, you get more rest and more acclimatization, which helps explain why this route is known for a strong success rate. I also like that the route tends to be less used, so the experience can feel more like your own trek instead of a conveyor belt.
One thing to consider: summit night is still summit night. Expect the hardest push with very steep scree and a midnight-to-early-morning start, plus a long day of descent afterward. If you’re not comfortable with cold, altitude, and the idea of hiking in the dark for hours, you should think hard before booking.
In This Review
- Quick highlights
- Why the Lemosho Route Feels Like a Smart Climb, Not a Rush
- Day 1: From Moshi to Mti Mkubwa in the Montane Forest
- Day 2: Shira Ridge to Shira 1 Camp and Your First Big Altitude Step
- Day 3: Shira Plateau Hikes to Shira 2 Camp (A Real Acclimatization Day)
- Day 4: Lava Tower, Shark’s Tooth, and the Descent to Barranco
- Day 5: Up Barranco Wall to Karanga Valley and the Link to Mweka
- Day 6: Barafu Camp Rest and Summit Prep at High Altitude
- Day 7: Midnight Summit Push from the Rebmann to Ratzel Area to Stella Point and Uhuru Peak
- Day 8: Mweka Park Gate Certificates, Mud Lessons, and the Drive Back to Moshi
- Price and Value: Is $2,250 Fair for an 8-Day Summit Trek?
- What’s Included vs What You Bring: The Stuff That Actually Matters
- Who This Trek Suits Best (and Who Should Think Twice)
- Booking Thoughts: Should You Book This 8-Day Lemosho Trek?
- FAQ
- How long is the Kilimanjaro trek on the Lemosho route?
- Where does the tour start and where does it end?
- Is pickup included?
- What’s the main route and destination area?
- Are meals included in the price?
- Do I need to bring my own trekking gear?
- Is there a vegetarian option?
- What about weather? Will the trek run in bad conditions?
- Is this a private group experience?
- Can I get a full refund if I cancel?
Quick highlights
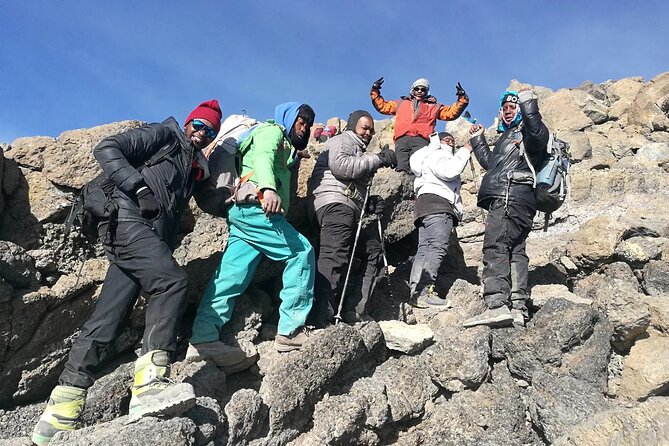
- Smart acclimatization pace with extra days on the Shira Plateau (less rushing, better rhythm)
- Less-used Lemosho approach through montane forest and moorland meadows for quieter trekking
- Lava Tower (Shark’s Tooth) and the dramatic ridge-to-Barranco transition for strong “wow” days
- Summit via Stella Point with a real shot at a famous sunrise from the crater rim
- Private-group format (only your group participates) plus pickup included
- Practical Day 8 with gaiters and trekking-pole help for muddy lower trails to Mweka Gate
Why the Lemosho Route Feels Like a Smart Climb, Not a Rush
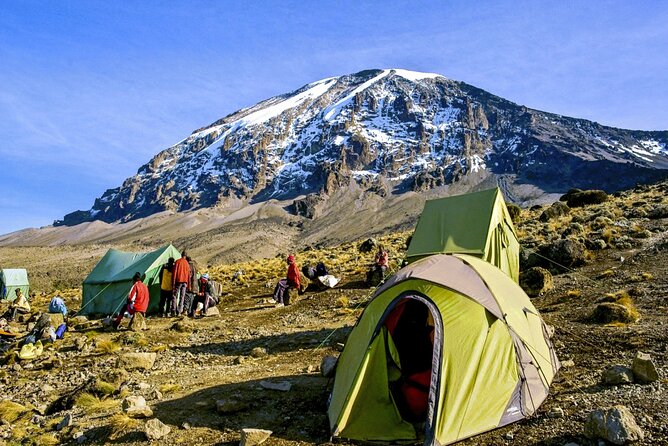
Kilimanjaro rewards patience. The Lemosho route was designed around that idea: it gives your body time to acclimatize, then it asks for effort at the moments that matter most. The result is that you spend more days moving at a sustainable pace, rather than piling altitude on top of altitude.
This route is also one of the better options if you want a “different” Kilimanjaro experience. You start through the montane forest, then you move into giant heather moorland and broad plateau country. You feel the mountain changing under your feet, which is exactly what you want when you’re climbing high.
And yes, it can be a little more about logistics than you’d like. The climb is long, you’ll hike uphill in cold air, and you’ll still need to follow your guide’s instructions about pace and rest. But that structure is also what keeps the trek feeling manageable.
You can also read our reviews of more tours and experiences in Moshi.
Day 1: From Moshi to Mti Mkubwa in the Montane Forest
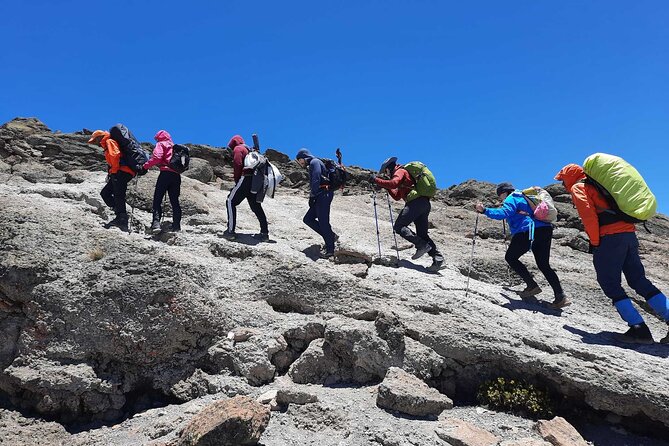
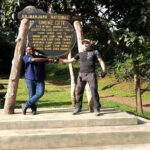
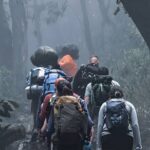
Day 1 starts with breakfast and a drive out of Moshi to the Lemosho Park Gate. From there, a forest track continues using a 4WD vehicle, then you begin walking along forest trails toward Mti Mkubwa (big tree) campsite.
You’ll climb from about 1,830m (6,000ft) to 2,650m (8,700ft) over roughly 6 km / 4 miles and about 2–5 hours of hiking. That range is intentionally reasonable. You’re not trying to “win” Day 1—you’re trying to get your legs awake and your body used to moving uphill.
The forest here matters. Montane forest hiking tends to be cooler and calmer than exposed terrain, and it helps you settle into routine: break time, water time, check-in time. It’s also where the wildlife element can show up. This route can include an armed ranger on the first day, because the Lemosho Glades are inhabited by animals like buffalo and elephants. Even if you never see wildlife, the point is real: this is an active ecosystem, not just a path on a map.
Practical tip: if you’re prone to getting cold early, Day 1 is your chance to dial in your layers. You’ll likely be comfortable in the forest, but the temperature changes as you gain elevation.
Day 2: Shira Ridge to Shira 1 Camp and Your First Big Altitude Step
After breakfast, the trail gradually steepens. You enter giant heather moorland and start crossing streams before reaching Shira Ridge. Then you ease down toward Shira 1 camp on the Shira Plateau.
This is the day that moves you decisively higher: around 2,650m to 3,500m (11,500ft) over about 8 km / 5 miles with 4–5 hours of hiking. Compared to summit day, this is not extreme physically—but altitude-wise, it’s an important shift.
Moorland terrain can feel deceptively simple. It’s mostly open country, and that means you can feel wind, sun, and temperature drops more directly than in the forest. You’ll also want to keep a steady pace because you’re in the zone where breathing starts to feel different.
The hidden value of this day: it sets your acclimatization baseline. The route doesn’t throw you to 4,500m on Day 2. It gives you time on the Plateau later too, which is why Lemosho is often chosen for higher comfort and steadier adjustment.
Day 3: Shira Plateau Hikes to Shira 2 Camp (A Real Acclimatization Day)
Day 3 is about smart hiking, not maximum distance. You start with a gentle hike across the plateau and head to Shira 2 camp on moorland meadows by a stream.
You gain again, from about 3,500m (11,500ft) to 3,850m (12,600ft), covering roughly 8 km / 5 miles in 4–5 hours. Habitat stays in the moorland zone.
What makes Day 3 special is that it’s designed as an acclimatization day. The plateau offers multiple hike options, so your plan can be adjusted to how you feel. That flexibility can matter a lot when some people feel great at altitude and others feel it fast.
A personal-sounding strategy that works well here: keep your effort steady and your mind calm. You’re not trying to “prove” fitness—you’re training your body to handle altitude gradually. If you feel a bit off, speak up and slow down. Guides want you safe, not fast.
Day 4: Lava Tower, Shark’s Tooth, and the Descent to Barranco
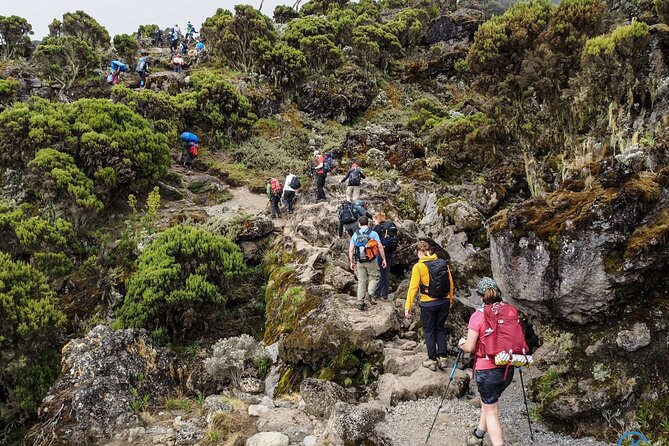
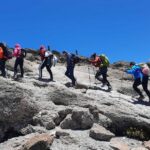
This is where the trek starts getting dramatic. From the Shira Plateau you continue east up a ridge, passing a junction toward the peak of Kibo. Then your direction shifts south-east toward Lava Tower, called the Shark’s Tooth (at about 4,650m / 15,250ft).
Shortly after, you reach another junction leading toward the Arrow Glacier area. Then you continue and descend toward Barranco Camp.
Altitude-wise, Day 4 climbs and then comes back down: it goes from around 3,850m (12,600ft) to about 4,000m (13,000ft) with approximately 8 km / 5 miles and 5–6 hours of walking. It ends around similar elevation to where you started, which is a common acclimatization trick—go high, then sleep lower.
Barranco is also a psychological hinge day. It transitions you from Plateau-style hiking to the more rugged feel of the route ahead. You get a sense of the bigger plan: Lava Tower is part of the route’s drama, but Barranco is where your body prepares for the summit push.
If the cold hits harder than you expected, this is a good day to remember: you can’t control weather, but you can control layers, gloves, and head coverage. Cold changes quickly above 4,000m.
Day 5: Up Barranco Wall to Karanga Valley and the Link to Mweka
Day 5 is shorter on paper, but it demands focus. After breakfast you leave Barranco and continue on a steep ridge up the Barranco Wall, heading to the Karanga Valley and toward the junction that connects with the Mweka Trail.
You gain from about 4,000m (13,000ft) to roughly 4,050m (13,250ft) over about 5 km / 3 miles, with 3–5 hours of climbing. You’re now in the alpine desert habitat.
That “alpine desert” label is real: fewer trees, more exposed ground, and a feeling that the world has narrowed to rock, wind, and steps. The climb up the wall is also where people start thinking about the summit day that’s coming soon. The good news is the elevation gain for the day is limited—the aim is to keep you moving without exhausting you.
Practical note: poles help a lot here, if you use them. Also, pace is everything. If you go too hard on steep sections, it catches up later.
Day 6: Barafu Camp Rest and Summit Prep at High Altitude
Day 6 continues up to Barafu Camp. This is one of the big milestones because you’ve completed the South Circuit and you now rest at one of the route’s key high camps.
You hike about 4 km / 2 miles in roughly 3–4 hours, climbing from about 4,050m (13,250ft) to 4,700m (15,350ft). Habitat is alpine desert, and you’ll camp at Barafu, rest, enjoy dinner, and mentally prepare for summit night.
This is a day you should treat like part of the trek’s medicine. It’s not just waiting. It’s recovery. You’ll want to keep moving gently, eat what you can, hydrate in a steady way, and follow your guide’s instructions for warmth and sleep.
The route also helps because you’ve been climbing in a controlled progression. You don’t jump from low to high in one leap. You build. Then you rest. That’s the rhythm that supports a better shot at a safe summit.
Day 7: Midnight Summit Push from the Rebmann to Ratzel Area to Stella Point and Uhuru Peak
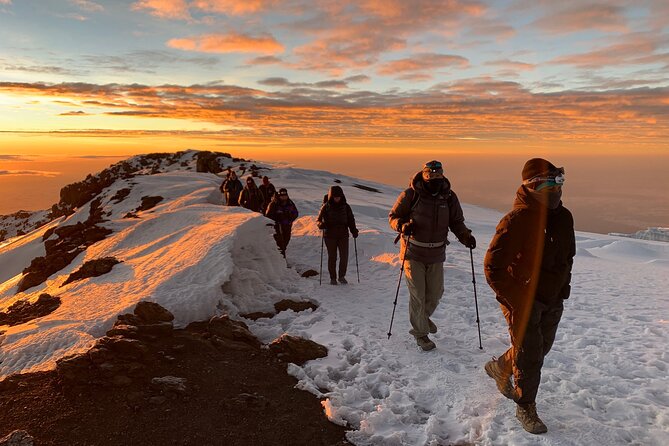
This is the day you came for, and it’s also the day that tests your head and your lungs. You start between midnight and 2 a.m., trekking toward the summit area between the Rebmann and Ratzel glaciers. You head northwesterly, ascending heavy scree toward Stella Point on the crater rim.
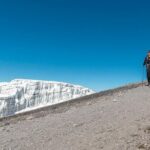
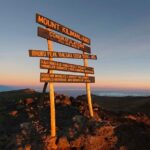
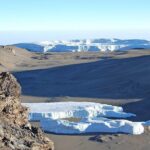
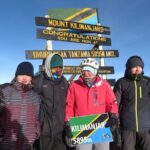
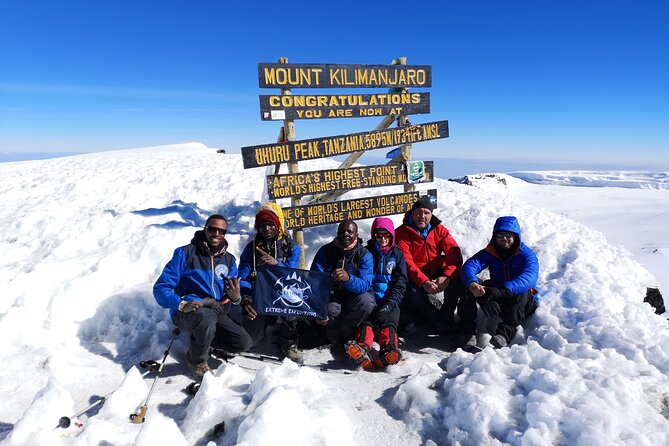
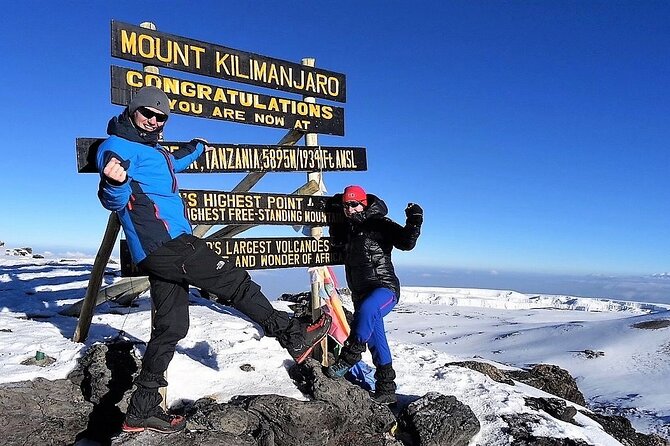
From Stella Point, it’s about a 1-hour ascent to Uhuru Peak, the highest point on Kilimanjaro and the continent of Africa. You might encounter snow along the way, depending on conditions.
Then you descend. The day includes a total of about 6 hours on the move after you leave the summit area, and the route description indicates continuing down toward Mweka. Day 8 finishes the final stretch to Mweka Park Gate.
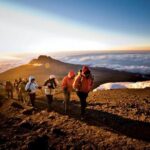
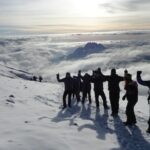
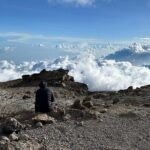
The best part here, in my view, is how the mountain changes from “work” to “reward” at the crater rim. You take a short rest at Stella Point, and you get the chance at that famous sunrise. Even if you’re not the fastest hiker, the timing can be right for a spectacular early light show.
Summit day also teaches humility. You can feel strong and still be slowed by altitude. Scree takes energy. Cold tightens your muscles. That’s why the route’s pacing matters from the start—because summit day is not the place for catching up.
Day 8: Mweka Park Gate Certificates, Mud Lessons, and the Drive Back to Moshi
Day 8 starts with breakfast and continues with the descent down to Mweka Park Gate for your summit certificates. At lower elevations, conditions can turn wet and muddy.
Expect about 10 km / 6 miles and 3–5 hours of hiking, dropping from around 3,090m (10,150ft) down to about 1,680m (5,500ft). Habitat shifts back into forest.
This is a practical day. You’ll likely feel tired. Your legs may feel heavy. And the trail can be slick, so you’ll do better if you have the right small gear. The trek guidance specifically points to gaiters and trekking poles to manage muddy conditions.
Clothing-wise, it’s usually more manageable down low. The route notes shorts and t-shirts may be plenty, while still telling you to keep rain gear and warmer clothing handy. That combo—dry top layers plus something warm for wind and early mornings—can save your day.
When you finish at Mweka Gate, a vehicle from Monkey Adventures is waiting to drive you back to your hotel in Moshi, around 60 minutes.
Price and Value: Is $2,250 Fair for an 8-Day Summit Trek?
At $2,250 per person, this isn’t a budget weekend. But for an 8-day summit trek with full logistics, you’re mostly paying for the things that keep you safe and moving: permits/fees, meals, guiding structure, and the mountain-adaptation schedule.
Here’s what makes the value feel real:
- All fees and taxes are included, which matters on Kilimanjaro where access isn’t casual.
- Meals are covered across multiple days: the package lists breakfast (7), lunch (8), and dinner (7).
- The trek includes admission ticket coverage across the days indicated in the schedule.
- You get pickup offered plus end-of-trek transport back to Moshi on Day 8.
What you’ll still need to budget for:
- Accommodation before and after the trek (not included).
- Personal trekking gear (you bring your own or rent locally).
- Tipping for the crew is not included.
- Alcohol and personal spending aren’t included.
My rule of thumb: if the price includes permits, most meals, and the time-tested pacing, it’s easier to call it good value. This trip fits that pattern. The bigger question is whether the Lemosho pacing suits you and whether you can handle summit day after days of hiking at altitude.
What’s Included vs What You Bring: The Stuff That Actually Matters
This trek is set up for you to focus on hiking and sleep at altitude, not on scavenger hunts.
Included:
- All fees and taxes
- Breakfast, lunch, and dinner across the trek days
- Admission ticket coverage as noted through the days
- Pickup offered and a mobile ticket
- Vegetarian option available if you request it
Not included:
- Accommodation before and after
- Personal trekking gear
- Personal items and alcohol
- Tipping the crew
So, you’ll want to think of your “personal gear” budget as part of your trek cost. Also, because this is listed as operating in all weather conditions, your clothing choices are not optional. A dry layer and a warm layer matter even if the trail starts pleasant.
Who This Trek Suits Best (and Who Should Think Twice)
This route says “most travelers can participate,” and that’s consistent with the design: it’s built for acclimatization, not a speed run. It’s also private, which can feel calmer if you prefer a more controlled group experience.
This trek is a strong fit if:
- You want a higher-success-style approach through additional acclimatization days
- You care about scenic variety, from forest to moorland to alpine desert
- You’re okay with a very early start and cold conditions on summit night
Think twice if:
- You’re not comfortable with heavy altitude effects and steep scree on Day 7
- You dislike long, multi-day hikes with limited comfort
- You’re traveling with someone who needs lots of medical flexibility (and even then, you’d need proper medical guidance)
Booking Thoughts: Should You Book This 8-Day Lemosho Trek?
I’d book this trek if you want the safer-feeling version of Kilimanjaro—the one that prioritizes time, acclimatization, and a route that tends to be less crowded. The itinerary’s structure (especially the Plateau days and the rest days near the high camps) is exactly what you want when altitude is the main challenge.
If you hate early nights, if you’re worried about cold, or if the idea of midnight hiking sounds like misery, then pick a different kind of adventure. Kilimanjaro is not for those moods.
One more angle: in feedback I reviewed for the operator behind these trips, I saw repeated notes about friendly, punctual service from guides with names like Karim and Leokadia. That doesn’t guarantee your exact crew, but it does suggest they’ve earned a reputation for caring service—something you’ll appreciate when the conditions turn tough.
FAQ
How long is the Kilimanjaro trek on the Lemosho route?
It’s an 8-day trek (approximately).
Where does the tour start and where does it end?
It starts in Moshi, Tanzania, and it ends back at the meeting point.
Is pickup included?
Yes, pickup is offered.
What’s the main route and destination area?
This is an 8 Day Mount Kilimanjaro Trekking Lemosho Route, climbing up from the Lemosho side and reaching the summit via the described high-camp and crater-rim route, then descending to Mweka Park Gate.
Are meals included in the price?
Yes. The package includes breakfast (7), lunch (8), and dinner (7).
Do I need to bring my own trekking gear?
Yes. Personal trekking gear is not included.
Is there a vegetarian option?
Yes, a vegetarian option is available if you request it at booking.
What about weather? Will the trek run in bad conditions?
The trek operates in all weather conditions, so you should dress appropriately.
Is this a private group experience?
Yes. It’s listed as a private tour/activity, meaning only your group will participate.
Can I get a full refund if I cancel?
Yes. There’s free cancellation, and you can cancel up to 24 hours in advance for a full refund.