REVIEW · MOSHI
Unforgettable 8 Days Lemosho Route Trekking on Kilimanjaro
Book on Viator →Operated by Rede Tours and Safaris (Amore African Safari LTD) · Bookable on Viator
Kilimanjaro from the west side has a different feel. This 8-day Lemosho route is built for scenery and a gentler rhythm, starting with a forest hike, crossing the Shira Plateau, and only later joining more crowded terrain near Lava Tower. I like that the plan aims for good pacing with real acclimatization days, and that you’ll get strong support from a team praised for food and service (names like Nalisis and chef Jackson come up in feedback). One thing to think about: this is a high-altitude trek with long, tough days and a very early start for the summit window, so your fitness and rest habits matter.
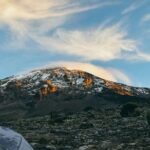
What makes Lemosho especially interesting is the sequence of environments. You move through forest, moorland, giant heather country, rocky volcanic sections, and finally scree slopes above the vegetation line, so the hike never feels monotonous. A practical plus: meals and park-related fees are included, which helps you budget and keeps the focus on the mountain instead of paperwork. The possible drawback is altitude stress on the steeper segments, especially when you’re tired and it’s cold at night.
If you want a scenic Kilimanjaro trek with lower crowds than the busier routes, Lemosho is a smart match. Just be honest with yourself about time, weather, and how you handle cold and effort at altitude.
In This Review
- Key Highlights You’ll Actually Feel on This Trek
- Lemosho’s Big Advantage: West-to-East Scenery With Less Crowding
- Moshi to Londorossi Gate: The Start That Sets Your Tone
- Day 1 in the Rain Forest: Lemosho Glades to Mti Mkubwa Camp
- Day 2: Shira Ridge Crossing and the Drop to Shira Camp One
- Day 3: Shira Plateau Day Two That’s Really About Acclimatization
- Day 4: Lava Tower at 4,630 m and the Descent to Barranco Camp
- Day 5: Scree to Barafu Camp and the Early Summit Night Setup
- Day 6: Joining the Mweka Descent Route and Water Discipline Near Barafu Hut
- Day 7: The Stella Point Climb, Sunrise Stakes, and Cold-Weather Reality
- Day 8: Back to Mweka Gate, Summit Certificates, and the Hot Lunch Finish
- Price and Value: Is $1,500 a Fair Deal for Lemosho?
- Who Should Choose This Trek (and Who Might Think Twice)
- Should You Book This 8-Day Lemosho Trek with Rede Tours and Safaris?
- FAQ
- Where does this Kilimanjaro trek start and end?
- What’s included in the price?
- What’s not included?
- How long is the trek?
- What route does this trek follow?
- Is pickup offered?
- Do I need to bring money for tipping?
Key Highlights You’ll Actually Feel on This Trek
- Low-crowd start, quieter until near Lava Tower: the route stays relatively uncrowded until it meets the Machame route.
- Shira Plateau acclimatization days: a calmer pace across plateau terrain helps you adjust before the tougher volcanic sections.
- Lava Tower at 4,630 m / 15,190 ft: a signature landmark with a photo-heavy stop and optional scrambling for the sure-footed.
- Barranco Camp photos and vibes: the descent toward Barranco brings a dramatic switch in terrain and views.
- Scree slopes toward Barafu: a real “no vegetation” zone that tests strength and hydration habits.
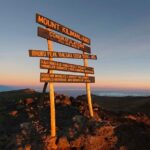
- Stella Point timing and certificate stakes: you climb to Stella Point (5,685 m / 18,650 ft) at dawn, with green certificates for Stella Point and gold for Uhuru Peak.
Lemosho’s Big Advantage: West-to-East Scenery With Less Crowding
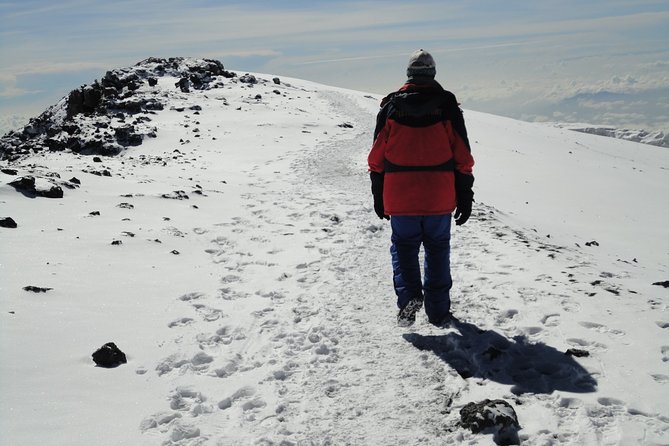
Most Kilimanjaro routes look similar once you’re high enough. Lemosho stands out because you’re approaching from the west and traveling across the mountain’s “face” in a way that gives you frequent panoramas and changing angles. The planning also aims to keep crowds low early on, then funnels you toward more shared trail near Lava Tower.
For your day-to-day experience, that usually means less traffic on the trail early. You’re more likely to have breathing room on the path, more chances for clear photos, and fewer stops-and-starts around other groups. It’s not a guarantee of total solitude, but it’s a better odds game than the most crowded options.
You can also read our reviews of more tours and experiences in Moshi.
Moshi to Londorossi Gate: The Start That Sets Your Tone
Your trek begins in the Moshi area, with a hotel briefing from your chief guide before you head out. From Moshi, you drive about 2.5 hours to Londorossi Park Gate at 2,250 m / 7,380 ft. After park rules are handled, you start walking toward the Lemosho side of the mountain.
This first transfer matters more than people think. It gets you used to the “Kilimanjaro logistics rhythm”: sit, listen, confirm gear, then start moving. You’ll also be stepping into an organized day with a 4WD vehicle moving you toward the trailhead at roughly 2,390 m / 7,830 ft, known as Lemosho Glades.
Day 1 in the Rain Forest: Lemosho Glades to Mti Mkubwa Camp
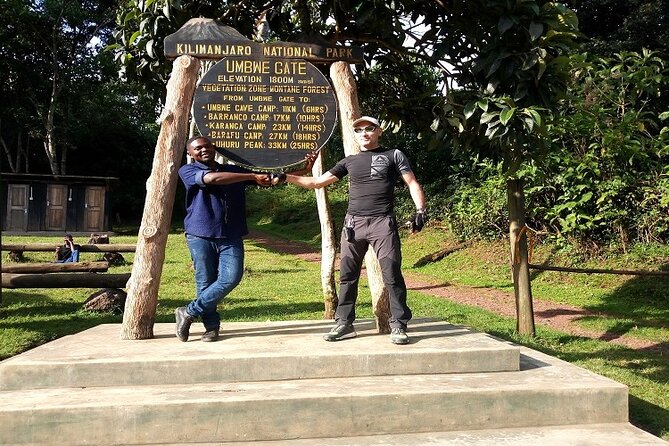
On day one, you work your way from the gate into the forest trail system, starting around 2,390 m / 7,830 ft. The hiking is described as around 4 hours, and it’s your first real step into Kilimanjaro’s lower ecosystems.
The key benefit here is that it’s an entry ramp, not a shock test. You’re not thrown into high-altitude suffering immediately, so you can focus on footwork, layering, and learning how the day feels under a pack. You’ll end at Mti Mkubwa campsite (near 2,390 m / 7,830 ft), where dinner and overnight come after the trail work.
If you’re the type who gets anxious when days start fast, this is one of the reasons I’d steer you toward Lemosho. The forest gives you a softer start.
Day 2: Shira Ridge Crossing and the Drop to Shira Camp One
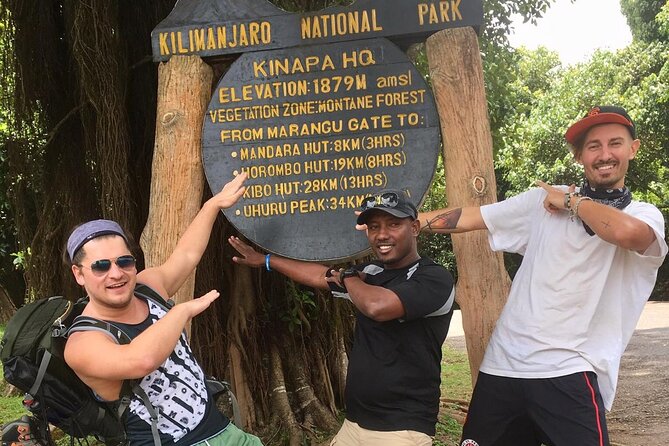
Day two is where Lemosho starts showing its altitude character. The trail “slowly becomes very steep” as you enter the moorland zone, then you cross Shira Ridge at 3,600 m / 11,810 ft. After that high point, you drop gently to Shira Camp One, located by a stream on the Shira Plateau.
You’ll spend a long day hiking (about 11 hours), with the description calling out giant heather moorland and multiple stream crossings. That mix is a practical challenge: in moorland, conditions can change quickly, and wet footing can slow you down. The stream crossings are also a reminder to keep your footwear and socks ready for reality, not just for dry trail photos.
The upside is that Shira Camp One on the plateau puts you in position for a more supportive acclimatization rhythm. You’re not only gaining altitude; you’re doing it in a way that gives you somewhere to settle.
Day 3: Shira Plateau Day Two That’s Really About Acclimatization
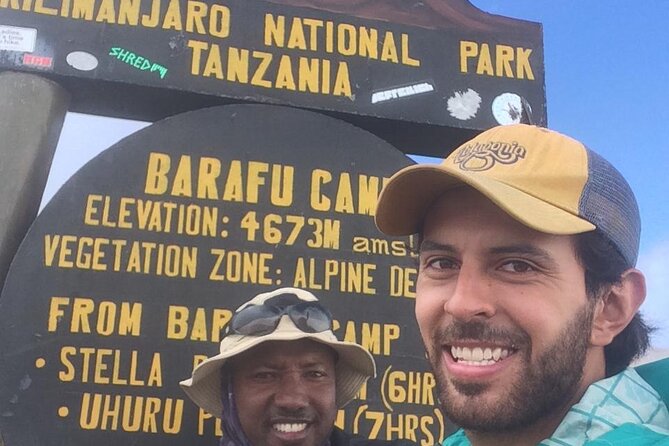
Day three is the “why this route works” day. The plan gives you a moderate walk across the plateau to Shira Camp Two, described as moorland meadows by a stream. The hike is about 7 hours, and the goal is explicitly acclimatization.
This is the day you’ll feel in your body later. A plateau day helps your systems adapt to altitude without forcing you into constant steep gradients. You also get time to practice your pacing: slow, steady, and controlled breathing.
If you’re unsure about this route, I’d look at day three first. When it’s built into the trek instead of added later as an optional detour, you’re more likely to arrive ready for the bigger volcanic terrain.
Day 4: Lava Tower at 4,630 m and the Descent to Barranco Camp
Day four takes you east toward one of Kilimanjaro’s most famous landmarks on the Lemosho path: Lava Tower at 4,630 m / 15,190 ft. You climb up from above vegetation, then enter a rocky landscape where Lava Tower becomes a prominent sight you can’t miss.
The itinerary places Lava Tower as a major stop: you pass right below it, and for extra credit the description suggests scrambling to the top if you’re sure-footed. After lunch near Lava Tower, you descend for around 2 hours to Barranco Camp at 3,950 m / 12,960 ft.
This day has two practical lessons for you. First, high-altitude rock sections test balance, not just stamina. Second, the descent to Barranco is a terrain shift that can feel easier on paper but still drains energy if your legs are tired.
The reward is huge. Barranco’s setting gives you dramatic photo opportunities and a sense that you’re moving into the mountain’s “upper character.”
Day 5: Scree to Barafu Camp and the Early Summit Night Setup
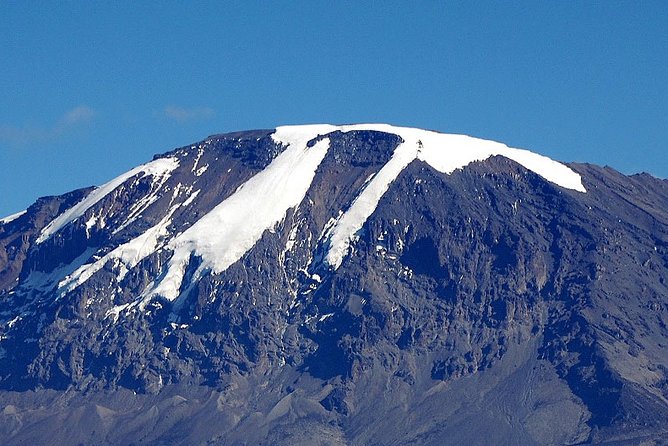
Day five hikes to Barafu Camp at 4,640 m / 15,190 ft, and the description makes it clear this is a hard, steep section. You’ll cross desolate scree slopes with no vegetation, which means your footing is often loose and your energy burn is high.
The hike time is listed as about 3 hours, but don’t let the short duration fool you. Scree can slow your pace and force careful steps, and the altitude makes every burst of effort feel heavier. When you arrive, you eat, rest, and prepare for a long night and day ahead.
The plan notes an early dinner and waking around 11pm to 12am to start the summit climb. That’s a big deal for you logistically and physically. You’ll want to treat the afternoon like the most important “recovery block” of the entire trek—warm layers, hydration, and calm sleep strategies matter.
Day 6: Joining the Mweka Descent Route and Water Discipline Near Barafu Hut
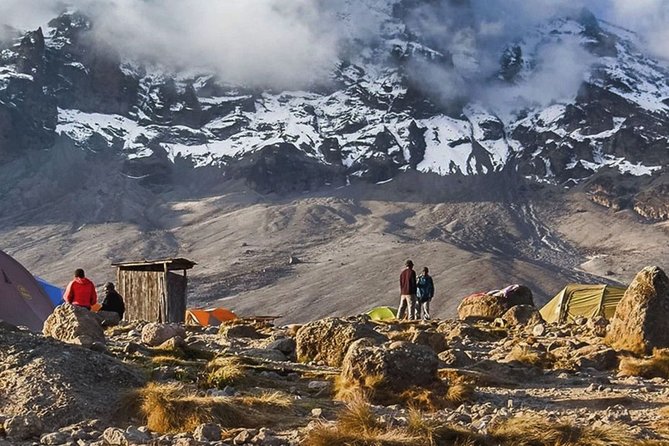
Day six is long in spirit even if parts of it feel like repositioning. You begin by hiking east over ridges and valleys to join the Mweka Route, your descent route. Then you turn left toward the mountain and hike up the ridge through sparse landscape to Barafu Hut for a hot lunch.
This is also where the notes get very practical about water. The description says the last water point is Karanga Valley, and there’s no water at Barafu Camp. That’s a detail you should treat seriously when planning how you’ll drink and how you’ll handle dry, cold air.
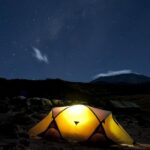
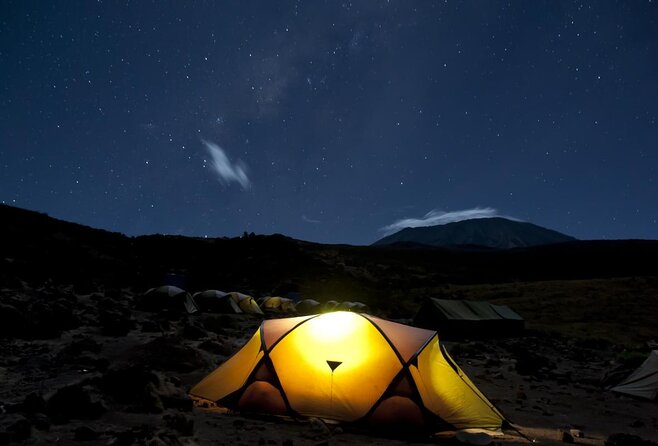
You’ll also pitch your tent on a narrow, stony, wind-swept ridge, and the guidance specifically suggests familiarizing yourself with the terrain before dark to avoid accidents. Translation: keep your headlamp handy, watch your footing, and don’t rush in the cold.
Day 7: The Stella Point Climb, Sunrise Stakes, and Cold-Weather Reality
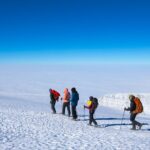
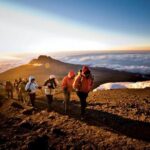
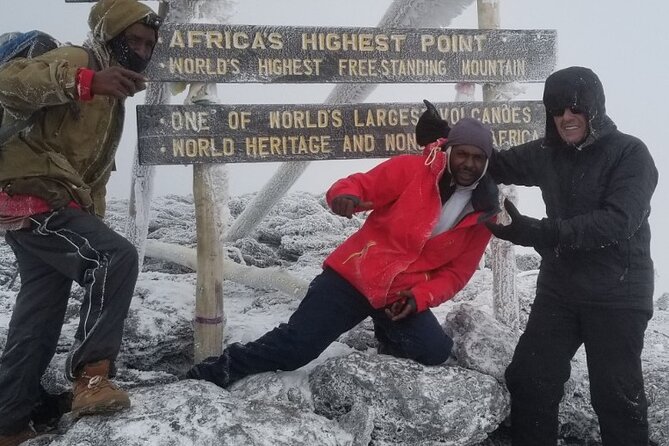
Day seven is the big summit-night experience in the schedule you provided. You’ll be up around 11:30 PM, with hot tea and biscuits before you head into the darkness. The climb is described as a 6-hour grind up heavy scree between glaciers to Stella Point on the crater rim.
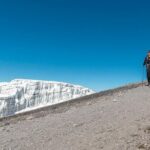
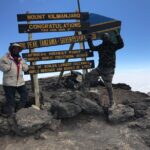
Stella Point is at 5,685 m / 18,650 ft, and the plan calls it the most challenging part for many climbers. You stop there for a rest and a chance to see sunrise. You’ll then join the top part of the Marangu route, but the guidance warns not to stay too long because starting again can be extremely difficult once cold and exhaustion set in.
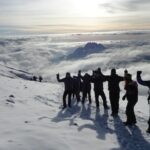
This is also where certificate expectations are spelled out. If you reach Stella Point, you’re issued green certificates. If you reach Uhuru Peak, you get gold certificates. That gives you a clear sense of the emotional arc of the day: you’re climbing for progress, but you’re also working within weather and safety realities.
And yes, you might encounter snow depending on the season and current storms. That’s not a scare tactic; it’s simply part of the mountain.
Day 8: Back to Mweka Gate, Summit Certificates, and the Hot Lunch Finish
After your summit efforts (or after your highest point), day eight is the reward and recovery day. You start with breakfast, then hike about 3 hours back to the park gate.
There’s an important practical note: tips aren’t given on the way until the crew reaches the gate safely. You’re reminded to tip staff at the gate, and at Mweka Gate you sign your name in a register. This is also where successful climbers normally receive their summit certificates, and you may be followed by a bottle of champagne as part of the celebration.
From Mweka Gate, you continue down to Mweka Village (about 3 km) for a delicious hot lunch. Then you drive back to Moshi, ending the experience back at the meeting point.
This day is often when people feel the altitude most: it’s “only” hiking downhill, but your legs may not feel like it. Still, it’s the final step that turns the mountain achievement into a real end-of-trip feeling.
Price and Value: Is $1,500 a Fair Deal for Lemosho?
At $1,500 per person, this is not a bargain-basement Kilimanjaro price. But it’s also not just buying a bed and a map. The value comes from what’s included and how the route is structured.
Included items:
- All fees and taxes
- Breakfasts (8), lunches (8), dinners (7)
- Admission ticket included across the trek days
Not included items you should budget for:
- Flights
- Tipping the crew
- Visas
- Additional park fees (if any)
- Non-climbing accommodation
- Private transportation
- Hiking supportive materials
So the honest equation is this: you’re paying for a full guided trekking package with meals and park-related costs wrapped in. That matters because Kilimanjaro budgeting can get messy if you have to piece together park fees, food planning, and on-the-ground logistics separately.
Also, the route choice supports value. Lemosho is positioned as a strong balance of low crowds, beautiful scenery, and a high summit success rate, and the itinerary reflects that with acclimatization time on the Shira Plateau and a slower early build-up before the tougher sections.
Who Should Choose This Trek (and Who Might Think Twice)
This trek fits best if you:
- Want scenery and photos more than rushing to a single steep summit push.
- Prefer a route that stays relatively quieter early and builds toward the more shared sections later.
- Are willing to handle cold nights, long hiking days, and the timing stress of a midnight wake-up.
Think twice if you:
- Struggle with long days or have a hard time with steep, loose-footing terrain on scree.
- Don’t have a solid plan for hydration and warm clothing at high altitude.
- Want fully private logistics. The data notes pickup offered, but it also says private transportation is not included.
One more note from the way the trek is described: the climb is weather-dependent. If conditions turn dangerous, you should expect changes to the plan. That’s true on Kilimanjaro no matter who you book.
Should You Book This 8-Day Lemosho Trek with Rede Tours and Safaris?
If you want the classic “big mountain” experience with a route that aims for good pacing, quieter trail time early on, and signature highlights like Lava Tower and Stella Point, I think this is a strong booking choice. The price feels reasonable given that meals and fees are included and the trek is designed around acclimatization, not just speed.
I’d book it if you’re ready for the real work: scree steps, high-altitude fatigue, and that late-night start. I wouldn’t book it if you’re hoping for a relaxed stroll or if you’re likely to be unprepared for cold and wind on the upper ridges.
If you’re planning your Kilimanjaro trip, Lemosho’s route design is the selling point. The rest is execution by the team—and the feedback you can find around the operator highlights serious care in food and service, including chef Jackson and guide Nalisis.
FAQ
Where does this Kilimanjaro trek start and end?
The trek starts at Shanty Town Road in Tanzania and ends back at the same meeting point, after returning to Moshi.
What’s included in the price?
It includes all fees and taxes, plus meals: breakfast (8), lunch (8), and dinner (7). Admission ticket fees are listed as included for the trek days.
What’s not included?
Flights, visas, tipping the crew, additional park fees, non-climbing accommodation, private transportation, and hiking supportive materials are not included.
How long is the trek?
The duration is listed as about 8 days.
What route does this trek follow?
This is the Lemosho route, approaching from the west and crossing the Shira Plateau, then joining the Mweka route for descent. It includes stops like Lava Tower and ends near Mweka Gate.
Is pickup offered?
Yes, pickup is offered.
Do I need to bring money for tipping?
Tipping the crew is not included, and there’s guidance to tip staff at the gate after reaching safety.
If you want, tell me your fitness level (and whether you’re prone to altitude sickness). I can help you sanity-check if this schedule matches your tolerance for long hiking days and a late-night summit start.