REVIEW · MOSHI
Machame Route 7-Day Private Kilimanjaro Trek
Book on Viator →Operated by Bush Lion Trekking and Tours · Bookable on Viator
Climb Kilimanjaro without guessing the pacing.
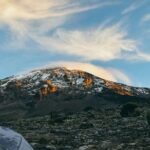
This 7-day private Machame route gives you a real altitude plan, with changing scenery from rainforest to moorland and the rocky, high “summit night” climb. You’ll pass through Kilimanjaro National Park with a team that handles the hard logistics so you can focus on breathing.
I love the way the trek is built around acclimatization, not just distance. The schedule gives you key elevation swings (up to Lava Tower, down to Barranco Camp, then up again), and that helps your body handle the climb to Uhuru Peak at 5,895 meters. I also like the human side: people like Jackson, and guides including Innocent, Kenny, Shafii, Emmanuel, and William show up repeatedly in positive feedback for being organized, kind, and safety-minded.
The main consideration is obvious: Day 6 is long. The midnight summit start and the total 12–15 hour day can feel brutal, especially if you’re not used to hiking at altitude. Also, tips for guides and porters aren’t included, so you’ll want to plan for that.
In This Review
- Key Things I’d Watch Before Booking This Machame Trek
- Moshi, the Machame Route, and Why This 7-Day Plan Works
- Day 1: Machame Gate to Machame Camp Through Rainforest
- Day 2: Rainforest Out, Moorlands In to Shira Camp
- Day 3: Lava Tower (Lunch and Rest), Then Down to Barranco Camp
- Day 4: Barranco Wall Challenge to Karanga Camp
- Day 5: Rocky Alpine Desert to Barafu Camp and Early Dinner
- Day 6: Midnight Summit Push to Uhuru Peak, Then Down to Mweka
- Day 7: Rainforest Descent to Mweka Gate and Your Summit Certificate
- Guides, Porters, and Meals: Where You Feel the Difference
- Price and Value: What $2,209 Gets You (and Why It’s Not Just a Number)
- What You’ll Need to Bring (Because the Trek Won’t Guess for You)
- Who Should Choose This Private Machame Trek—and Who Should Rethink It
- Should You Book This 7-Day Private Machame Trek?
- FAQ
- How long is the Machame route trek?
- Where does the trek start and how do you get there from Moshi?
- Is airport transfer included?
- What meals and water are included during the climb?
- What does the tour include for camping and equipment?
- What isn’t included in the price?
- Is free cancellation available?
Key Things I’d Watch Before Booking This Machame Trek
- Private group setup: Only your group participates, so the pacing and support feel more personal.
- Altitude-focused route: The up/down pattern (Lava Tower, then down to Barranco; then up to Barafu) is designed to help you adjust.
- Summit night timing: Starting around midnight sets you up to reach Uhuru Peak at dawn light, but it means very little sleep.
- Included gear and camping support: Tents, sleeping mats, sleeping bags, a portable toilet, and food are part of the package.
- Safety resources on hand: First aid kits and oxygen tanks are included, plus experienced guides and porters.
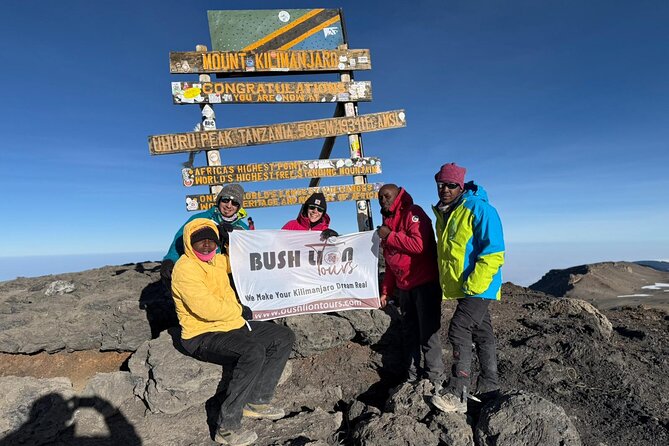
- You finish with a certificate: You get the Kilimanjaro summit certificate at Mweka Gate.
Moshi, the Machame Route, and Why This 7-Day Plan Works
Most Kilimanjaro climbs aren’t really about “can I walk uphill?” They’re about can you manage altitude while you’re exhausted, cold, and still moving upward. That’s why the Machame route’s timing matters as much as the views.
This trek starts from Moshi and uses the Machame Gate as your entry into Kilimanjaro National Park. From there, the days are structured around gradual gains with a few smart altitude pivots: you gain elevation, then you come down (in a controlled way) to help your body recover. That’s the core reason many people feel more confident on this schedule compared with “fast and furious” itineraries.
Also, the private format is worth noticing. Even though there are group discounts listed, the tour is private for your group, so you’re not squeezed into a big crowd with a different rhythm. In practical terms, that tends to make it easier to communicate, share concerns, and stick to your hiking pace with your guide team.
You can also read our reviews of more tours and experiences in Moshi.
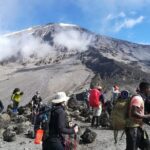
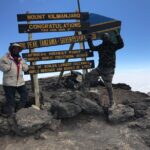
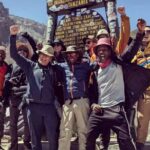
Day 1: Machame Gate to Machame Camp Through Rainforest
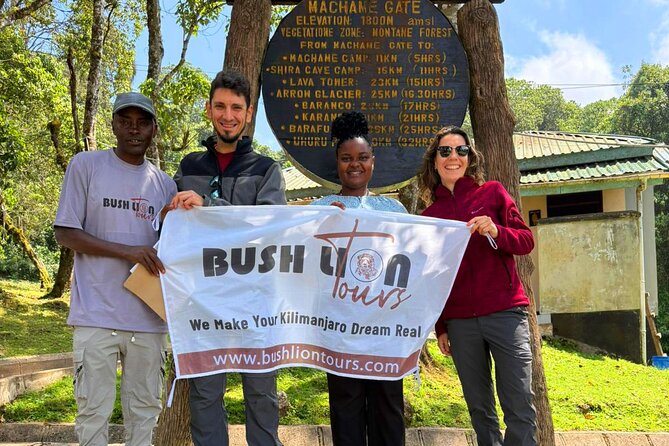
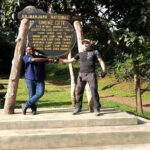
Day 1 is your introduction to the mountain world. You’ll drive from Moshi to Machame Gate, sign in, get a briefing, then start hiking through thick rainforest. This is the “green start”: cooler air, lots of trees, and a trail that feels lively compared to the higher zones.
You’ll hike about 5–7 hours, covering around 11 km (7 miles), and end at Machame Camp at 3,010 meters (9,875 feet). That altitude is not “summit altitude,” but it’s high enough that you’ll feel the shift from lowland humidity and temperature.
What I like about Day 1 is that it’s long enough to get into a rhythm, but not so steep that it forces you to burn out early. The drawback is simple: rainforest hiking can mean wet, slippery ground. Good traction matters. If your boots are too slick when it rains, Day 1 will remind you about it.
Day 2: Rainforest Out, Moorlands In to Shira Camp
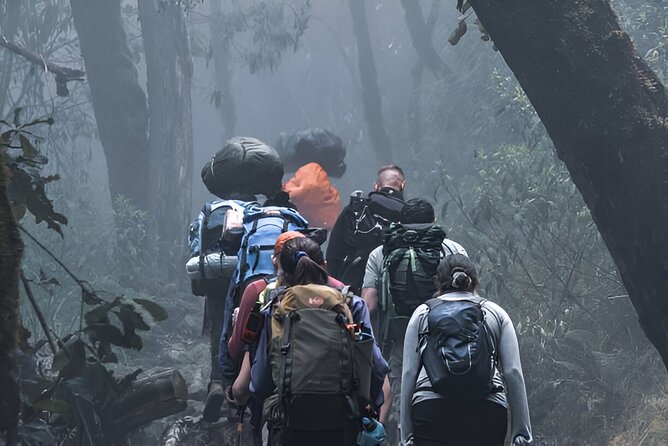
On Day 2, the trail gets steeper as you leave the rainforest and move into the moorland zone. The scenery changes fast. You start seeing broader views toward Mount Meru and the Shira Plateau area.
You’ll walk about 4–6 hours and cover about 5 km (3 miles)—short distance, but with elevation doing the real work. You finish at Shira Camp at 3,840 meters (12,600 feet).
This day is a classic “don’t panic, just keep moving” moment. Shorter hiking distance can tempt people into pushing harder, but the altitude is still rising. The moorland also tends to bring colder air and more wind as the day goes on.
A practical consideration: your breathing will likely feel different even if you’re moving at the same effort as Day 1. That’s normal here. The goal is steady pace, not speed.
Day 3: Lava Tower (Lunch and Rest), Then Down to Barranco Camp
Day 3 is the most important acclimatization day in your first half. You’ll hike up to Lava Tower at 4,630 meters (15,190 feet), where you’ll have lunch and rest. After that, you head down to Barranco Camp at 3,960 meters (13,000 feet).
The total hike is about 10 km (6 miles) and takes 6–8 hours. And the key detail is the descent to Barranco Camp. Going down isn’t “losing progress” on Kilimanjaro. It’s how your body gets a chance to adjust to higher altitude without constant upward stress.
I also like that this day builds your confidence for later steep terrain. Lava Tower is a serious high point, but it’s paired with a recovery descent. That pattern—effort, then adjustment—is the pattern you’ll want to respect again near the end.
Day 4: Barranco Wall Challenge to Karanga Camp
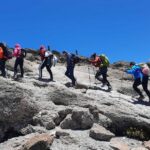
Day 4 starts with one of the route’s signature features: the Barranco Wall. It’s steep, but you don’t need special climbing skills. You’re hiking, using the trail safely, and taking it one step at a time.
Once you’re over it, you’ll enjoy wide views, then continue along a drier, open area up to Karanga Camp at 4,035 meters (13,250 feet). The hike takes about 4–5 hours over roughly 5 km (3 miles).
Why this day matters: Barranco Wall is where you learn how your legs handle a short, intense push after multiple days already above 3,000 meters. It’s not about athletic heroics. It’s about technique—slow steps, steady breathing, and keeping your focus on what your guide advises.
The potential drawback is obvious: it can feel like a “too soon” test for some people. If you go too fast out of excitement, the Wall will punish you. Save energy. Treat it like training for the summit night mentality, just in smaller form.
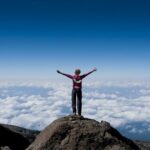
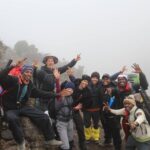
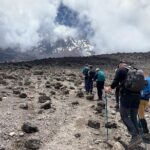
Day 5: Rocky Alpine Desert to Barafu Camp and Early Dinner
Day 5 is shorter but steeper. You’ll hike to Barafu Camp, at 4,640 meters (15,220 feet), walking about 4 km (2.5 miles) in 4–5 hours. The terrain here is described as rocky alpine desert—dry, exposed, and more unforgiving than the rainforest days.
This is where Barafu earns its reputation as the “waiting room” for the summit attempt. After reaching camp, you’ll have an early dinner, then rest and get ready for the big climb later that night.
The big value of Day 5 is mental. By this point, you know your routine: hike, eat, camp, sleep (as much as possible), repeat. Now you’re adding a new reality: you’ll start climbing in the dark and won’t get a normal night’s sleep.
The practical challenge: you’ll want to rest well and keep warm. If you’ve been sloppy about layers so far, this is when the cold reminds you.
Day 6: Midnight Summit Push to Uhuru Peak, Then Down to Mweka
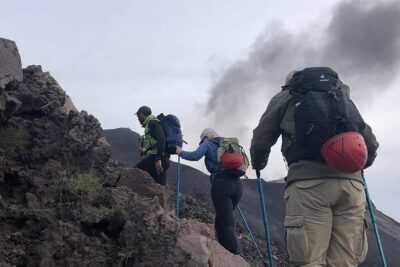
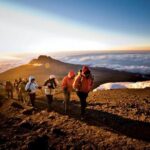
If Day 5 is preparation, Day 6 is the main event. You start your climb to the top around midnight. This is the hardest part of the trek because it’s steep and the ground is loose.
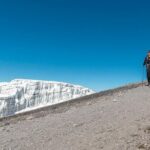
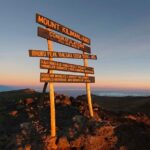
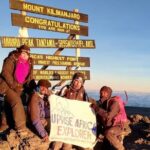
You’ll hike for 7–8 hours and reach Uhuru Peak at 5,895 meters (19,341 feet), the highest point in Africa. After time at the summit, you descend back to Barafu Camp for a short rest, then continue down to Mweka Camp at 3,110 meters (10,200 feet).
The total distance for the day is about 17 km (11 miles) and it can take 12–15 hours overall.
A summit day like this needs two kinds of toughness:
- Physical toughness for loose, steep ground.
- Mental toughness for darkness, cold, and slow progress.
What helps is that you’ve already practiced altitude adaptation on Days 2–4. You’ve also learned the rhythm of moving at a pace that keeps your breathing controlled. If you try to “win” the summit, you’ll pay for it.
Also, celebrate briefly, then focus on the descent. The descent is tough too—your legs are tired, and loose surfaces can turn into a slip-and-stumble risk if you rush.
Day 7: Rainforest Descent to Mweka Gate and Your Summit Certificate
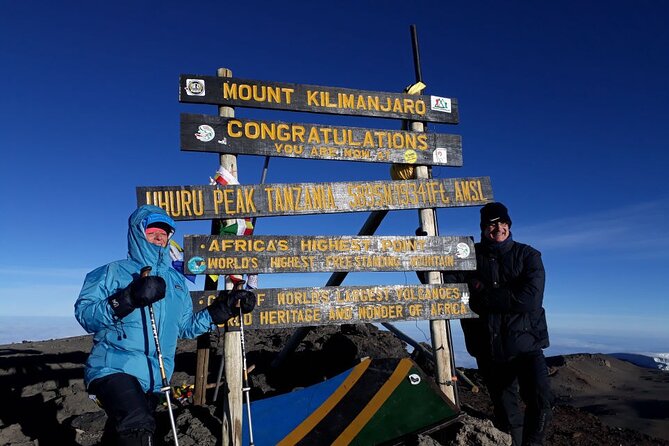
You end with a downhill day that still feels satisfying. You walk down through the rainforest to Mweka Gate. Expect green, active air, and the sense that the mountain is letting you exhale.
The hike takes about 3–4 hours and covers around 10 km (6 miles). At Mweka Gate, you receive your Kilimanjaro summit certificate, then you’ll drive back to Moshi to relax.
This day’s value is not just scenic. It’s recovery. Your body has taken a beating, especially after the long Day 6. A rainforest descent tends to feel more forgiving than alpine rock, but don’t confuse “downhill” with “easy.” Ankles still get a workout.
The best move is to take your time, keep your footing sure, and let the mountain finish the job your muscles can’t do by force.
Guides, Porters, and Meals: Where You Feel the Difference
The experience isn’t only about walking. It’s about how smoothly your days run.
This trek includes experienced guides and porters, plus a pre-climb briefing and orientation. Reviews you can find for this trek type often point to the same winners: clear communication, attentive guidance, and people who stay calm when conditions get tough. For this operator, names like Jackson show up as hands-on in planning and responsiveness, and guides such as Innocent, Kenny, Shafii, Emmanuel, William, Issa, and Martin are recognized for professional support.
Meals and water are included during the climb: breakfast, lunch, and dinner, along with clean drinking water. That matters more than it sounds. At high altitude, you don’t just need fuel—you need predictable fuel. When your food schedule is handled, you can focus on hydration and hiking pace.
Camping basics are also covered. You get tents and camping equipment like sleeping bags, sleeping mats, and a portable toilet. Add in first aid kits and oxygen tanks, and it’s easier to feel that safety isn’t an afterthought.
Price and Value: What $2,209 Gets You (and Why It’s Not Just a Number)
At $2,209 per person, this isn’t a budget trek. But it isn’t vague, either. A lot of the cost sits in the parts you’d otherwise pay for separately on less organized trips.
Included value highlights:
- Park fees and permits (not optional for Kilimanjaro trekking)
- Airport transfers to and from Kilimanjaro International Airport
- Trail transportation to and from the trailhead
- Guides and porters
- Meals during the climb plus clean drinking water
- Camping gear and tent setup
- Safety equipment like oxygen tanks and first aid kits
- Summit certificate
- Two nights of accommodation: one night before and one night after the trek
So you’re not only paying for walking days. You’re paying for the mountain “machine”: logistics, food, equipment, staff, and compliance with park rules. That’s where value usually shows up—especially on Day 6, when you don’t want any surprises.
Your two financial watch-outs:
- Tips aren’t included. Plan for that.
- Airfare and travel insurance aren’t included. For a climb of this height, insurance isn’t a luxury item. It’s basic risk management.
What You’ll Need to Bring (Because the Trek Won’t Guess for You)
The package covers camping gear and trek meals, but it doesn’t cover your personal gear. The tour lists common personal items like hiking boots, clothing, and backpacks as not included.
For a trek that reaches 5,895 meters, you should expect cold nights and chilly starts. Plan layers you can adjust while hiking and while stopped. The mountain will do temperature swings, even when it feels calm in camp.
Also, think about comfort items that help you sleep and recover. You can’t “train” sleep deprivation away during summit night. Good preparation helps you keep your head when you’re tired.
Who Should Choose This Private Machame Trek—and Who Should Rethink It
This climb fits best if you:
- Have moderate physical fitness
- Want a route with built-in altitude adjustment rather than a speed run
- Prefer a private group where your guides can focus on your pacing
- Like a structured plan with all key logistics handled
You might rethink it if:
- You’re hoping for an “easy walk” to the summit. Day 6 is long and steep on loose ground.
- You’re sensitive to long hiking days and midnight starts.
- You don’t plan to budget for tips and don’t want to handle personal gear prep.
Should You Book This 7-Day Private Machame Trek?
If your goal is a classic Kilimanjaro experience with a serious altitude plan, this Machame 7-day route makes sense. The itinerary is designed around acclimatization—up to Lava Tower, down to Barranco Camp, then onward—so you’re not just chasing elevation. Add in the included guides, meals, camping gear, and safety equipment, and you get a package that feels built for the reality of summit attempts.
Book it if you’re ready for the long-haul commitment of Day 6 and you’re okay planning your own personal gear and tips. Pass if you want a short, low-effort hike or if midnight starts are a hard no.
FAQ
How long is the Machame route trek?
It lasts about 7 days.
Where does the trek start and how do you get there from Moshi?
You start in Moshi and drive to Machame Gate to begin the hike inside Kilimanjaro National Park.
Is airport transfer included?
Yes. Airport transfers to and from Kilimanjaro International Airport are included.
What meals and water are included during the climb?
Meals (breakfast, lunch, and dinner) are included during the trek, along with clean drinking water.
What does the tour include for camping and equipment?
You get accommodation in tents during the trek, plus camping equipment such as tents, sleeping bags, sleeping mats, and a portable toilet.
What isn’t included in the price?
Air tickets, travel insurance, personal gear (like hiking boots, clothing, and backpacks), tips for guides/porters, and additional accommodation and meals before or after the climb are not included. Lunch and dinner in the hotel are also not included.
Is free cancellation available?
Yes. Free cancellation is available up to 24 hours in advance for a full refund. If canceled due to poor weather, you’ll be offered a different date or a full refund.