REVIEW · KATHMANDU
Everest Base Camp Trek Via Gokyo Lake and Cho La Pass
Book on Viator →Operated by Marvel Treks and Expedition · Bookable on Viator
Everest can be done a thousand ways, but this one mixes the famous EBC hike with Gokyo Lakes and the Cho La Pass crossing. You get classic Everest country, plus calmer high-altitude lake time, plus a real challenge day when the pass forces you to focus. It’s a route for people who want more than one kind of mountain memory.
I love the way this trek is built around logical altitude steps: Namche for acclimatizing, Dingboche and Lobuche for gradual breathing adjustments, then the big push days around Kala Patthar and Base Camp. I also like the practical support: a licensed English-speaking guide, a porter with a 1:2 ratio, full-board meals during the trek, and permits/park access handled for you.
One drawback to plan for: this is a high-altitude itinerary that includes a glacier pass early in the morning, so weather and conditions matter a lot. If you’re the type who hates early starts or you want zero risk of icy footing, this route may feel demanding.
In This Review
- Key highlights worth caring about
- Everest Base Camp plus Gokyo and Cho La: the mix that makes this trek special
- Price and logistics: what $1,000 covers (and what it doesn’t)
- Kathmandu arrival: gear check, briefing, and getting positioned
- Lukla and the first trail days: your pace starts on day two
- Namche Bazaar acclimatization and Everest View Hotel option
- Tengboche: pine forests and monastery time before you climb higher
- Dingboche and Lobuche: the “I feel the altitude” days
- Gorak Shep and Everest Base Camp: the payoff day
- Kala Patthar sunrise and the move toward Dzongla
- Cho La Pass crossing: the day for careful footing
- Gokyo Lakes days: panoramic views and lake time at altitude
- Return down to Namche and the Dudh Koshi final trek
- Food and teahouse reality: what “included” means on the ground
- Guides, pacing, and safety support that actually helps
- Who this trek fits best (and who should think twice)
- Should you book this Everest Base Camp via Gokyo and Cho La Pass trek?
- FAQ
- How long is the trek?
- Where does the tour start and end?
- What flights are included?
- What’s included during the trek?
- What’s not included?
- Is the trek family-friendly or easy?
- Are hot showers and Wi-Fi included?
- What happens if weather is poor?
Key highlights worth caring about
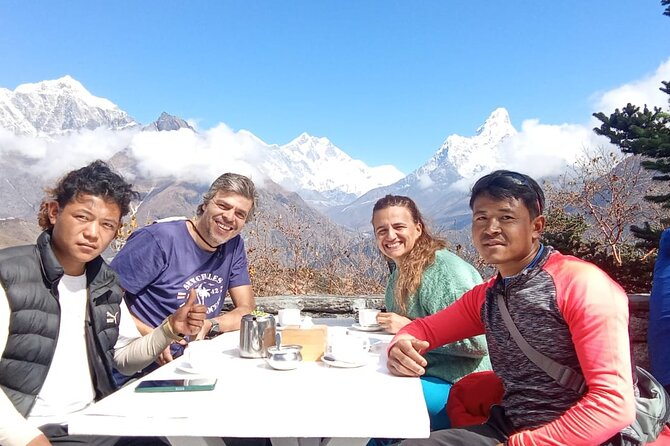
- Cho La Pass day starts early, when conditions can be colder but visibility may be better
- Teahouse trek with full meals included, so you’re not hunting for food at altitude
- Kala Patthar sunrise gives you one of the best angles for Everest-area drama
- Gokyo Lakes + extra lake day means you spend real time at high, quiet elevations
- Guide + porter support (1:2 ratio) keeps the focus on walking, not logistics
- Safety support includes emergency oxygen, which matters when altitude gets serious
Everest Base Camp plus Gokyo and Cho La: the mix that makes this trek special
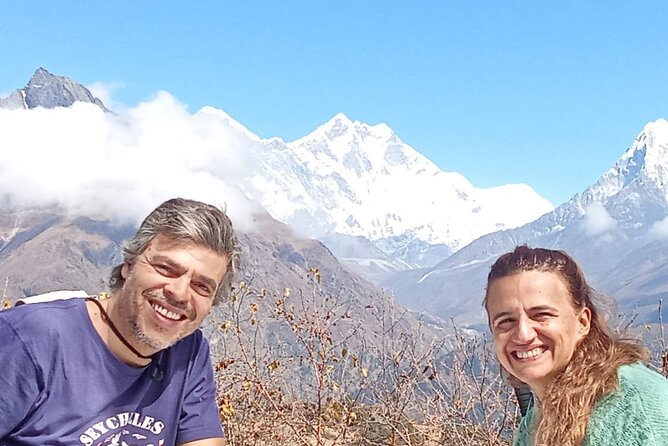
If you’ve ever looked at Everest trekking routes, you’ll notice two big types: the classic line to Everest Base Camp, and the quieter detours that chase different views and less-crowded water-and-ice scenery. This trek stitches those worlds together.
You’ll hike through Sagarmatha National Park and get your first real Everest moments around Namche Bazaar, then you’ll climb higher, hit Everest View Hotel as an optional add-on day, and move through Tengboche Monastery, Dingboche, Lobuche, and Gorak Shep. After the Everest Base Camp day, the route pivots into a different mood: instead of returning the same way, you cross Cho La Pass into the Gokyo Valley and spend time around the lakes.
That change of scenery isn’t just scenic. It also changes your mental rhythm. One part of the journey is the long, steady focus toward Everest. The other part is a calmer, more exploratory-feeling trek where you’re rewarded for patience at the lakes and viewpoints like the climb for panoramic views on the Gokyo side.
And yes, it’s physically tough. But it’s also one of those itineraries where each hard day has a clear job: acclimatize, reach a viewpoint, or cross a key segment.
You can also read our reviews of more tours and experiences in Kathmandu.
Price and logistics: what $1,000 covers (and what it doesn’t)
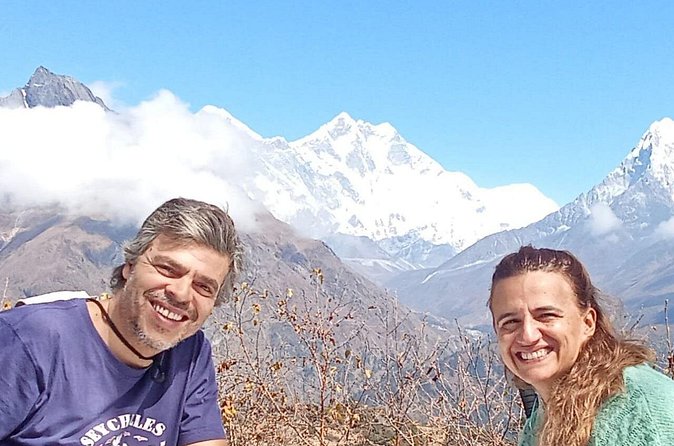
At $1,000 per person, you’re not just paying for walking days. This price is doing real work behind the scenes.
Here’s what’s included:
- Round-trip domestic flights Kathmandu–Lukla–Kathmandu
- 1 night hotel in Kathmandu with breakfast
- All meals during the trek (breakfast, lunch, dinner)
- 12 nights twin-sharing teahouse accommodation
- A licensed English-speaking guide plus a porter (1:2 ratio)
- Sagarmatha National Park and TIMS permits
- Airport transfers on arrival/departure
- A duffel bag for trekking gear (and it’s returned)
- Government taxes and trekking service charges
What you should budget for separately:
- International airfare and the Nepal visa fee
- Lunch and dinner in Kathmandu (you handle meals on your Kathmandu days)
- Personal gear like boots, jacket, poles (renting is possible in Kathmandu, but it’s still an expense)
- Travel insurance (mandatory)
- Tips for guide and porter (optional in theory, expected in practice)
- Anything extra if flights get delayed or you need extra hotel nights
- Extras at teahouses like hot showers, Wi‑Fi, and battery charging
Value check: paying for domestic flights and permits in one package can save you from a lot of stress and guesswork. Also, the full-meals setup matters more at altitude than it does on an average hike. When the day is cold and you’re short on time, having lunch and dinner planned beats playing menu roulette.
Kathmandu arrival: gear check, briefing, and getting positioned
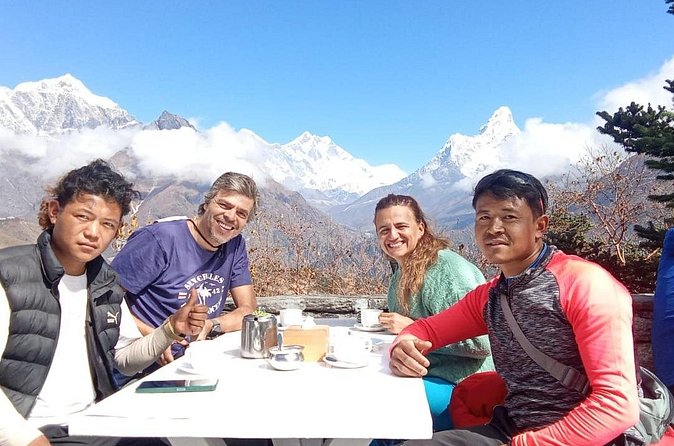
Day one is mostly about getting you ready and sorted. You’ll be met at Tribhuvan International Airport with a sign, then there’s a trek briefing and gear check.
This matters more than it sounds. For a trek with glacier crossing involved, small gear problems turn into big problems quickly. You’ll also get your duffel bag for trekking gear. The goal is usually to keep your walking load manageable, while porters handle the heavier carrying.
If you’re the kind of traveler who likes to show up and figure things out later, push back on that instinct here. This is the part where you set yourself up for smoother days later.
Lukla and the first trail days: your pace starts on day two
The next morning is a scenic flight to Lukla. From there, your trek begins through Sherpa villages to Phakding.
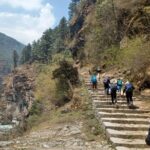
Phakding is not just a warm-up stop. It’s your first sense of Khumbu trail rhythm: steady footwork, frequent bends in the path, and the reality that you’ll be walking more hours than you think you will. This is where I’d focus on breathing control. Don’t sprint. Let your legs settle in.
Then comes Namche Bazaar, after suspension bridge crossings and entry into Sagarmatha National Park. This is the classic Everest gateway feel: busy enough to feel alive, but still high enough to make you respect the air.
Namche Bazaar acclimatization and Everest View Hotel option
In Namche, the trek gives you a built-in reason to slow down. You cross those bridges, enter the park area, and then you get time to adjust to altitude.
There’s also an optional hike to Everest View Hotel (3,880 m). This isn’t required, but it’s a smart choice if you want a controlled taste of bigger views without overreaching. The hotel area tends to make the whole Everest storyline feel more real. Even if you don’t go, Namche itself gives you a market atmosphere and a chance to absorb Sherpa culture in a practical way.
A note for your comfort: Namche mornings and evenings can feel chilly fast. Layering matters. And if you tend to get headache or nausea at altitude, this is where you’ll want to stay calm and follow the guide’s pacing.
Tengboche: pine forests and monastery time before you climb higher
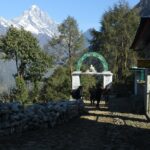
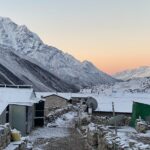
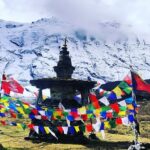
Next stop is Tengboche. The approach here runs through pine forest with views of peaks like Thamserku and Everest (on clear days). Then you visit Tengboche Monastery.
This monastery day is more than a photo stop. It gives you a cultural pause right before you start moving into higher, more exposed areas. In practice, that break can help you emotionally reset, which is useful when days start getting colder and harder.
If you’re photographing, do it lightly and safely. Crowd flow can happen around key timings, but the bigger issue is cold hands and fatigue. Keep your camera gear simple and protected.
Dingboche and Lobuche: the “I feel the altitude” days
From Tengboche you go to Dingboche, crossing the Imja Khola and passing Pangboche. This section is where you’ll start feeling altitude more clearly.
Dingboche sits in the higher band where breathing becomes a daily subject, not a background detail. You’ll also likely notice how your pace changes. This trek’s value is that it doesn’t treat altitude like something you power through. It keeps moving you upward, but it doesn’t ignore acclimatization.
From Dingboche you continue toward Lobuche, walking alpine terrain and passing climbers’ memorials. Those memorials are a sobering reminder of why Everest trekking needs respect. It’s not fear-mongering; it’s context. It also helps you understand why the route prioritizes safe pacing and why your guide’s advice matters.
Gorak Shep and Everest Base Camp: the payoff day
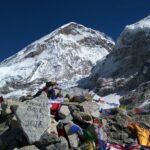
You reach Gorak Shep, then it’s on to Everest Base Camp along the Khumbu Glacier route. This is the day you’ve been working toward.
Base Camp is where the Everest scale hits you in a different way than viewpoints. It’s crowded at times, but the experience still has a reality to it. You’re at a place that feels both remote and like a temporary hub for big ambitions.
After photos and that huge accomplishment feeling, you return to Gorak Shep. The return matters. People sometimes think the hardest part is getting there. But fatigue stacks fast at high altitude. Save energy for the walking back, and keep sips of water going.
A practical takeaway: bring a simple system for keeping your hands warm and your electronics protected. The cold at these elevations doesn’t care that you’re having a life moment.
Kala Patthar sunrise and the move toward Dzongla
Day nine is all about the sunrise view of Everest from Kala Patthar, then you trek down to Lobuche and onwards to Dzongla.
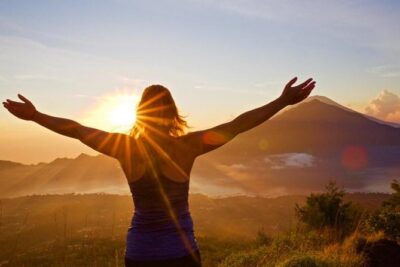
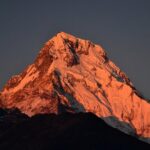
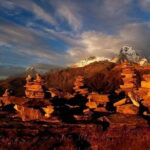
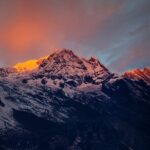
Kala Patthar is famous for a reason. Sunrise pulls you out of your regular day thinking and into something more focused: you’re walking toward light, not just toward a destination. It can also be cold enough that you’ll feel every layer’s job.
Then you transition into a descent and progression toward Dzongla. This helps set up the next day’s major crossing. If you feel wiped out, don’t treat that as a reason to slow down too much. It’s a reason to move steadily.
Cho La Pass crossing: the day for careful footing
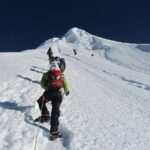
This is the route’s hardest, most technical-feeling day. You cross the Cho La Pass early morning, then descend into the quieter Gokyo Valley.
Early starts can sound unpleasant. But in these conditions, timing can affect what you deal with: colder ground can mean more ice, but clearer weather can mean better visibility and navigation. Your guide’s decisions are key here, especially on icy sections.
What you should keep in mind:
- Your legs may feel okay on the flats, then get punished on steep icy sections
- Mental fatigue matters as much as physical fatigue
- Footing confidence is everything
If you’re strong but impatient, slow down. If you’re steady but anxious, bring that anxiety down through routine: one step, one breath, check your footing, repeat.
This day earns you the unique Gokyo experience that most classic EBC-only routes don’t provide.
Gokyo Lakes days: panoramic views and lake time at altitude
Once you’re in Gokyo, the trek leans into wide views and high-altitude calm. There’s a morning climb for panoramic views of Everest, Cho Oyu, and Makalu, and you’ll also visit the 3rd and 4th Gokyo Lakes.
This is where the route becomes more than a checklist of famous places. The lakes give you a different kind of reward. On the right day, it feels like you’re looking at the Himalayas as a system: peaks feeding glaciers, glaciers feeding water, and human trails connecting it all.
It’s also a good time to regroup. Even if the climb is demanding, your schedule here tends to feel more varied than the pure Everest-direction days.
Return down to Namche and the Dudh Koshi final trek
After the lakes and viewpoints, the trek goes back down toward Namche Bazaar, descending past Machhermo, Dole, and Khumjung. You’ll reach Namche for rest, and this is one of the nicer moments on an EBC route because it comes with a hot-shower reset (hot showers are an extra listed item, but the itinerary explicitly builds in that Namche stop for recovery).
Then it’s the final trekking day to Lukla along the Dudh Koshi River. That river corridor can feel oddly comforting. You get a sense of movement, a steadier rhythm, and it’s a reminder that your altitude journey is moving back toward normal life.
Food and teahouse reality: what “included” means on the ground
You’ll have all meals included during the trek, plus twin-sharing teahouse accommodation for 12 nights.
Here’s what that usually means for your day-to-day comfort:
- You don’t need to make food decisions at the end of a brutal day
- You can keep your energy more consistent
- Your guide can time meal breaks more cleanly around walking hours
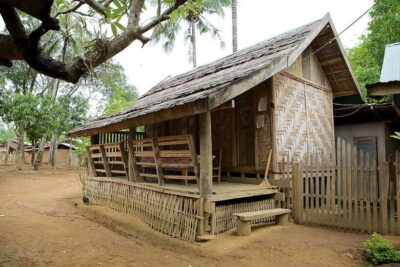
Teahouses can vary. Still, the included setup gives you a baseline: a roof, a meal plan, and a predictable schedule. Extras like Wi‑Fi, battery charging, and hot showers are not included, so keep some cash aside if those comforts matter to you.
Also, pack like someone who might be up early. Even when meals are handled, you still deal with cold mornings and the need for warm layers.
Guides, pacing, and safety support that actually helps
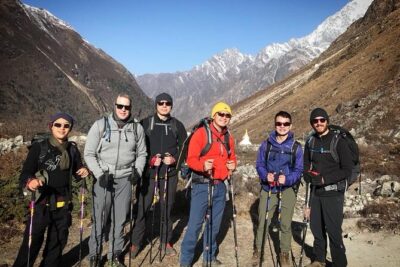
This trek is run by a licensed English-speaking guide and a porter team in a 1:2 ratio. That’s a meaningful detail. It usually means you’re not carrying the whole burden of your own heavy bag, and you’ll have more consistent group pacing.
From prior experiences with this company’s guides, I like the kind of support that shows up in the hard moments. Guides like Udio have been described as friendly and reassuring, and Shisir as kind and helpful when discomfort hits. I can’t promise the exact same person for your dates, but the pattern matters: the best trekking companies treat altitude stress as something they manage with calm coaching, not panic.
Safety is also mentioned as part of the support, including emergency oxygen. That’s the right category of detail to look for on an Everest-area trek.
My practical advice: take altitude seriously, but don’t panic. Follow your guide. Speak up early if you feel off. A small warning is easier than a big rescue.
Who this trek fits best (and who should think twice)
This trek is listed for travelers with moderate physical fitness. In reality, moderate means you can handle long hiking days, uneven trail, and cold mornings. It does not mean easy.
You’ll likely enjoy it most if you:
- Want both Everest Base Camp and Gokyo Lakes in one trip
- Like route variety, not only one mountain corridor
- Are okay with early starts, especially around Kala Patthar and Cho La Pass
- Want Sherpa culture stops like Tengboche Monastery and time in Namche
You might want to reconsider if:
- You hate glacier-pass-style conditions and cold, exposed footing
- You’re very sensitive to altitude and you’re not comfortable following pacing guidance
- You’re hoping for a laid-back hike with minimal exertion
Should you book this Everest Base Camp via Gokyo and Cho La Pass trek?
If you want one itinerary that hits Everest ambition, Sherpa culture, and lake-and-view variety, this route has a strong argument. The value is in the package: flights, permits, guides/porters, teahouse beds, and full meals are handled, which makes the trek feel safer and simpler than planning it piece by piece.
I’d book this if you’re ready for a challenging itinerary with a true pass crossing and you can commit to the pace your guide sets. It’s not a sightseeing stroll. It’s a mountain journey with clear rewards—especially on the sunrise and lake days.
If you want, tell me your hiking background and when you plan to go (month helps). I can suggest how aggressive you should be with optional hikes like Everest View Hotel and what to prioritize in packing for cold + pass conditions.
FAQ
How long is the trek?
It runs about 14 days.
Where does the tour start and end?
It starts at Tribhuvan International Airport (Ring Rd, Kathmandu) and ends back at the meeting point.
What flights are included?
Round-trip domestic flights between Kathmandu and Lukla are included.
What’s included during the trek?
You get all meals (breakfast, lunch, dinner) during the trek, twin-sharing teahouse lodging for 12 nights, a licensed English-speaking guide and porter (1:2 ratio), permits (Sagarmatha National Park and TIMS), and airport transfers.
What’s not included?
International airfare, the Nepal visa fee, lunch and dinner in Kathmandu, personal trekking gear, travel insurance, tips for guide and porter, and any extra hotel nights if flights are delayed.
Is the trek family-friendly or easy?
It’s described as suitable for travelers with moderate physical fitness. It includes demanding high-altitude walking and a glacier pass crossing.
Are hot showers and Wi-Fi included?
Hot showers, Wi‑Fi, and battery charging at teahouses are not included.
What happens if weather is poor?
This trek requires good weather. If it’s canceled due to poor weather, you’ll be offered a different date or a full refund.