REVIEW · KATHMANDU
Manaslu Circuit Trek – 14 days of Himalayan Adventure
Book on Viator →Operated by Wonder Himalaya · Bookable on Viator
Manaslu keeps surprising you, day after day. This trek pairs serious mountain scenery with real human scale—Tibetan-influenced villages, Buddhist monasteries, and that long arc of the Budhi Gandaki River cutting through the Manaslu Conservation Area, where the trek feels less crowded. Manaslu Massif views are the headline, but the daily details are what make the journey stick.
I love how the itinerary uses acclimatization to help you keep your head (and lungs) for the big day ahead. I also love the practical safety touch: your crew includes an oxi-meter to check heart/oxygen saturation, and you’re guided by an experienced, government-registered team.
One consideration: you’re dealing with long walking days and a high pass crossing, so you’ll want solid hiking legs before you arrive—this is not a stroll.
In This Review
- Key highlights to know before you go
- Why the Manaslu Circuit feels worth your time (and effort)
- The value math: what you get for about $1,099
- First steps in Kathmandu: getting set up without stress
- Days 2 to 4: Kathmandu to Machikhola, then into the Budhi Gandaki valley
- Days 5 to 6: Namrung and Shyala—where Tibetan influence starts to show
- Day 7: Sama Gaon—views plus the sense of being inside the range
- Day 8: the acclimatization day—Birendra Taal and Labrang Gompa
- Days 9 to 10: Samdo Village and the rockier climb
- Day 11: crossing Larkya La Pass, then dropping into Bhimtang
- Day 12: descent into lower elevations and pine-rhododendron forests
- Day 13: the long drive back to Kathmandu—jeep time and rough roads
- Day 14: Kathmandu airport transfer and a clean finish
- Guides and support: where the experience can quietly win
- What to pack and how to think about altitude (without panic)
- Who this trek is best for
- Should you book the Manaslu Circuit with Wonder Himalaya?
- FAQ
- How long is the Manaslu Circuit Trek in this package?
- How much does it cost per person?
- Do I need to arrange permits myself?
- What gear is included for the trek?
- Is there a guide and safety support included?
- What is included for meals?
Key highlights to know before you go
- Less-crowded feel on a classic route through the Manaslu Conservation Area
- Acclimatization built in, including a rest day around Sama Gaon
- Real cultural stops as you move into Tibetan-influenced villages
- A caring guide factor matters, and Wonder Himalaya guides like Santosh have a strong track record for not leaving anyone behind
- Safety tools in the kit, including an oxi-meter for altitude checks
- Permits handled for the Manaslu Conservation Area and the restricted/adjacent zones
Why the Manaslu Circuit feels worth your time (and effort)
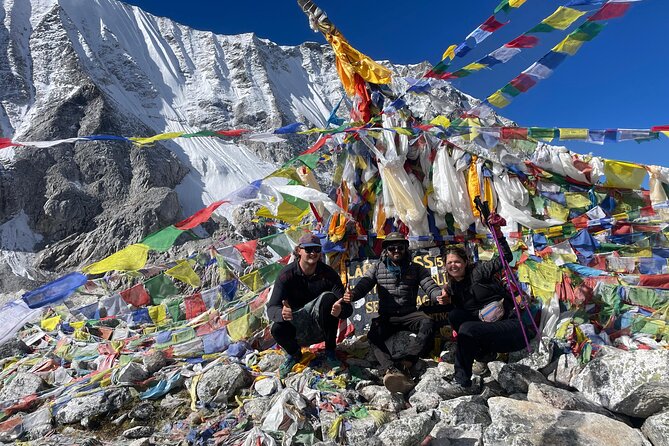
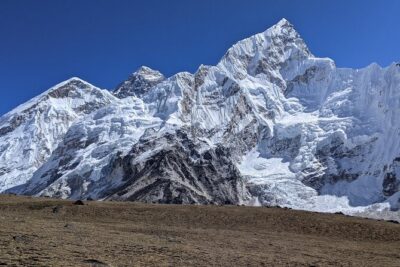
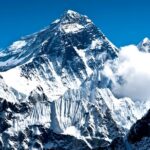
The Manaslu Circuit is the kind of trek you do when you want more than photos. Yes, you come for Mt. Manaslu itself (8,163 m), and you get that sweeping Himalayan presence again and again across multiple days. But the circuit also gives you a sense of place—animals like Himalayan tahrs and blue sheep are part of the trek’s natural story, and the region is famous for Buddhist monasteries, mani walls, chortens, and traditional architecture.
What makes this itinerary especially appealing is the balance between mountain focus and human scale. You’re moving through villages where Tibetan culture and Buddhist practice show up in daily life, not as a distant side trip. And because this trek is described as one of the more satisfying and less crowded options in Nepal, it tends to feel like a shared journey rather than a conveyor belt of hikers.
You can also read our reviews of more tours and experiences in Kathmandu.
The value math: what you get for about $1,099
At $1,099 per person for roughly 14 days, the big question is: what’s actually included versus what you’ll pay separately.
Here’s what the package covers:
- An experienced, government-registered trekking guide (plus support crew)
- Key permits: Manaslu Conservation Area Permit, Annapurna Conservation Area Permit, and a Restricted Area Permit
- Trekking equipment: a down-filled sleeping bag and walking poles
- Meals: lunch (11), dinner (11), breakfast (13) are included
- An oxi-meter for altitude/health checks
- A route map and an established route organization
- Public transportation between Kathmandu and Machikhola, and between Tilche and Besishahar, plus return transport to Kathmandu
What’s not included:
- Coffee/tea, alcohol, snacks
- Bottled water and personal expenses
- Travel insurance and medical evacuation
- Recharging for electronic devices
To me, the value sits in two places. First, permits and the restricted-area paperwork can be the headache that delays or complicates a do-it-yourself trek. Second, providing a down sleeping bag and walking poles can save you money and time—especially if you’re arriving from abroad and don’t want to buy gear locally.
One more value signal: in the feedback you shared, guests highlighted the price as a good deal compared with other companies they checked. That doesn’t guarantee perfection, but it suggests the package is priced with real competition in mind.
First steps in Kathmandu: getting set up without stress
Your trek starts the moment you arrive at Tribhuvan International Airport (TIA). A Wonder Himalaya representative meets you with a placard and helps you get oriented. That small detail matters more than it sounds. Kathmandu can feel chaotic if you’re doing everything yourself, especially after a flight.
From there, you’ll have an early breakfast in Kathmandu before leaving on the long drive toward the trekking start area near Machikhola. The route is scenic, and you’ll pass viewpoints linked to major river systems like the Trishuli and Budhi Gandaki. It’s a good way to ease into the rhythm of the trip: travel in the morning, moving forward through dramatic scenery, and settling into the days ahead.
Days 2 to 4: Kathmandu to Machikhola, then into the Budhi Gandaki valley
This is where the trek shifts from city to river to trail.
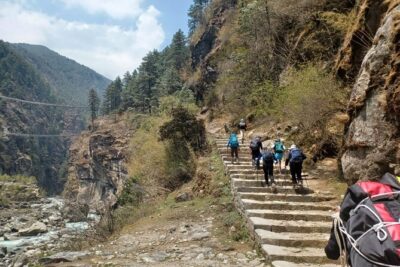
After a night in Maccha Khola, you begin the official trek to Jagat. The walking is described as lush and subtropical at this stage, and you’re following the Budhi Gandaki River. That river corridor is one of the reasons the circuit feels alive: it’s not just high views—it’s moving water, suspension bridges, and constant change in scenery.
On the way into Jagat, you’ll cross suspension bridges over rushing rivers and streams. Those bridges can be fun, but also a reminder to take your pace seriously. When footing and wind combine, it’s easy to rush. Don’t.
Day 4 keeps you deep in dense forest. You’ll pass rhododendron and dense trees, and you’ll keep crossing bridges. This is a welcome contrast if your brain already thinks the whole trek is rocks and altitude. Early on, Manaslu Circuit gives you green, sound, and shade.
Days 5 to 6: Namrung and Shyala—where Tibetan influence starts to show
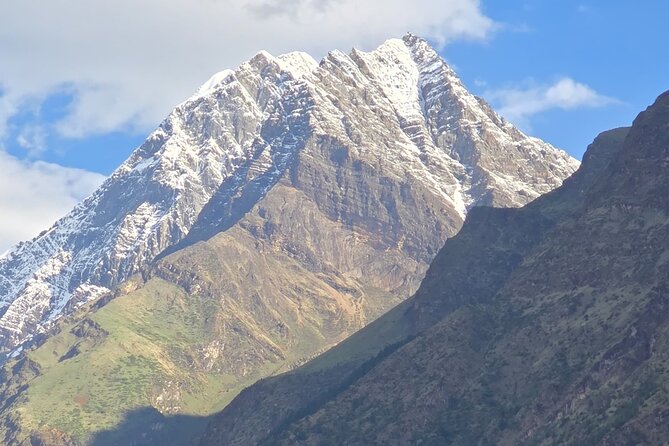
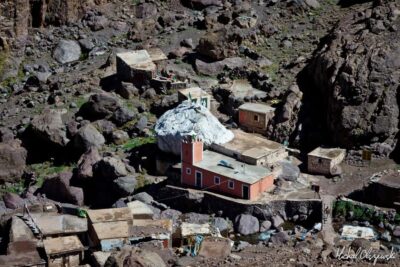
Once you leave Deng and head toward Namrung, the trek starts telling a clearer cultural story. The route passes through culturally rich villages like Bihi Phedi and Bihi, where Tibetan influence becomes more visible. That’s the kind of detail that makes you slow down and look around, not just at the mountains.
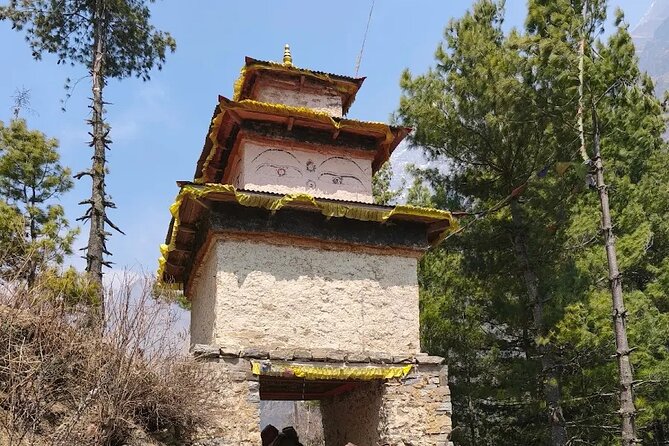
Then, continuing from Namrung to Shyala, you ascend through rhododendron and pine forests. You’ll also see Buddhist mani walls and chortens along the way. Even if you don’t read every symbol, you’ll feel the rhythm of devotion built into the trail.
Practical tip: these early-to-mid days involve steady elevation changes. If you keep your speed controlled and eat regularly, you’ll arrive in Shyala feeling tired-but-positive, not smashed. The next big viewing zones are coming.
Day 7: Sama Gaon—views plus the sense of being inside the range
After a night in Shyala, you trek toward Sama Gaon. The route moves through alpine forests and open ridges, with big views of the Manaslu massif.
This is a great day for two reasons. One, you’re still close enough to the mountain that it feels personal—like you can reach the ridgeline with a good wind. Two, you start noticing how the trail alternates between forest breathing and ridge exposure. That rhythm helps with acclimatization, because it keeps you working without always being hammered by thin air.
Day 8: the acclimatization day—Birendra Taal and Labrang Gompa
Day 8 is a rest and acclimatization day. You’ll spend the day ensuring you’re physically and mentally ready to go higher. For me, that’s one of the smartest parts of this trek.
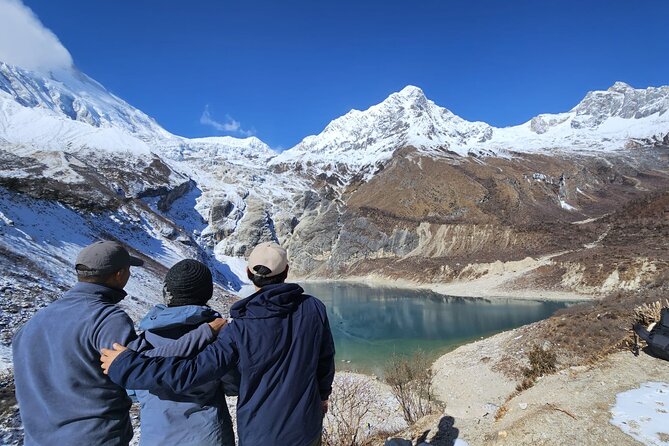
You also get a short day hike to Birendra Taal Lake, named after Nepal’s late King Birendra. Then there’s time to visit Labrang Gompa, also referred to as Kargya Chholing monastery, where monks do blessing ceremonies.
Even if you’re not religious, monastery visits on a trek can be grounding. They remind you the people living here have been managing altitude, seasons, and weather for generations. You’re not just hiking through wilderness; you’re moving through lived culture.
Days 9 to 10: Samdo Village and the rockier climb
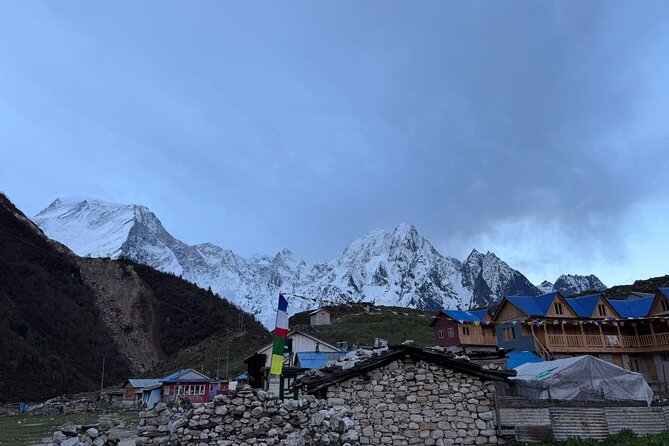
After Sama Gaon, the trail climbs toward Samdo Village. The mountain stays present all day, watching over you as the trail ascends and terrain changes.
Day 10 pushes into rockier trails and higher terrain. Expect more exposed walking and fewer easy distractions. The upside is that you get amazing views of tall peaks like Manaslu and nearby mountains, plus prayer flags fluttering along the route. When prayer flags show up, it’s a signal you’re getting closer to higher spiritual and weather-exposed zones.
Here’s the pacing advice that keeps you happy: treat Day 10 as a day to conserve energy for the pass crossing on the next day. If you feel great, still don’t sprint. Thin air punishes ego.
Day 11: crossing Larkya La Pass, then dropping into Bhimtang
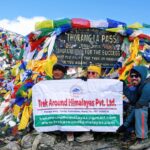
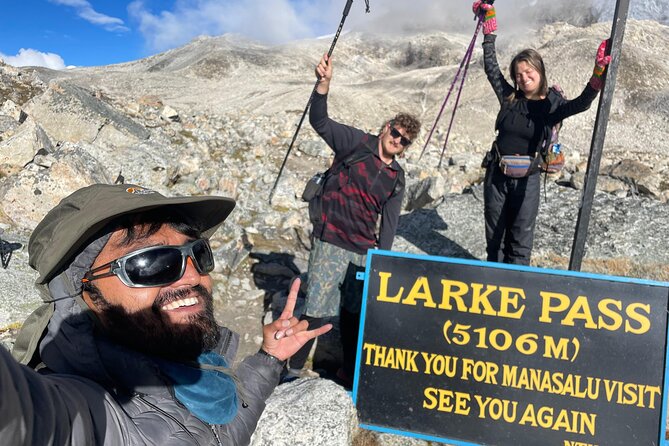
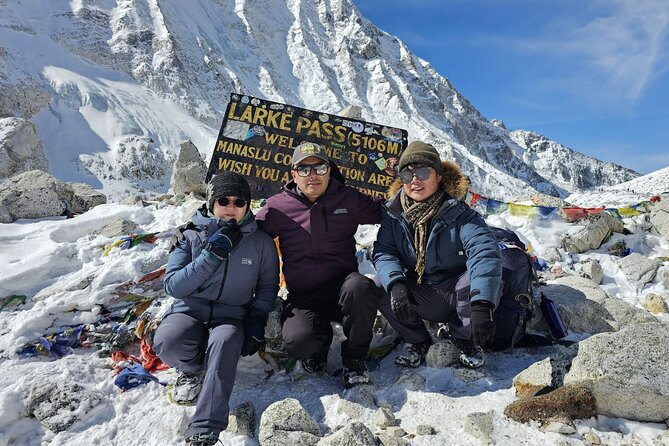
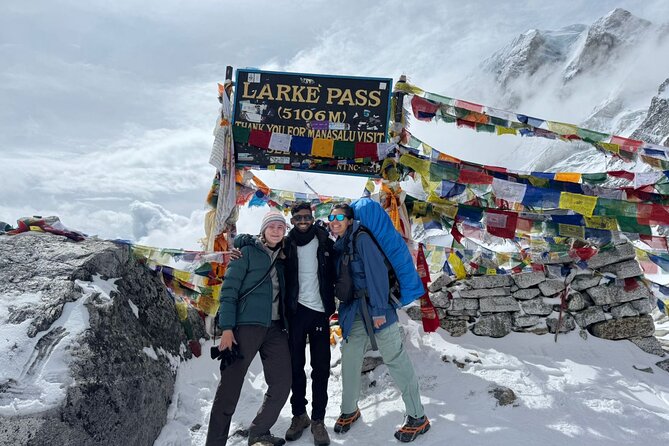
Today is the headline. You’ll start early after breakfast and cross Larkya La Pass, then continue down toward Bhimtang. The plan notes you’ll walk for two to three hours before continuing along rocky paths and open valleys for another four to five hours.
That matters because your body experiences the pass crossing differently than the descent. Going up taxes you. Coming down can punish your knees and feet. So bring the poles you’re supplied in the package, and use them—especially when the slope gets steep or your focus dips.
You’ll end the day in Bhimtang, where you can enjoy mountain views with snow-capped peaks. Nights at this stage often feel like a weather test. Pack for cold and keep your sleeping bag ready to work.
Day 12: descent into lower elevations and pine-rhododendron forests
From Bhimtang, you leave early and begin the descent. The route goes through lush forests of pine and rhododendron, with occasional glimpses of distant mountains.
This day is a mental reset. You’re still tired, but you’re not fighting altitude in the same way. It’s the kind of day where you can actually feel grateful for acclimatization working as planned—your earlier rest day and steady pacing pay off.
If you’re the type to obsess over time, don’t. Let your muscles loosen. Enjoy the shift from exposure to shade.
Day 13: the long drive back to Kathmandu—jeep time and rough roads
Today includes a very long journey back to Kathmandu. First, you’ll drive in a jeep to Besisahar, and you’ll get scenic window time along the way. The route is described as rough, and you reach Besisahar from Tilije within two to three hours by driving.
From there, the return toward Kathmandu begins. This is one of those “trek legs vs. travel legs” days. You might feel like you can sleep anywhere by now, but plan for the bumps.
Day 14: Kathmandu airport transfer and a clean finish
On the final day, you’ll be transferred to Tribhuvan International Airport. Your job is simple: make sure your luggage is packed and nothing is left behind. Your crew handles the farewell and airport transfer.
This closure is useful. Trek travel can be messy when you’re tired. Having the logistics handled keeps the end of the trip from turning into a scramble.
Guides and support: where the experience can quietly win
Your trek doesn’t live or die on the mountains alone. It’s also about people.
In the feedback you shared, guide Santosh stood out for attention and patience—one review specifically noted he watched for anyone left behind and would wait or go looking to make sure the group stayed together. That’s the kind of behavior that matters on suspension bridges, rocky descents, and pass days when focus slips.
There’s also mention of Niranjan arranging the best offer based on a traveler’s preferences. That signals the agency may actually listen before locking you into a rigid setup.
Even if you don’t have the same guides, those examples tell you the team culture is meant to be safety-first and human-first.
What to pack and how to think about altitude (without panic)
You’re provided key trekking gear: a down-filled sleeping bag and walking poles. That’s a big help, but you still need to plan your layers, gloves, and cold-weather readiness for higher exposed zones.
You’ll also have an oxi-meter, which checks heart rating and oxygen saturation. That tool won’t remove altitude risk, but it supports smart decision-making. If your body starts saying no, you’ll have data to help guide pacing and choices.
Most importantly: use the acclimatization day as the plan intends. Don’t treat it like a free day to overdo it. Rest is part of the trek.
Who this trek is best for
This is aimed at trekkers with moderate physical fitness who want the Himalayas with a manageable structure. It’s a good match if you like:
- Big mountain views but also want Tibetan culture and Buddhist sites
- A trek that feels less crowded than many popular routes
- A guided setup with permits handled and practical safety gear in place
If you’re looking for a gentle walking holiday with no hard segments, you might find this route challenging. The pass crossing day and the overall trekking rhythm are not designed for couch-to-summit beginners.
Should you book the Manaslu Circuit with Wonder Himalaya?
If you want a value-oriented Manaslu trek that handles permits, provides real gear support, and builds in acclimatization, this package makes sense. I’d especially consider it if you appreciate a guide who prioritizes group safety and cohesion—your shared feedback about Santosh is the best indicator of that.
But be honest with yourself: you’re signing up for a serious trek with long walking days and a high pass crossing. If you train for it and keep your pace smart, you’ll likely come away with the best kind of mountain story—the one that blends views, culture, and earned fatigue.
If you’re ready for that mix, book. If not, train first. Manaslu will wait.
FAQ
How long is the Manaslu Circuit Trek in this package?
The trek runs for about 14 days.
How much does it cost per person?
The price listed is $1,099 per person.
Do I need to arrange permits myself?
No. The package includes entrance fees for the Manaslu Conservation Area Permit, Annapurna Conservation Area Permit, and a Restricted Area Permit.
What gear is included for the trek?
You’re provided a down-filled sleeping bag and walking poles, plus a route map.
Is there a guide and safety support included?
Yes. You get an experienced government-registered trekking guide, and the package includes an oxi-meter to check heart rating and oxygen saturation.
What is included for meals?
Lunch, dinner, and breakfast are included (lunch 11 times, dinner 11 times, breakfast 13 times). Coffee/tea and snacks are not included.